Van Build Series: Designing the Walls and a Ceiling
As it turns out I’m not a carpenter either. I cannot scribe a wall or ceiling panel to save my life. I can get it close, but not close enough to make it look natural. I gave it a valiant effort though.
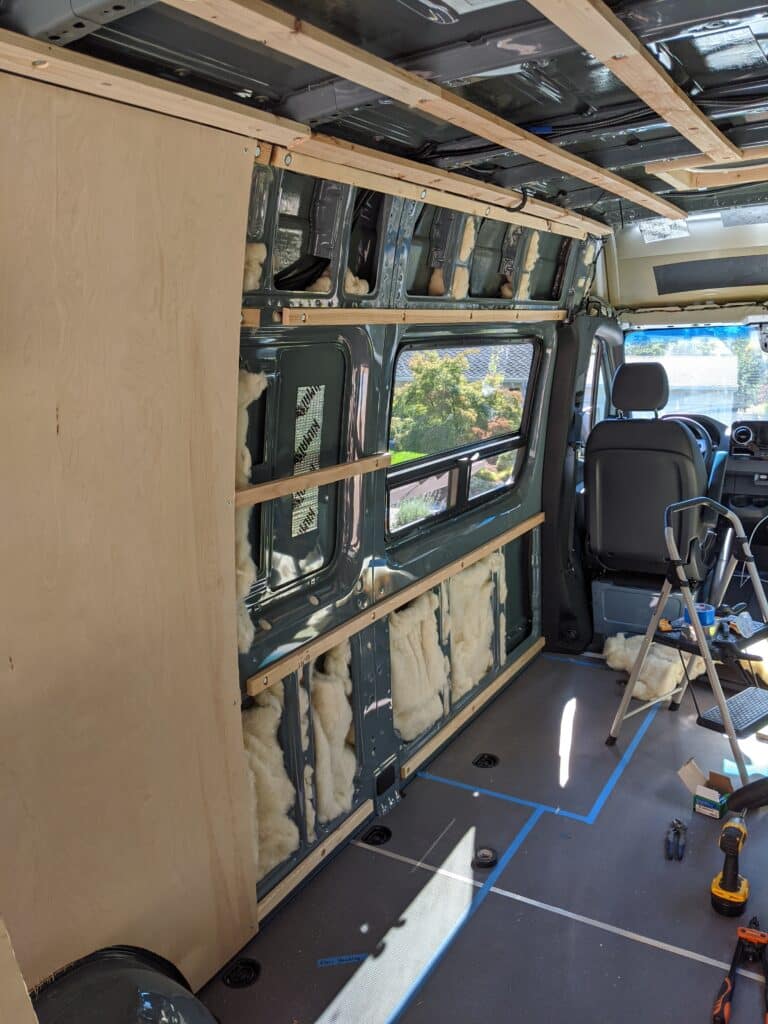
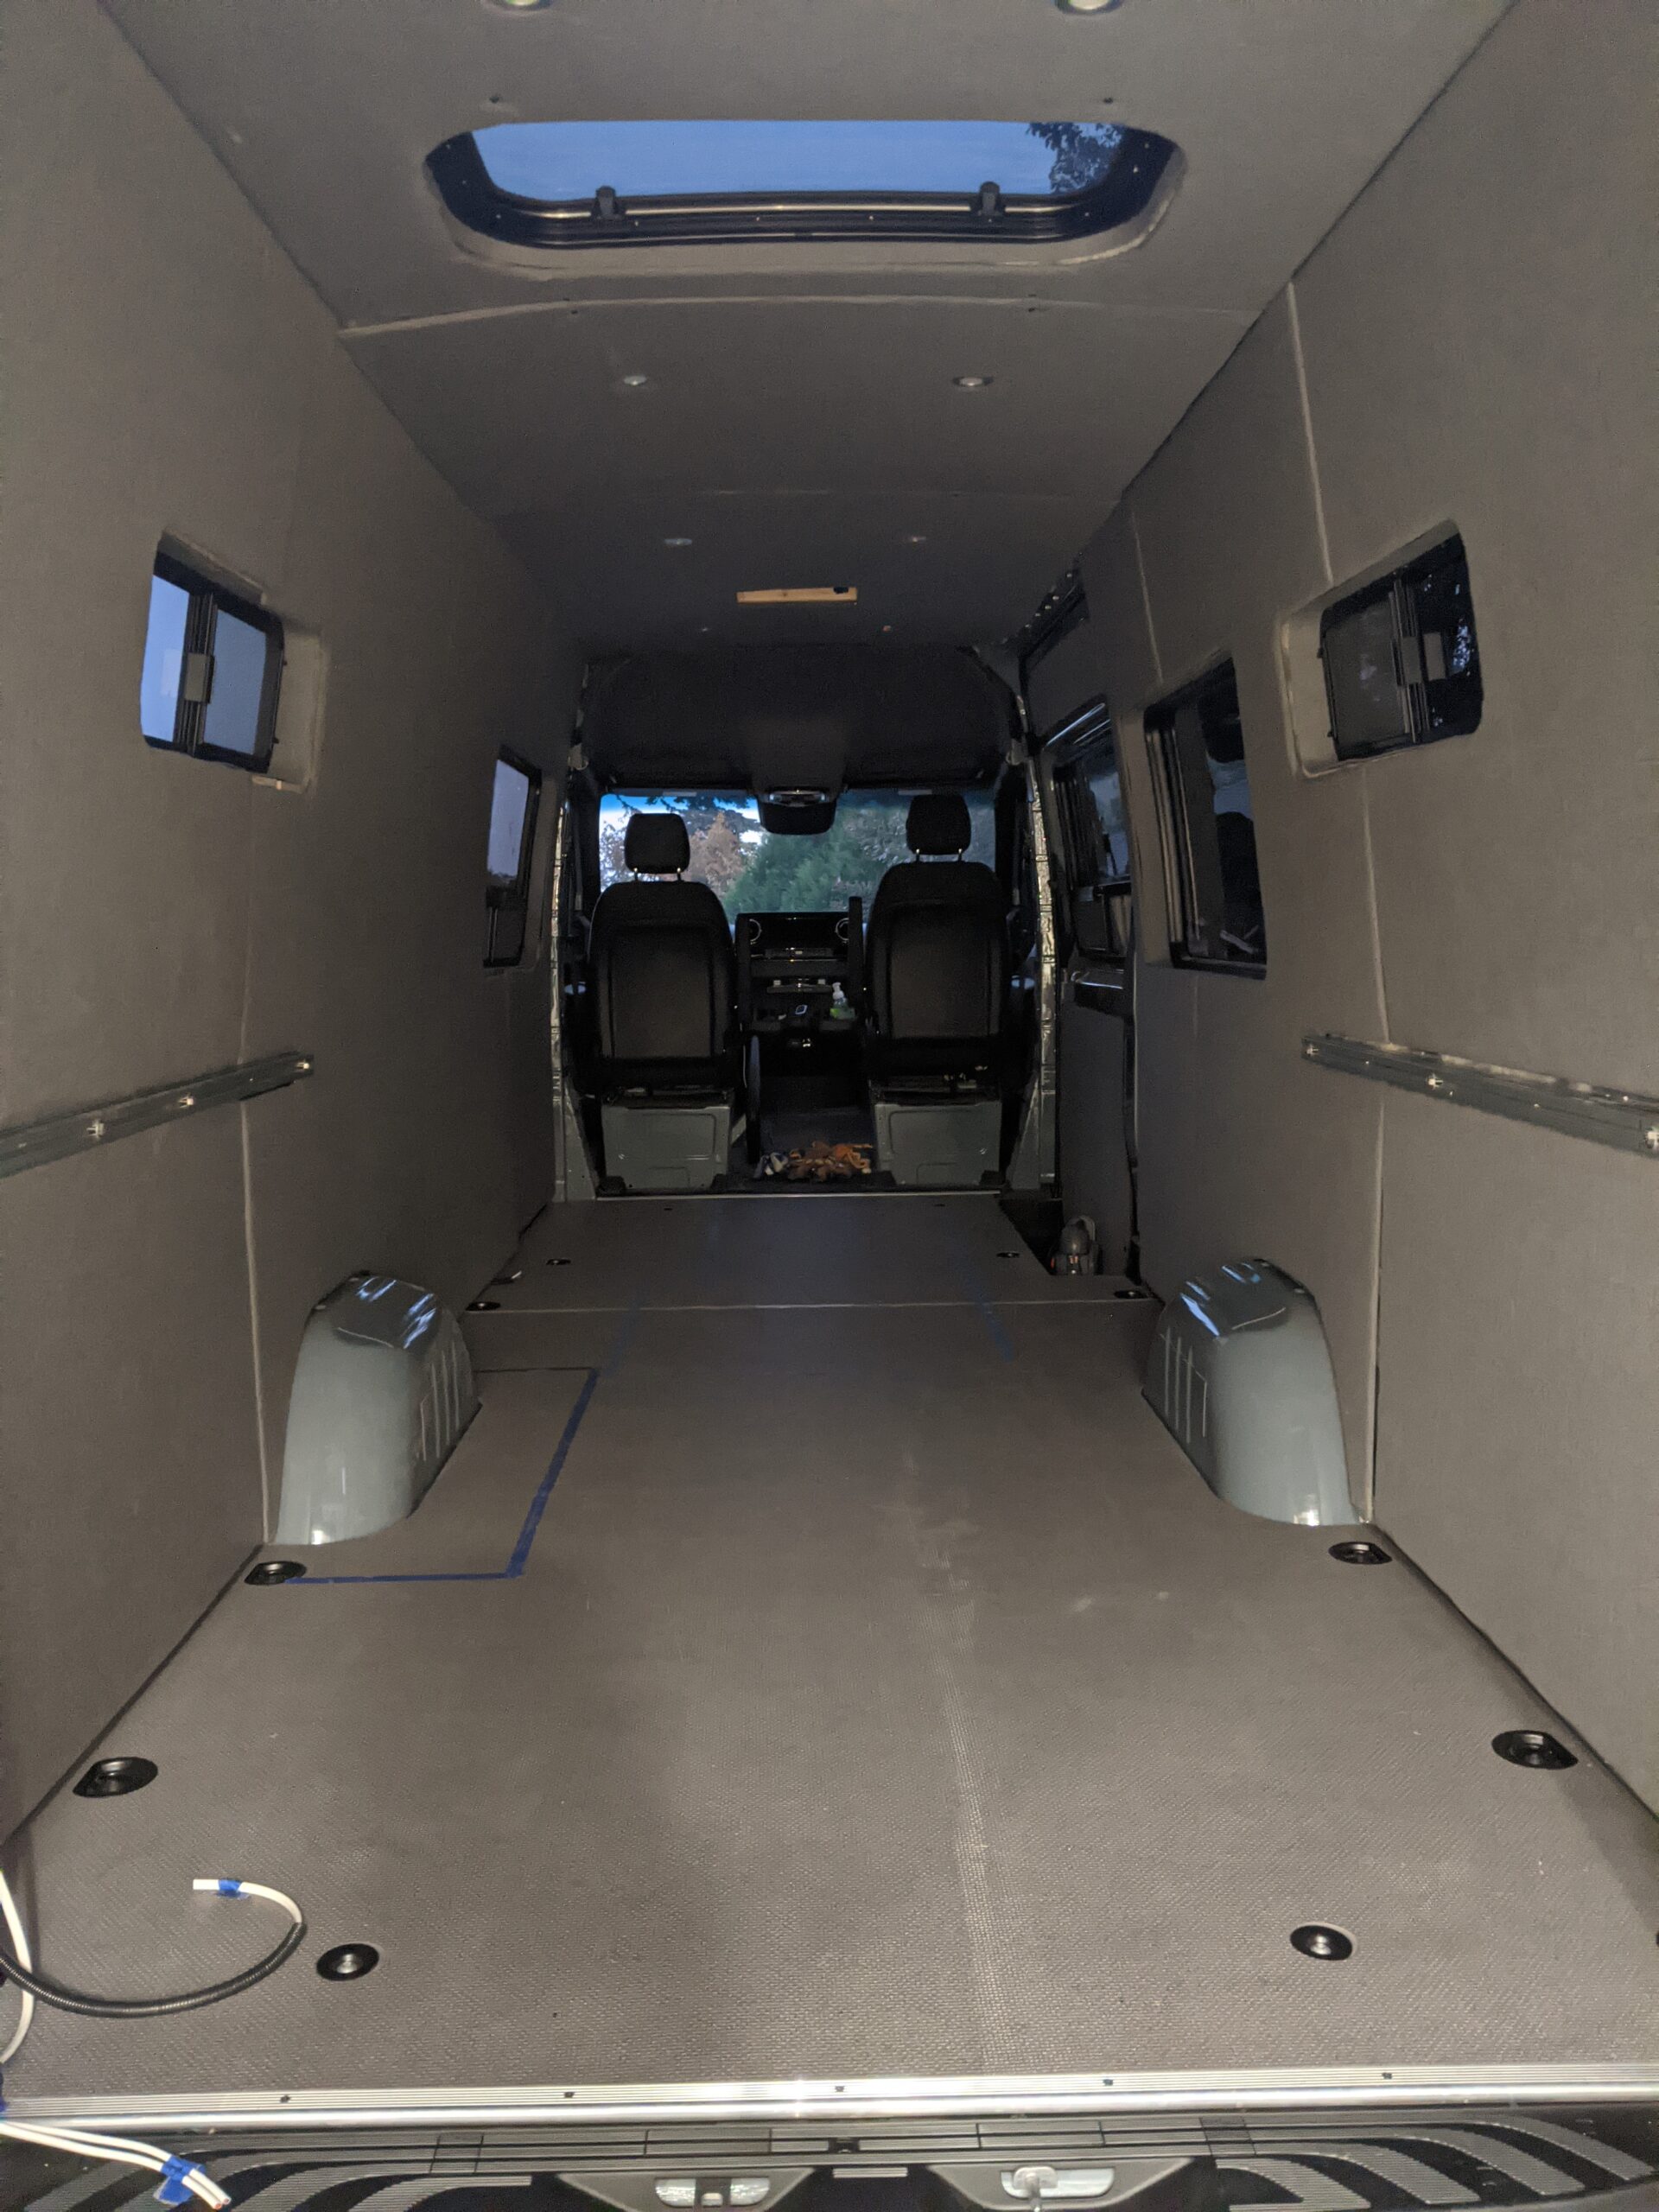
In the Beginning, Bare Walls and a Ceiling Too.
It all started out with researching panels online since I knew I was going to have issues with doing them myself. After a few short searches, I concluded that these folks charge way too much for them and I would do them myself. Again, watched a lot of YouTube videos and tutorials on selecting the right wood panels, glue, fabric, etc., etc., etc.
So, I went out and bought everything I needed and started this big ole project. Soon after I knew I was in for a long stressful adventure. It was still fun and a learning experience, but it did not really turn out as planned. Doing the scribing was not natural for me and it took many tries to get something I was happy with, or that was good enough I suppose.
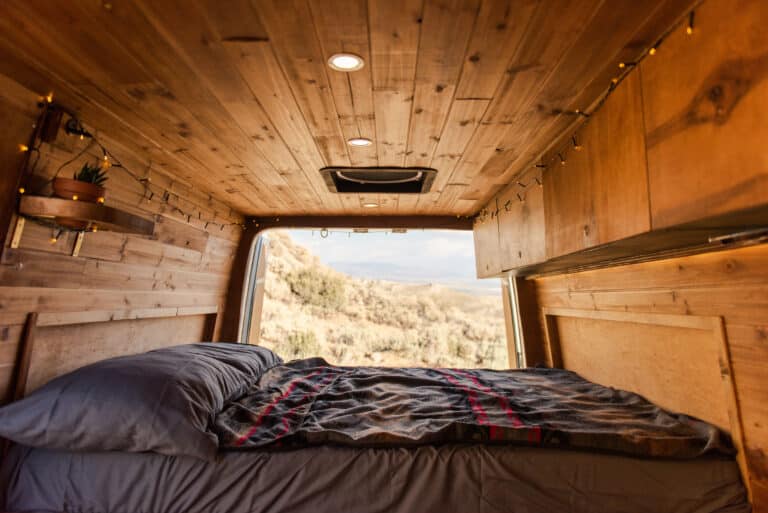
Finally, all the panels for the ceiling and walls were done and it was time to play the part of an upholster. This was fun and something with not much more practice I could get decent enough at. For my own projects of course! When it came to spraying the glue for the foam padding, that was easy, the foam adhered well and looked good when completed. Then it was time to attach the upholstery, this is where it got real.
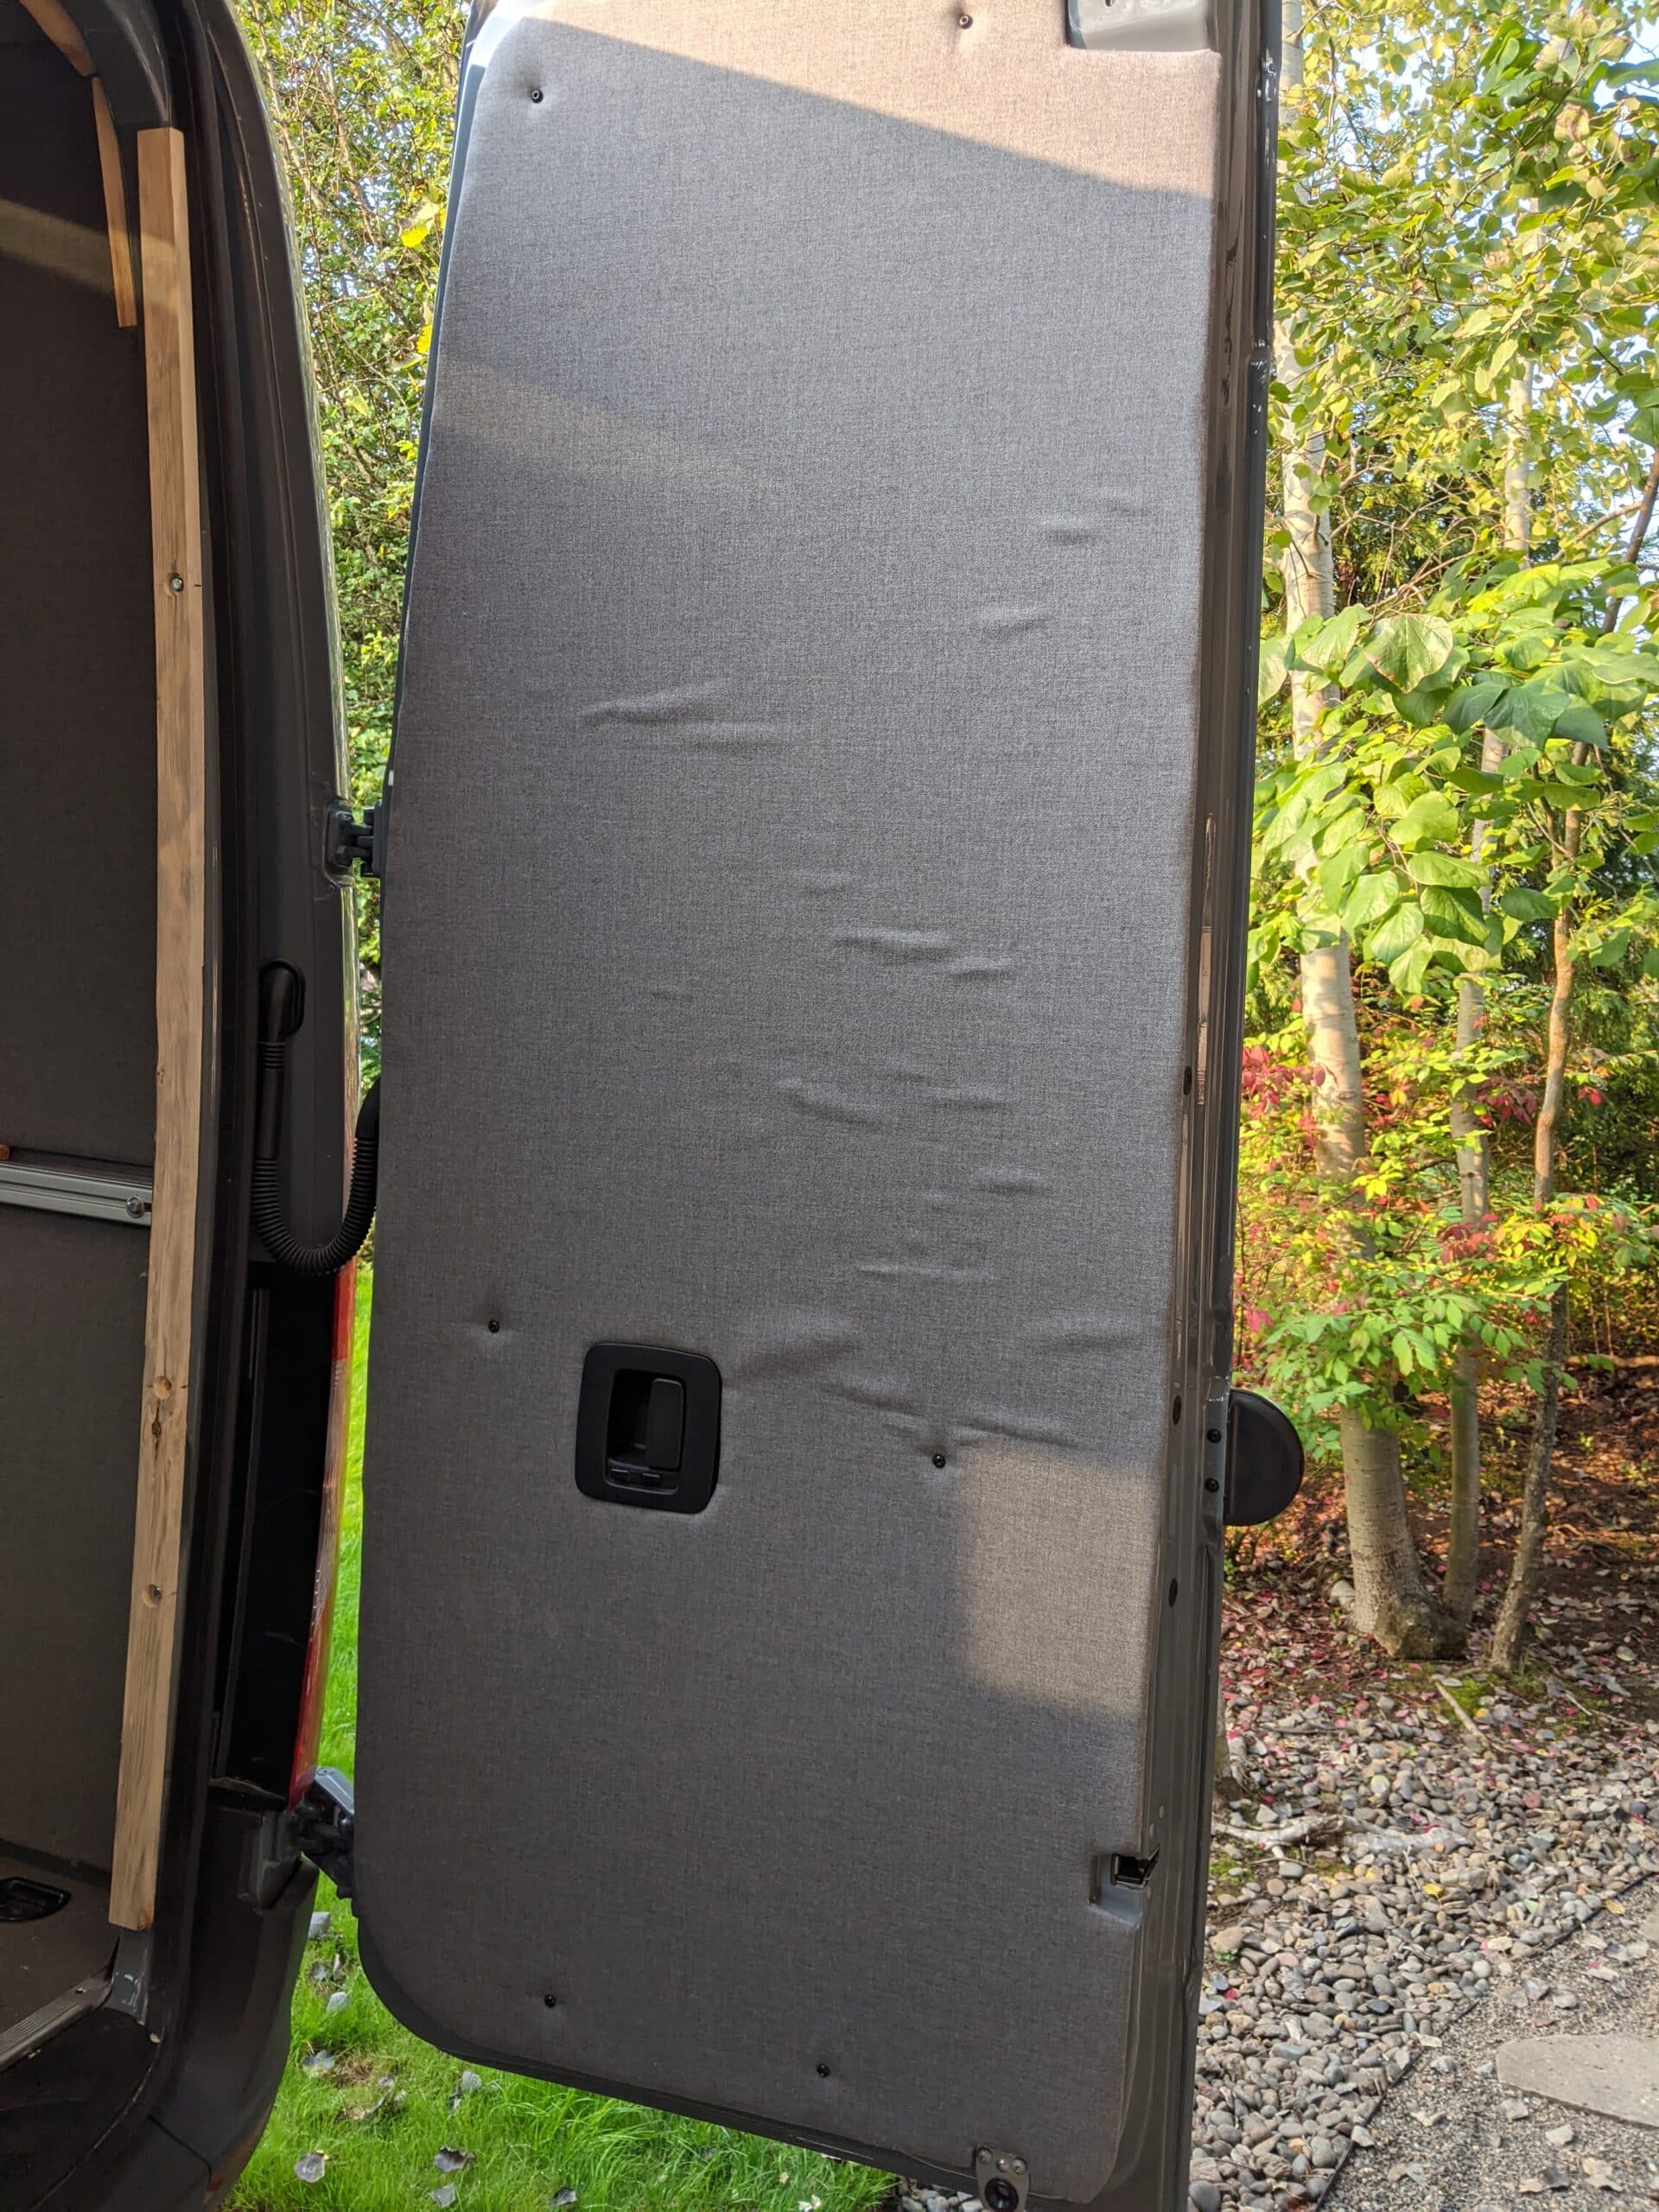
For the first two panels, I guess I sprayed way too much glue, or it was not tacky/dry enough yet to attach the two together. Little wet spots started to show through the fabric, we went with a grey Sunbrella product to make cleaning the walls either and with its flat finish, if there was any moisture on the backside, it showed up on the front side then proceeded to dry in its darkened color state. Seemed like a fine line between how much glue to spray and how long to wait for it to get tacky enough to attach the two together. It did get easier, or so I thought.

After all the panels were done and set aside, it was time to think about how I was going to attach these panels (yes, something I should have previously figured out), I had several ideas. I really did not want to use screws to attach the panels to my furring strips, I wanted a nice clean look. So, my first idea was to use a product that essentially allowed me to snap/pop the panels into place. However, due to the thickness of the furring strips and the depth needed for the little widgets, there was not enough room.
I was not giving up on my clean look idea, so the next attempt was to use magnets. This idea worked quite well. It took some trial and error to find the right size of magnet though, since using the weight method alone was not sufficient when traveling down the road with bumps and such. The panels would shift and fall off. Once the proper size magnets were sourced and installed, it was time to move on. And moving on is just what we did.
I should also mention that a second reason for going with the magnet idea is it was very easy to get into the wall or ceiling if needed. This part I really liked, but in the end, was just not good enough for me/us.
Several months down the road and spending more time in the van, I started to notice little things here and there in the wall and ceiling panels. Gaps, corners not lining up, panels not laying flat, bubbles in the fabric where the glue did not stick good enough. Remember my whole scribe issue, yes, it came back to haunt me. It just did not look good enough to me, and since we were going to be living in it full time soon, I knew I needed to fix it.
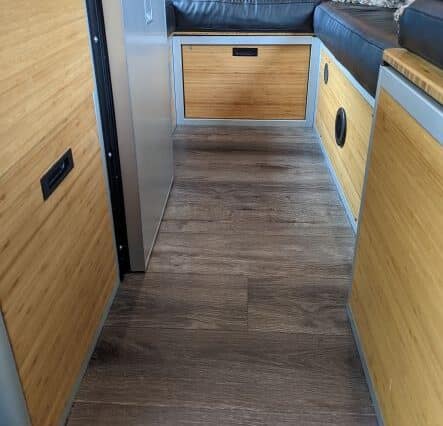
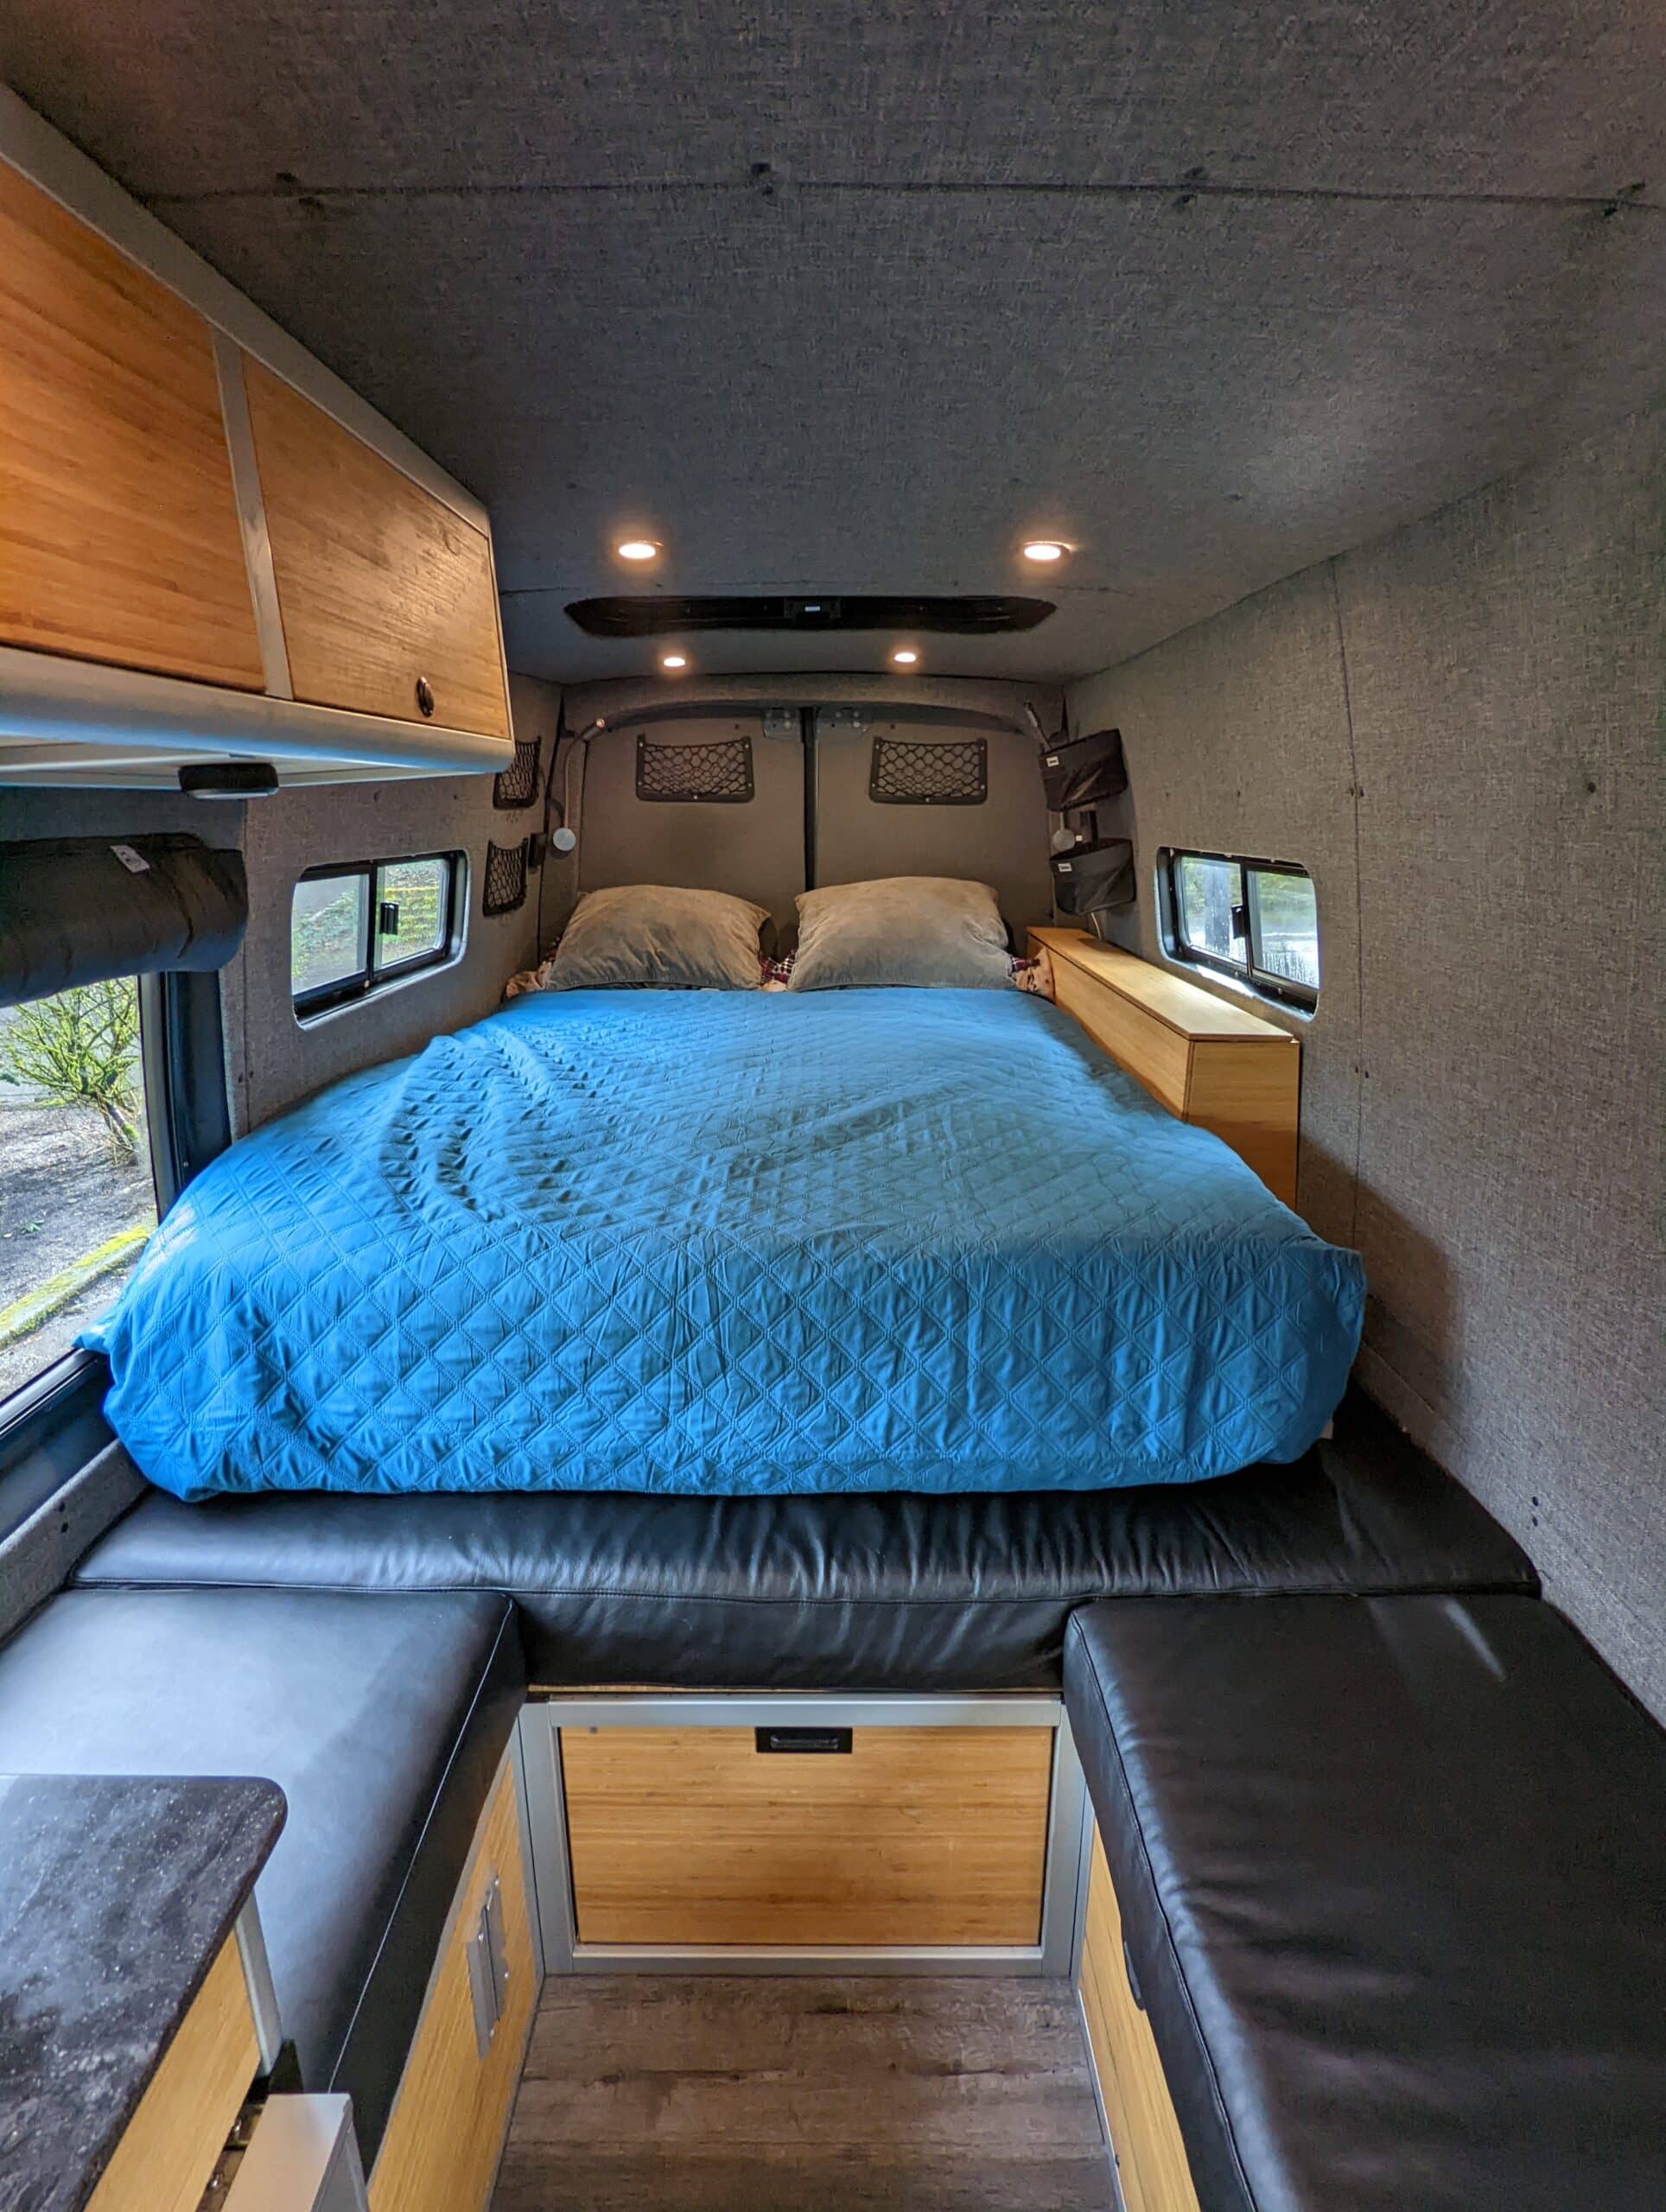
So back to the drawing board we went. Guess what? These companies that sell panels ready to install, as it turns out, it is a really good idea. One major problem though, they only offer one panel (behind the drivers’ side seat) with a window already cut out. So, this meant I was going to have to cut out the windows in 5 of the panels, one of those being for an AC unit. Then the panels need to be upholstered. But this time it was a tweed fabric and was a little more forgiving than the Sunbrella.
These panels are laser cut to the exact lines of the van and pre-drilled with fastener locations, so it made the job of installing them pretty darn easy. Now it is an interior that looks good and I’m happy with it. For that, the cost of them is a moot point.
If I were to give any tips here, I would suggest you really take stock in your skillset when it comes to carpentry. If you have doubts, investigate buying the panels, you can always do your own upholstery. There are also several other options you can go with, we wanted to go with upholstered panels for more of a warmth look that bare or painted wood does not offer.
Conclusion
There are so many options out there, pick what you want to go with and make it work. Nowadays there is probably a company out there that offers what you are looking for if you cannot do it yourself. Who knows, it may just lessen the amount of blood, sweat, and tears you shed in the process.
I would like to send a huge thank you to RB Components. Their panels truly elevated the look of our interior.
Follow the journey from the beginning, Introducing ‘The Van’ a Van Build Series Part 1
See you in two weeks!