Beautiful Mt. Hood: 5 Insanely Easy Alpine Touring Routes
Our content may include affiliate links, through which we earn a small commission on purchases. Want to learn more about us? Read here.
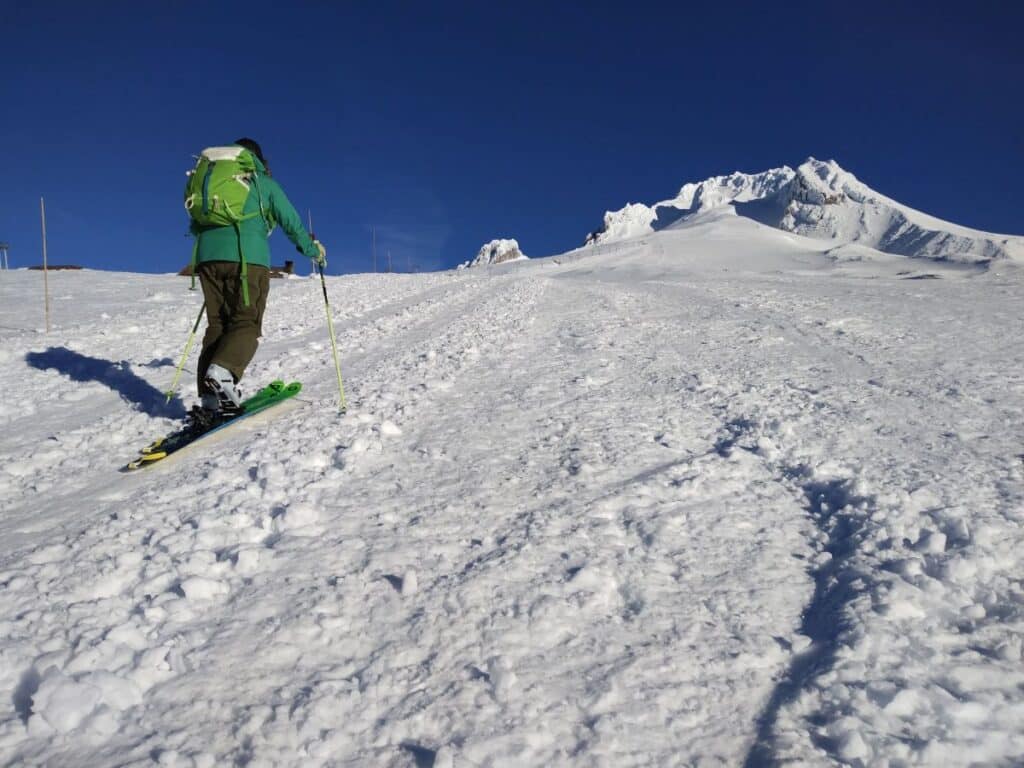
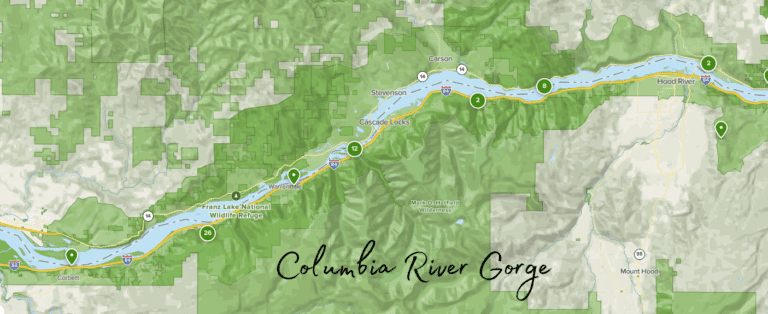
If you’re a skier or snowboarder looking for a new winter sport that is physically challenging and a way to avoid the ever-growing lift lines, then alpine touring may be just what you need. The routes described here are beginner routes, most within a 60-minute drive from Portland, and offer an entry-level option for those exploring the idea of backcountry skiing.
Check out The Beginners Guide to Alpine Touring here for everything you need to know to get started.
Trail Etiquette
We share these trails with various users, so respect and etiquette can go a long way in making an enjoyable trip for all. Remember these routes are in National Forest land, and the Leave No Trace should be followed. Before hitting the trail, plan a route and follow the marked routes. This means the skin track should be set off to the side of the trail and far away from the ski track.
If you are breaking trail, be mindful of those who will come after you by not making the trail too wide or too steep. If you are out of your skis in deep snow, try to fill any divots or postholes and avoid boot-packing the snow, which could be a hazard to other users.
Remember, downhill skiers have the right of way as they will likely be traveling at a higher rate of speed with less ability to stop quickly. Lastly, avoid skinning up the fresh powder you’ll want to ski down.
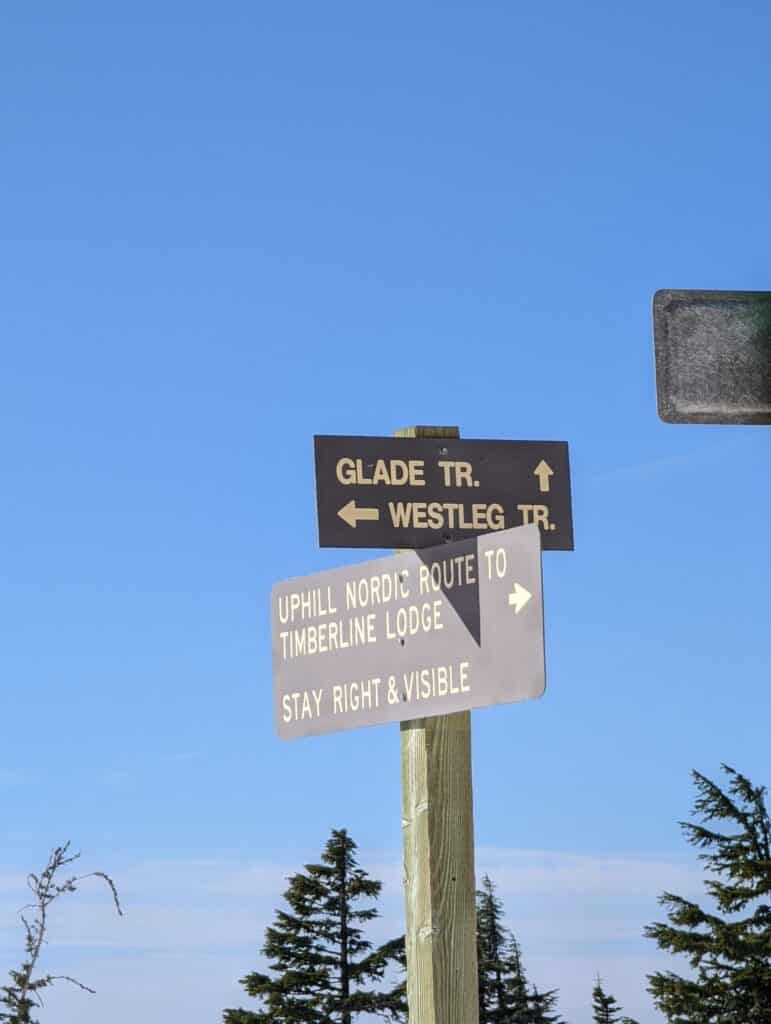
Glade Trail
This out-and-back trail begins at 3819 feet at the junction of the Crosstown Trail and offers a steady incline as you head up the Glade Trail, which eventually terminates at Timberline Lodge.
The trail is in Mt Hood National Forest and is heavily used and shared by alpine touring, downhill skiers, and snowshoe traffic. The best access point for alpine touring is to park in Government Camp and head up Blossom Trail Road to the trailhead.
The starting elevation is at 3819′ and ascends steadily. The first 2.4 miles is a wide swath of cleared trees in a straight shot up the mountainside. At points, there are expansive views of Mt. Hood on a clear day. You will reach the Timberline resort boundary at 5371′, which may be an ideal turnaround spot.
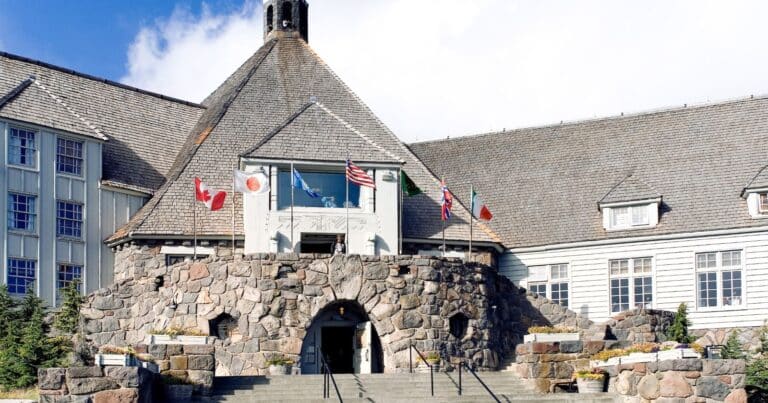
Alternatively, the option is to continue through the ski resort following the marked uphill route and end at the historic Timberline Lodge. This adds another mile to your trek and the final elevation of 5945′.
Silcox Hut and Palmer Snowfield
Silcox Hut is a rustic hut initially constructed in 1938 as a warming hut for climbers and skiers. It is located at 7000 feet and a mile above Timberline Lodge, high on the slopes of Mt. Hood. These days, the hut is typically rented out for group events but still provides an excellent destination for some fantastic summit views.
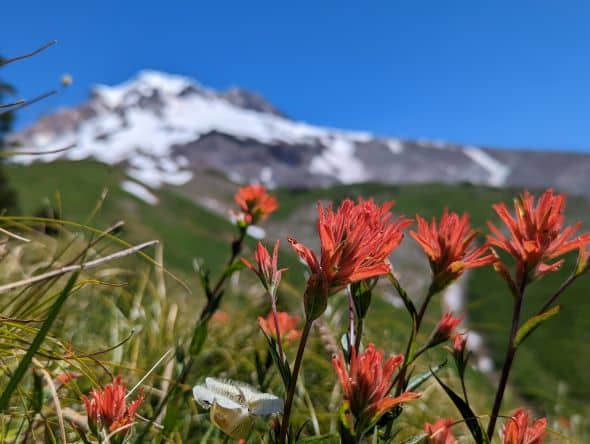
As you climb on a clear day, there is an expansive view of the Cascade Range, including Mount Jefferson and The Three Sisters. The famed Palmer Glacier and Snowfield are directly above the hut on the slopes of Mt Hood. During the summer months, it’s used for downhill skiing.
The alpine touring route up to the hut skirts the ski area’s boundary and is on a snowcat-groomed trail that heads straight up the mountain, gaining about 1100′ in elevation over the one-mile climb. This groomed cat track trail begins just above the White Salmon parking lot and can be found by heading straight up the mountain, veering slightly to the left (towards Timberline Lodge) until you hit the trail.
Then it’s a straight shot up the mountain until you get to Silcox Hut. Continuing up from the hut, the cat track continues up the right side of the snowfield with the final elevation coming in at 8450′, finishing adjacent to the top of Palmer’s chairlift. This trip makes for an excellent predawn tour to enjoy the sunrise from the top of Oregon.
Alpine Trail
This 2.1-mile trailhead starts just above the Summit Pass ski area and steadily climbs from about 4000′ to 6000 ‘ as it enters into the main ski area of the Timberline Resort. Downhill skiers heavily traffic this trail, so please be mindful of trail etiquette. From the Summit Pass ski area, follow the uphill route on the far left boundary side of the ski hill to the trailhead, which is found directly behind the top of the chairlift.
The trail continues gradually until you reach Big Mazama Hill, locally known as “Break Leg Hill,” where the trail steepens as you continue to ascend into the main Timberline Ski Area. Continue to follow the marked uphill route that terminates at the historic lodge. This is a great place to enjoy the expansive views and grab a warm beverage before the downhill ski.
West Leg Trail
This 5-mile trail was the original road that took visitors from Government Camp to Timberline Lodge. The trailhead begins at 4000′ elevation and is accessed from the Summit Pass Ski Area by following the uphill route that skirts the right side of the ski area boundary. Follow the tree line on the trail to the right side of the ski lift.
About halfway up, the ski run merges with the West Leg trailhead, marking the uphill router. Here, the trail begins to climb gradually with long stretches between switches backs and eventually enters the ski area near the base of the Jeff Flood ski lift. This may be an ideal turnaround point, or you can follow the uphill route through the Timberline ski area that eventually terminates at the main lodge.
Tilly Jane Ski Trail
This popular 2.7-mile trail on the northeast side of Mount Hood begins at the Tilly Jane Sno Park within an elevation gain of 1900′ and terminates at the Tilly Jane Shelter.
The trail climbs through the Mt. Hood Wilderness area beginning in a wooded area for the first half mile, then ascends to a ridge where it opens up the area impacted by the 2008 Gnarl Ridge wildfires with views of burned areas of the Mt Hood National Forest.
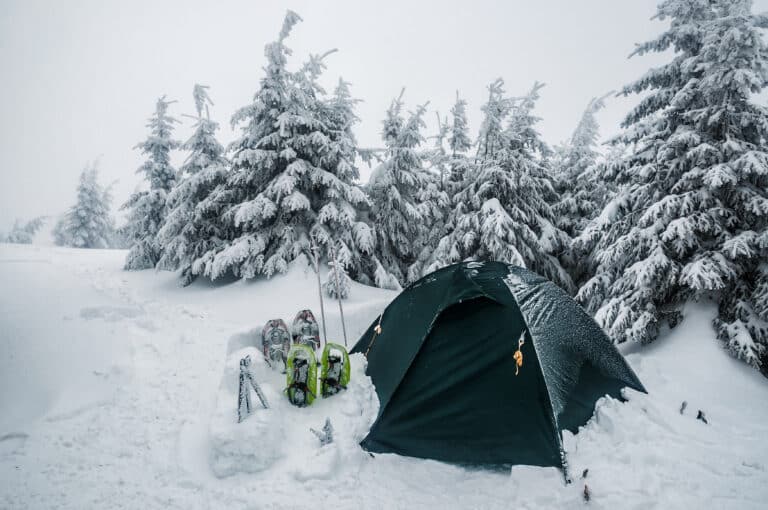
The trail terminates near the Tilly Jane A-Frame shelter, which was built in 1939 and is open for daily use. This rustic cabin is one of the oldest structures on Mt Hood and is available to reserve as a base camp for weekend ski trips.
Frequently Asked Questions:
Q: What specific gear is needed for alpine touring?
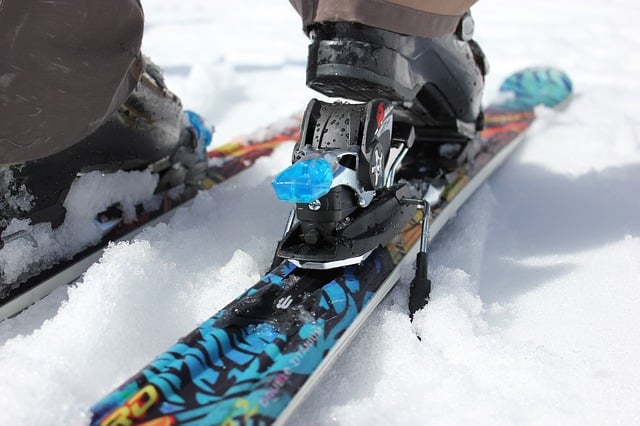
• Skis: Alpine touring skis are typically lighter than regular downhill skis to facilitate uphill travel. They should also have enough width to handle a variety of snow conditions.
• Bindings: Look for specialized touring bindings that allow your heel to lift for climbing and lockdown for descending. There are frame bindings and tech bindings, with tech bindings being lighter.
• Boots: Touring boots are lighter and have a walk mode for easier movement while climbing. They should be compatible with your bindings.
• Skins: Skins attach to the bottom of skis to provide traction for climbing uphill. They should be cut to match the size and shape of your skis.
Q: How do you effectively use alpine touring equipment?
• Skinning Technique: Learn how to attach and detach skins efficiently and practice the kick-and-glide motion used for moving uphill.
• Transitioning: Master the switch from climbing to skiing mode, which involves adjusting your bindings and sometimes your boots and removing skins.
• Downhill Skills: Alpine touring requires good skiing skills, as backcountry terrain can be challenging. Practice turning and controlling speed in various snow conditions.
Q: What are the key safety considerations for alpine touring?
• Avalanche Awareness: Educate yourself about avalanche risks. Take an avalanche safety course to understand snowpack analysis, route selection, and rescue techniques.
• Route Planning: Plan your route carefully, considering the terrain, snow conditions, and weather forecast. Always have a map and compass or GPS.
• Emergency Gear: Carry avalanche safety equipment such as a beacon, shovel, and probe. Also, pack a first aid kit, extra food and water, and layers for changing weather.
• Buddy System: Never ski alone in the backcountry. Skiing with a partner or group increases safety, especially in emergencies.
Before you go:
It’s essential always to exercise caution and be prepared for winter weather conditions whenever you venture into the mountains. Be sure to check the weather and road conditions before heading out, and make sure you are prepared. Look here for Winter Driving Safety Tips & 16 Emergency Kit Ideas.
These alpine touring trips will require a winter Sno-park pass for parking from November 1st through April 30th. Information on where to purchase them can be found here:
https://tripcheck.com/Pages/Sno-Parks-Permits
See you on the trail!