A Full Beginner’s Guide To Alpine Touring
Our content may include affiliate links, through which we earn a small commission on purchases. Want to learn more about us? Read here.
Alpine touring was previously reserved for those extreme outdoor enthusiasts searching for the perfect line and those willing to commit to “earning your turns” by ascending uphill on foot.
Recently, it has gained the attention of a new generation of skiers looking to add another challenge, some variety to their time on the mountain, and offers a way to avoid the increasingly crowded lift lines at resorts. This guide is intended to give a beginner overview of the sport as an initial step to prepare you before you jump into backcountry skiing.
What is Alpine Touring?
Alpine Touring, also known as AT skiing, ski touring, backcountry skiing, or uphill skinning, all describe a type of skiing or snowboarding where the person climbs uphill and then transitions into a downhill manner, which could be either skiing or snowboarding.
Alpine Touring requires special equipment, clothing, safety training, hiking-level fitness, and a love of the outdoors. A minimum intermediate level of downhill skiing or snowboarding with the ability to descend most terrain in various snow and weather conditions safely is required before you consider alpine touring.
Where to Begin?
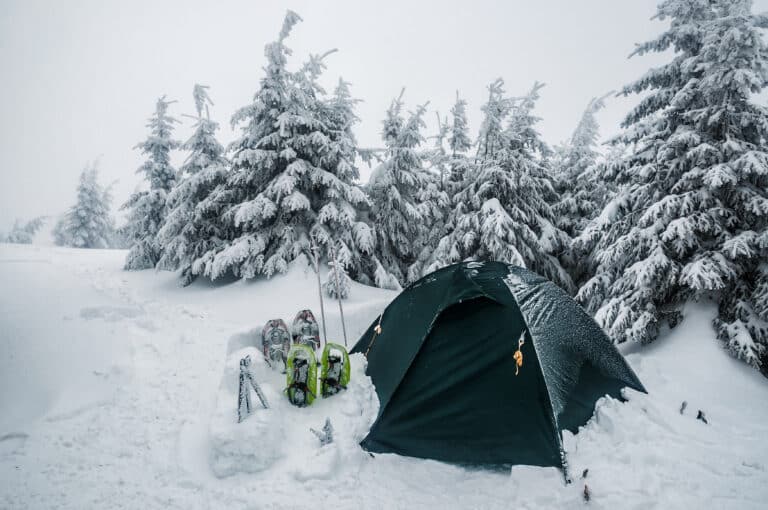
For this beginner’s guide, we recommend you test the waters of alpine touring within the bounds of a controlled ski area. More and more ski resorts allow uphill traffic routes that often skirt the resort’s boundary or ski runs.
This is a great starting place for a beginner to learn while still being within reach of facilities, aid, or other support. Ski resorts monitor and mitigate avalanche conditions, which you must be trained on before moving your ski tours into the backcountry.
What to Wear?
The typical downhill ski attire doesn’t cut it when you are alpine touring. You will find your body temperature warms rapidly when you are climbing. You perspire and quickly cool down when you take a break or transition into downhill mode.
For these reasons, dressing in layers is required, with extra layers and gear in your day pack.
Base Layer
Your trusty companion from the very beginning of your adventure! It’s the absolute essential layer that sticks with you throughout, ensuring unmatched breathability and moisture-wicking capabilities. Say no to cotton fabrics for your base layer!
They might cling to moisture, but fear not! We’ve got you covered with materials that swiftly whisk it away from your body, keeping you feeling fresh and ready to conquer any challenge that comes your way!
Prepare for your adventure with the perfect base layer, your ultimate ally!
Let me tell you about the wonders of wool! It’s my personal favorite, and for good reason. Not only does wool provide incredible warmth, but it also can wick away moisture and dry up in a flash, even when it’s soaked!
But wait, that’s not all! Synthetic base layers are here to save the day too, offering the same fantastic features as wool. You have so many options to choose from!
Now, let’s dive into the perfect fit! Your base layer should embrace your body snugly, like a second skin. Don’t worry, though! It won’t hinder your movements in the least. We’re discussing finding that sweet spot where comfort and functionality unite perfectly.
Get ready to revel in the sheer delight of a base layer that keeps you snug, dry, and unbelievably comfortable as you embark on your magnificent adventures! It’s a game-changer, my friend! Say hello to cozy perfection!
Middle Layer
Behold, the marvelous insulation layer! It’s the layer that comes to the rescue when your body temperature starts soaring. Just remember to leave some space in your pack to stow away this layer once you start feeling the heat.
So, what options do you have for a trusty middle layer? How about a cozy wool flannel, a snug fleece jacket, or a versatile soft shell? These choices will have you covered in style!
Now, if you’re facing frosty temperatures, brace yourself for the power of a down layer as your middle savior. But here’s a word of caution: the warmth provided by down material is astounding, so prepare to heat up swiftly!
Keep in mind that perspiration may dampen your down layer, so be mindful of that. Adaptability is key in your layering game, with these tips, you’ll conquer any weather conditions with ease!
Outer Layer
Get ready for the ultimate shield against nature’s forces! Behold, the formidable outer layer. When it comes to this layer, waterproofing is an absolute must. For all you snow sports enthusiasts out there, breathable and waterproof ski pants are the perfect choice. They’ll keep you dry and comfortable, allowing you to conquer the slopes with style!
Now, let’s talk about selecting the perfect ski jacket. It’s crucial to prioritize freedom of movement while on the trail, so keep that in mind when finding your ideal fit. You want to be able to move with grace and ease. Remember, the outer layer goes over the middle and base layers, so sizing up might be a smart move to ensure ample room for all your layers to coexist harmoniously.
Prepare yourself for the ultimate defense against the elements, my friend. With the right outer layer, you’ll conquer any outdoor challenge with confidence and style. Let’s embrace the great outdoors and unleash our adventurous spirit!
Eye Protection and Sunscreen
Allow me to emphasize the importance of safeguarding yourself from the sun’s potent UV rays, especially at higher elevations where their intensity is magnified. The reflection of the snow can lead to snow blindness, making proper eye protection an absolute must. But that’s not all! Remember to prioritize the well-being of your lips too by using SPF lip protection. We’ve got you covered!
Speaking of eye protection, if you’re on the hunt for top-notch goggles, look no further than our esteemed collection of the Best Ski Goggles. We’ve curated a list of exceptional options that will keep your vision crystal clear and your eyes shielded from any blinding glare. Gear up, my friend, and bask in the glory of optimal protection as you conquer the snowy slopes. Safety and style go hand in hand, after all!
Day Pack Gear
As with any hiking trip, there is a minimum level of the required gear, which is the same for alpine touring. Make sure your day pack is packed with The 10 Essentials to start. You should also carry any additional layers your need for downhill skiing, a helmet, goggles, etc.
You may consider carrying extra gloves, hats, or insulation layers too. Depending on the length of your trip, extra food, snacks, and carry plenty of water.
Lastly, you will want to ensure adequate space remaining in your pack to hold any gear you remove when you transition to downhill mode, including your climbing skins.
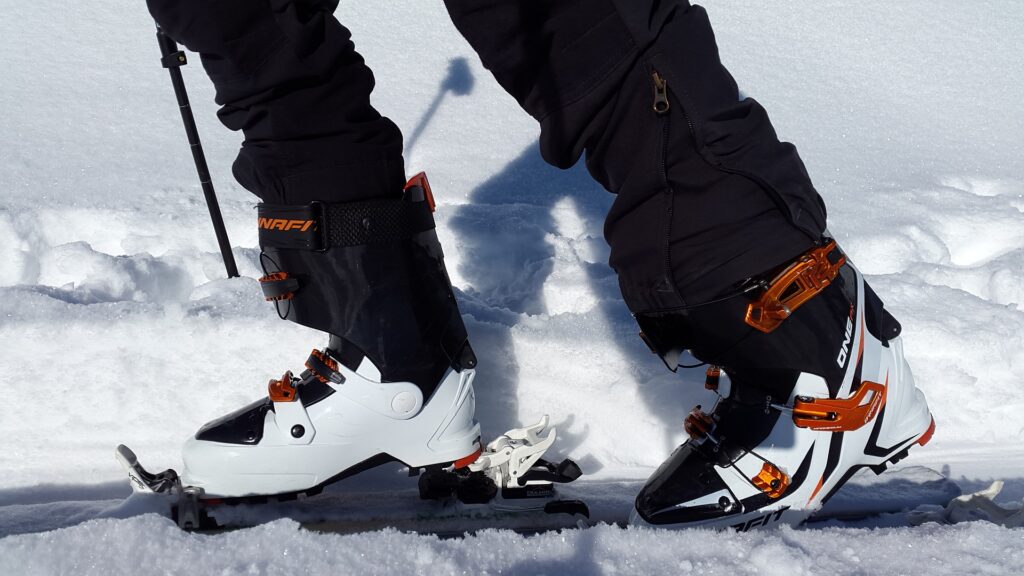
Touring Boots
Alpine touring boots differ from traditional ski boots in several ways. First, they have a molded slot on each side of the toe piece to receive the binding pins when climbing uphill.
Alpine touring boots are typically lighter, made of a more flexible boot shell, and have additional closure hooks to allow for a comfortable walk mode. They also offer a lug-style rubber sole with rocker shaping for better grip and a more natural step.
Touring Skis and Bindings
Backcountry skis will vary significantly by skier and the ski conditions you find yourself in most. For most backcountry skiers, you will find yourself in various skiing, snow, and terrain conditions, and the most versatile ski is a good starting place.
A lightweight ski for efficient climbing without excessive physical exertion is best without going too light that performance is lost on downhill skiing. Ski length is also something to consider; wider and longer skis are better on powder days or if you plan to have a heavy pack. However, shorter skis offer easier maneuverability and agility for tight chutes.
Alpine touring bindings differ significantly from downhill bindings with one major differentiator. They offer a more ergonomic and efficient way to climb uphill. There are many variations of these bindings on the market, including those ultralight options for serious mountaineers and hybrid (including hybrid ski boots) options for resort skiing, with new and improved versions coming out yearly.
These bindings generally offer a climbing or walk mode and a ski or downhill mode. The climbing mode attaches with a toe pin that pivots with a free heel. They will also have heel risers to keep your foot neutral while climbing steeper pitches. Downhill mode is a fixed toe and heel with brakes comparable to a typical downhill ski binding.
Climbing Skins
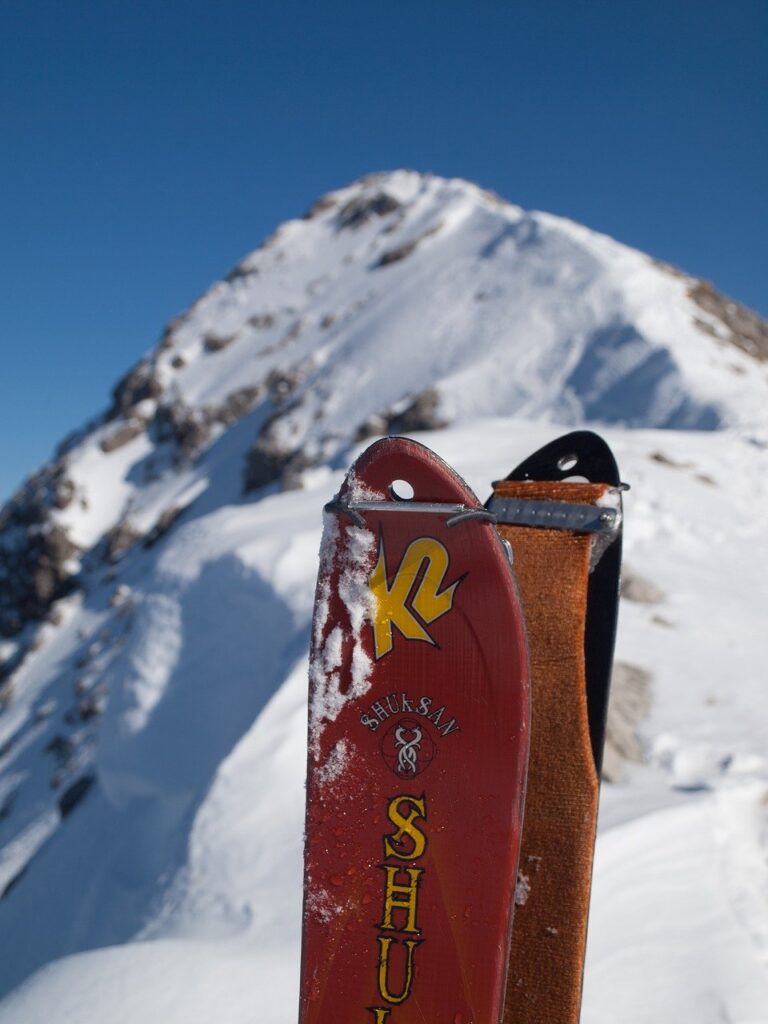
Climbing skins are strips of synthetic material cut to size which attach to the bottom of your skis with an adhesive. They are called skins because they were previously made from animal skin, often Sealskin but now are a synthetic material. The strips are designed to allow the ski to slide forward but not backward, allowing for uphill travel gain without slipping back and often on steep pitches.
They are designed to be removable so one can transition to downhill skiing after their climb. Putting on your skins with fluency will take some time and practice. They should be attached beginning at the top of the ski tip with a hook, then stretched tightly and adhered to the middle of the ski, avoiding hanging over the ski edge, and then attached tightly with the tail strap.
Temperature can affect the stick of the adhesive. If you notice they aren’t adhering well, warming them up may help. Keeping your skins clean will help extend its life and avoid traction issues that can occur when your skin isn’t secured correctly.
Trekking Poles
An adjustable-length trekking pole set with powder snow baskets is best and can easily attach to your day pack for your descent if you use a split board setup. Poles benefit both the uphill and downhill portion of your ski touring.
The uphill should be shorter to provide balance and leverage and reduce the workload on your legs while climbing. Your poles should be adjusted to a longer length for downhill to provide balance and stability and help set the timing of your turns.
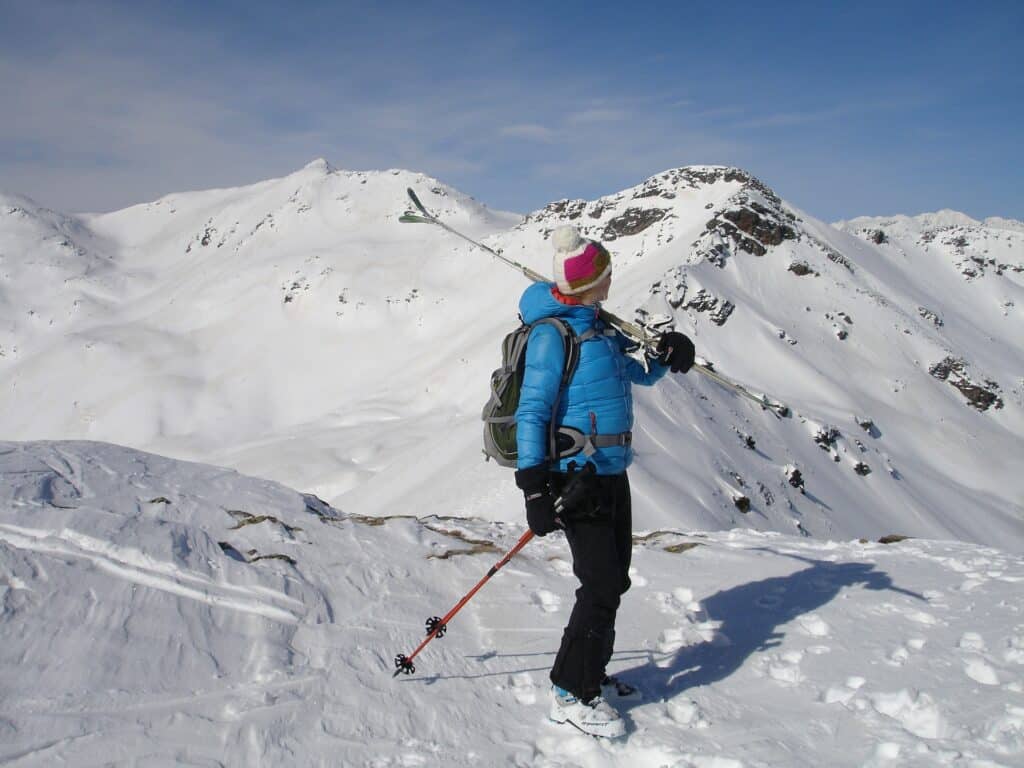
Splitboard Set-up
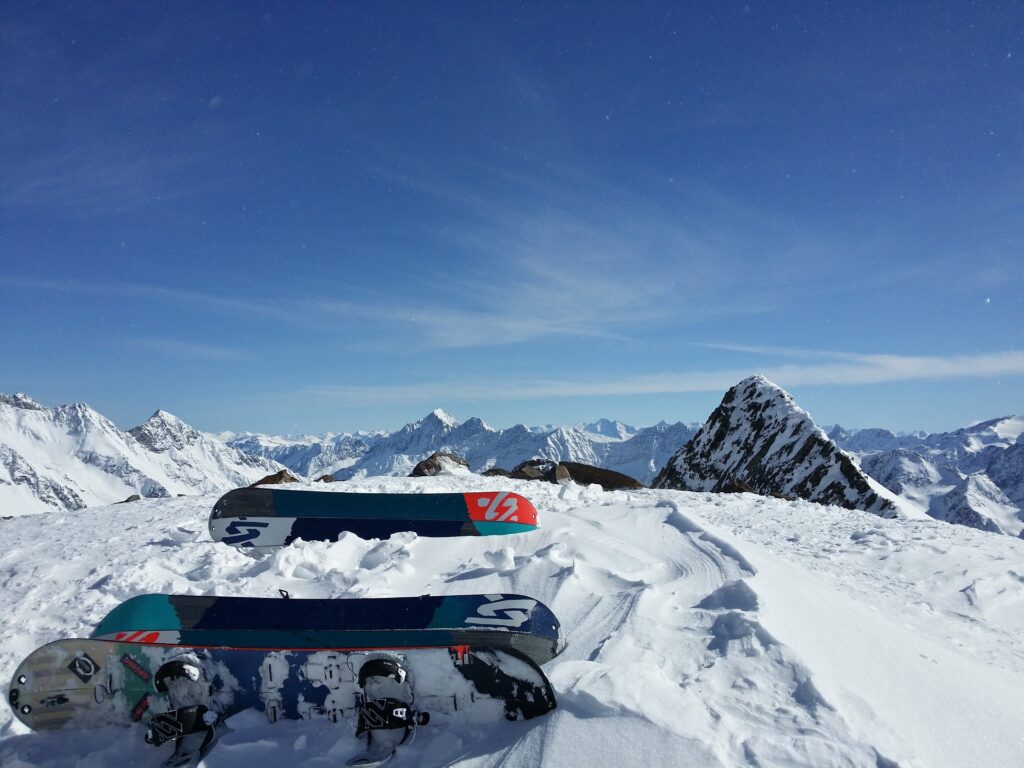
A splitboard is a snowboard that has been split in half lengthwise to become two skis for uphill climbs with climbing skins while alpine touring. Then, it easily attaches back together as a snowboard for the downhill portion of the ski tour.
Outfitted with bindings that rotate for uphill climbs and back to a traditional snowboard set up for the downhill. Splitboarding is how a snowboarder gets access to the backcountry.
Alpine Touring and Uphill Technique
Before heading up the hill, it’s essential to familiarize yourself with your gear so you don’t find yourself out in the elements fumbling with cold fingers. Pay particular attention to how to apply your climbing skins and how your bindings work, which will go a long way and reduce frustration on the mountain.
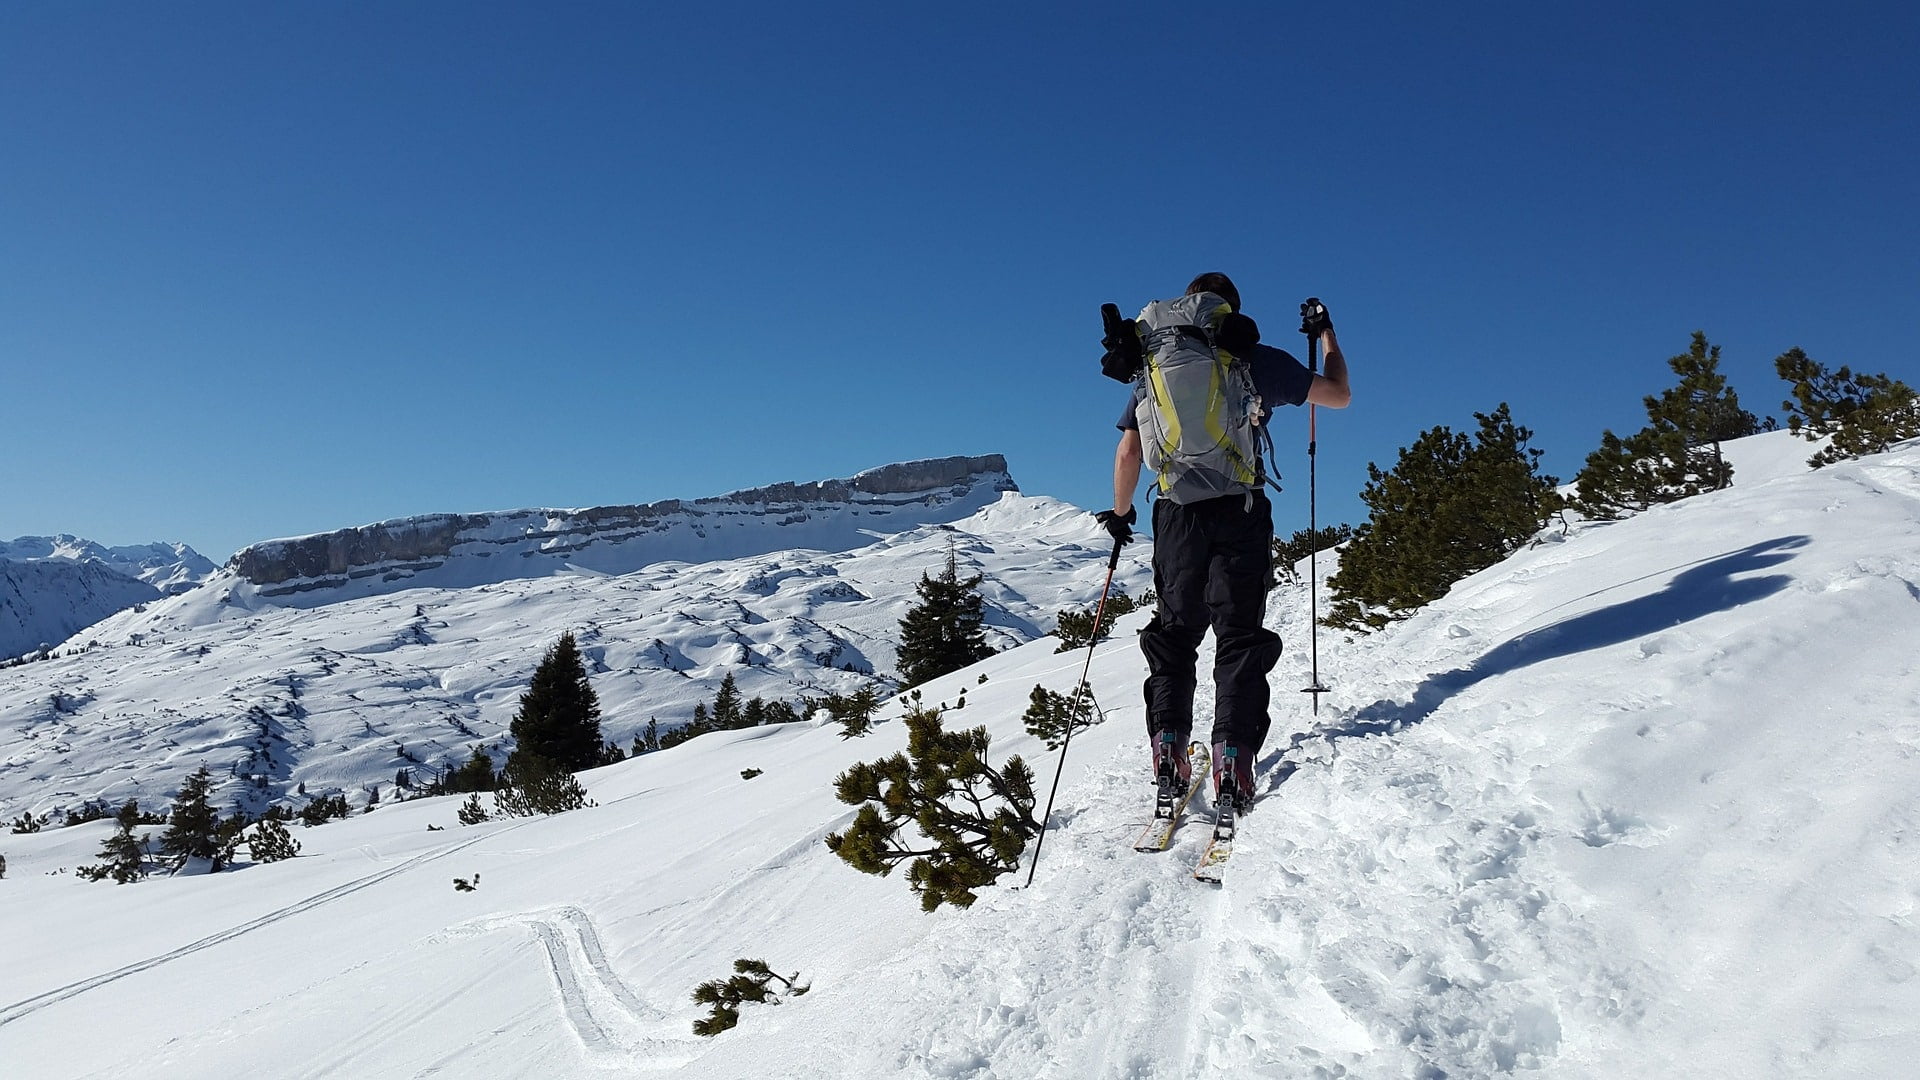
Skinning uphill is most similar to cross-country skiing. The striding motion should feel like a glide without lifting your ski. Lifting your heel and pulling your toes across the snow with each stride will help reduce the urge to lift your foot, wasting energy.
Take each step independently with a solid ski placement and focus on pulling the ski rather than pushing it up the hill. Utilize the heel risers to adjust for the steepness of the terrain. There are generally a few different heel riser height options to offer something at each slope pitch to neutralize and limit leg strain.
After your climb, you must remove your skins and stow them in your bag as you switch to downhill mode. They should stick sticky sides together, rolled up, and ideally dried between uses. Also available is a skin-saver product that goes in between your skins; it makes it a little easier to peel them apart.
Know the Hazards
As with any sport, alpine touring is no exception to inherent risks that should be taken very seriously. In this guide, we recommend the beginner alpine touring skier start within the boundaries of a patrolled ski area. This doesn’t mitigate the risks associated with alpine touring but does put you closer to assistance if needed.
The risks include tree well hazards; if you get too close to the base of a tree, you are at risk of falling, potentially not being able to get out on your own, or in deep snow, suffocation is possible. Other hazards include buried rocks, creeks, overhead snowfalling, or even an avalanche. Heading out with a buddy is a great way to share your experience and have someone there if you run into trouble.
As you gain experience with alpine touring, you will likely look into backcountry trips. Before heading into the backcountry, ensure you are properly educated with an avalanche safety course, basic first aid training, knowledge, and tools to keep you safe. Contact your local mountain and outdoor shop for additional training or guided trips.
Be prepared for winter driving conditions. Before you head out, be sure to check the current road conditions and traffic reports and if any hazardous weather is expected. Lastly, make sure your car is prepared for driving in winter weather or ready for a roadside emergency. See this post for tips on Winter Driving and Emergency Kits.
Frequently Asked Questions:
Q: What equipment do I need for alpine ski touring as a beginner?
A: As a beginner in alpine ski touring, you’ll need essential gear like alpine touring skis with touring bindings, climbing skins, ski boots designed for touring, adjustable ski poles, and a backpack to carry your avalanche safety equipment (transceiver, probe, and shovel).
Appropriate clothing for varying weather conditions, including waterproof and breathable layers, is crucial. As you progress, you may also consider investing in climbing crampons and an ice axe for steeper and icier terrain.
Q: How do I transition from downhill skiing to alpine ski touring?
A: Transitioning from downhill skiing to alpine ski touring involves learning specific techniques and safety considerations. Start by taking an introductory course to understand basic touring skills, including skinning uphill, kick turns, and efficient transitions.
Practice these skills on gradual slopes before attempting more challenging terrain. It’s essential to become familiar with your touring equipment, understand avalanche safety, and develop navigation skills. Gradually increase the difficulty of your tours as you gain experience and confidence.
Q: What are some safety considerations for beginner alpine ski tourers?
A: Safety is paramount in alpine ski touring. Beginners should focus on the following:
Avalanche Awareness: Learn how to use avalanche safety equipment (transceiver, probe, and shovel) and take an avalanche safety course. Check local avalanche forecasts before heading out.
Navigation: Develop basic navigation skills using a map, compass, and/or GPS device. Be familiar with the terrain and potential hazards.
Weather Conditions: Stay informed about current and forecasted weather conditions. Be prepared for changing weather and temperature fluctuations.
Fitness Level: Assess and build your fitness gradually. Alpine ski touring involves both uphill and downhill components, so a good level of cardiovascular fitness is essential.
Communication: Always inform someone about your plans, including your intended route and estimated return time. Carry a communication device in case of emergencies.