How To Ski: Learn The Skills For Success On The Slopes
Our content may include affiliate links, through which we earn a small commission on purchases. Want to learn more about us? Read here.
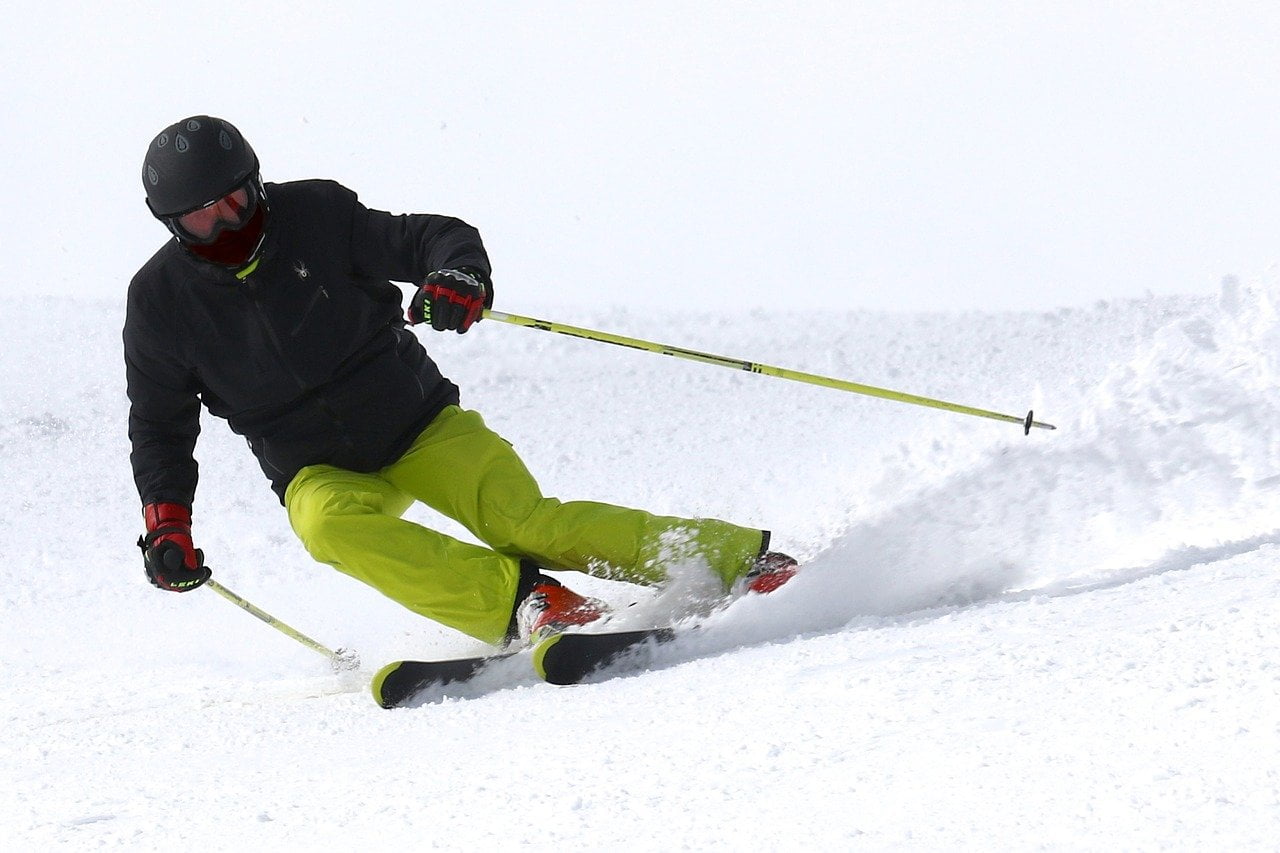
Why is skiing great? Why should I learn how to ski? Skiing offers a way to connect with nature and enjoy the outdoors in winter! It’s fun to glide across the snow-covered slopes, breathe in the crisp mountain, and challenge our bodies. Skiing opens the doors to traveling to new places, experiences, adventures, and people.
It’s a great way to connect with new people or deepen your relationships with new shared experiences. Best of all, it’s a great full-body workout, building your strength and endurance.
In the most basic form, skiing is attaching two skis or flat boards to your feet to glide across the snow. The practice of skiing has been around for centuries, and some historians even date it back to over 5,000 years as an early mode of transportation.
These days, it is primarily seen as a winter recreational and competitive sport. Three general types of skiing include downhill alpine skiing, nordic/cross-country skiing, and telemark. This beginner’s guide will comprehensively overview downhill alpine skiing and how to get started.
As winter sports go, downhill skiing may have the highest barrier to entry for a few reasons. Like any sport, skiing is a learned skill that requires practice and commitment most beginners won’t pick up on their first day.
Becoming an expert skier may take years of consistent practice. It also requires a lot of gear, which can be expensive, and there is the cost of resort lift tickets and lessons. But don’t let this discourage you. Skiing can be learned at any age, and lessons will help speed up that process.
Professional lessons are highly recommended to get a foundation of the basics to start and to develop your skills further as you have more experience skiing.
What is Some Skiing Vocabulary?
Like most sports, skiing comes with its only language, and that list grows yearly with innovation and changing trends. Below are some basic terminology and definitions to help build your knowledge base.
Definitions
Skis– a pair of narrow flat boards made of metal, wood, or plastic for gliding over snow.
Ski Bindings– a mechanical attachment fixed to a ski used to grip a ski boot with a locked toe and heel in place while skiing and release during a fall.
Ski Poles– a slender pole or stick typically made of aluminum or carbon fiber designed with a grip and strap at the top and a basket at the base to prevent the pole from sinking into the snow.
Ski Boots– footwear used in downhill skiing is made of a rigid shell with a thick sole and heavy supportive cushioning that rises to mid-calf height. Designed to be attached to skis with binding
Lift (chair lift, gondola, tram)- an aerial way to mechanically move skiers up the ski slope with continuously moving cable with a series of attached seats, cars, or enclosed cabins
Rope Tow– a surface lift used to move skiers up the ski slope by grasping an endless rope that is looped and motor-powered.
Magic Carpet– a conveyor belt that skiers walk onto and transports them up small slopes. Typically used by beginners.
Lift ticket – an indicator visibly attached to skiers’ outwear showing they have paid for access to the ski lifts.
Bunny Hill– a beginner ski hill with a gradual incline often serviced by a rope tow or margin carpet.
Snowplow– a beginner ski skill where the skier points both together in the shape of a wedge with the inner edges of the skis pressed into the snow to control speed or stop
On-piste or Groomed run– marked trail or ski run where the snow has been packed, leveled, and smoothed by machinery.
Off-piste– an off-trail run through trees or with natural unmaintained snow.
Bar up/Bar down– Ski language refers to the chair lift safety bar. Bar down references bringing the bar down after loading on the lift, and bar up is used just before unloading.
Where and when to ski?
There are several things to consider when choosing a destination for your first ski trip.
- Location and how you will get there.
- Will your trip require overnight accommodations?
- What services do they offer beginners, such as package deals for rental gear, lessons, and lift tickets?
- Do they have private terrain for beginners or lifts that run at slower speeds that have operators trained in helping beginners?
- What other services does the ski resort offer, such as rental gear, lessons, ski locker rooms, parking, restaurant, ski shop, etc.?
- What are the expected conditions when you go? This one is undoubtedly harder to predict, but as a beginner skier, it’s easier to learn on a clear day with soft snow.
What to wear?
Base Layer
As it sounds, the base layer is the first layer you put on, generally the one that always remains on. This is also the essential layer for breathable and moisture-wicking material.
Avoid cotton fabrics for the base layer, as they will absorb moisture and not move it away from your body.
Wool is preferable for its warmth and moisture-wicking and dries quickly when wet. Several synthetic base layers have many of these same features. The fit of your base layer should be snug but not restrictive.
Middle Layer
This layer is your insulation layer and should be adjusted for the current temperature and conditions where you are skiing. A middle layer could be a heavier wool shirt, fleece jacket, or down jacket. Remember that you typically cool when on the chairlift and heat up while skiing.
Outer Layer
This layer is your last defense against the elements. It needs to be waterproof, windproof, and breathable. When selecting a ski jacket for fit, it’s important to remember you want to have a full range of motion to move while on the trail.
The outer layer of ski pants will cover the middle and base layers. This means you may want to size up to allow for the layers. Options considered when shopping for ski jackets included hoods, reinforced zippers, extra inner and outer pockets, and venting zippers.
Socks and Gloves
Ski socks made of wool to provide warmth and cushion and will pull moisture away from your feet are best. Ski socks are tall to go above your boot and have extra cushioning on the sole and shin for added comfort in ski boots.
Gloves or mittens specific for skiing are ideal. Typically, they are made of leather or a waterproof synthetic material with ample insulation, and some have removable liners for additional warmth. Gloves with wrist strap features are handy to keep your gloves secure when you’ve taken them off and reduce the risk of dropping them in the snow.
Hat, Neck Gaiter, and Balaclava
A warm ski hat or beanie should be part of your standard gear and adjusted for current conditions. Look for something that has a good fit and isn’t bulky, so it won’t fall forward, down over your eyes or be uncomfortable under a helmet. Ski hats can be worn alone or over a balaclava for extra warmth.
Neck Gaiters or balaclavas, full hooded ski masks, and neck coverings add warmth and extra protection from the elements and can be the difference to make or break a ski trip during extreme winter weather. Personal preference may be the deciding factor on which is best for you.
Helmet and Goggles
A helmet designed explicitly for skiing (and snowboarding) is necessary for safety but also provides another layer of warmth and protection from the elements. Skiing is an inherently hazardous sport with a high likelihood of falling, especially for beginners.
There’s no question a helmet can be lifesaving; it provides a layer of cushion to make those inevitable falls easier to bounce back from, making the learning process easier.
Ski goggles are required pieces of gear often sized to fit seamlessly against a helmet for warmth and protection from the elements. They provide UV eye protection, prevent snow blindness, and protect eyes from snow in the air that can be painful should it get in your eye.
Sunscreen and Lip Balm with SPF
These are both a must to protect you from the sun’s UV rays, which are more intense at higher elevations, and the reflection off the snow can cause you to burn. Don’t forget to carry your SPF lip protection for midday reapplication.
Other Gear
Most ski jackets offer pockets for holding all those items you may need throughout the day. It’s essential to consider what you will carry when selecting a jacket.
Here are the most common items you will need to carry on yourself: car keys, phone, identification, cash, credit cards, medication, tissues, lip balm, snacks, or ski pass
How do you put on your ski boots?

Ski boots are more accessible to put on when they are warm. Ideally, store them inside or warm them to room temperature before attempting to put them on. If you can access your ski boots at home, it’s good to practice buckling them and getting your feet used to the fit by wearing them for some time.
Walking in ski boots is awkward as they force you to walk in an exaggerated heel-toe rhythm with limited foot flex, so practice walking in them and be mindful that they can be slippery in icy conditions like parking lots.
- Unbuckle all buckles and top velcro power strap.
- Open the shell by pulling the tongue forward and working the shell buckle layers apart.
- Step into the boot while standing and ease your foot forward while pushing down on your heel.
- Push down on your heel to ensure your heel is all the way to the back of the boot before buckling.
- Position the tongue to the center and ensure the shell’s layers are properly overlapped.
- Begin with the velcro strap to keep all the layers in place.
- Buckle the second buckle from the top first to secure your heel, followed by the third buckle, top buckle, and your toe buckle should always be last.
- After your first buckling round, it’s good to flex your foot or take a couple of steps, then tighten any needed buckles and tighten the power strap.
- You’ll want your boots buckled tight enough to secure your foot but not cut off the circulation.
How do you step into your ski bindings?
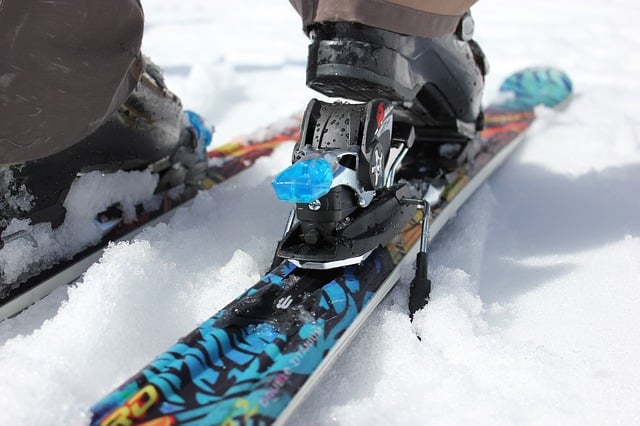
Stepping or clicking into your ski bindings can be tricky, so it’s always good to practice beforehand if you have the opportunity. Basic familiarity will go a long way when you are on the slope in the elements.
- Set your skis down parallel to each other on flat ground.
- If you are on a hill, ensure your skis are perpendicular to the hill so they don’t risk sliding down. Make sure you are always putting on your downhill ski first.
- Clear loose snow or ice bindings using your gloved hand or ski poles. Paying close attention to the toe and heel areas
- Ensure there isn’t any snow stuck on the bottom of your boot and clear any by balancing on one foot using a pole for balance and the other pole to knock off any snow.
- Still using your pole for balance, place the toe of your boot into the front toe piece, ensuring it’s centered and pointing down, and verify your heel is centered over the heel piece.
- Step down on your heel until you hear the binding lock around the boot.
- Verify the heel release has popped up and give your ski a quick shake to ensure it’s on.
- Next, complete steps 4-8 on your other ski.
How do you get out of your skis?
- Ideally, you will want to find a flat place to click out of your skis.
- Using one pole for balance, you will use your other pole to press down on the heel release point. Most bindings have an indent in the plastic to receive the ski pole tip.
- Releasing the ski will take some strength, and you will feel your heel lift as it releases. At that point, lift your heel and step out of the binding.
How to use your ski poles
As a beginner, there will be times in your ski practice you will not use poles, but as you advance, the ski pole will become a valuable part of your gear. Initially, they will mostly be used for help when standing after a fall, clearing snow from the bottom of your boots, or releasing your ski binding.
- Thread your wrist through the top strap.
- Let the pole dangle on the wrist.
- Grab the pole grip, ensuring you are not grasping over the strap.
The Basics and Skills to Practice
Once clicked into your skis, the foundation of skiing is a solid athletic stance. Weight should be distributed evenly, and feet should be about shoulder-width apart. The tilt of the ski boots will force a slight flex in your ankles, and you’ll want to maintain soft knees.
Standing tall with your head forward, your arms should be forward with hands just outside of the skis, and poles should be angled behind with the tips in the snow just behind your heels.
Gliding on the flat
This essential skill is used moving anywhere the terrain is flat and you don’t have downhill momentum to propel you forward.
- Start in an athletic ski stance.
- Plant both ski poles firmly into the snow on the outside edge of either ski about arm’s length in front.
- Push down firmly and evenly on your ski poles, propelling you into a forward glide.
- While maintaining soft knees, flex your ankles, keep weight evenly distributed, and glide.
- This sequence will be repeated once your glide slows or stops.
Sidestepping
This skill is used to move uphill on a slight incline quickly and will be used regularly when accessing lift lines, going uphill to retrieve a dropped pole, or missing a trail.
- Start in an athletic ski stance with soft knees on a slightly inclined slope.
- Orient both skis so they are parallel to each other and perpendicular to the downhill.
- Angle the uphill edges of both skis so they are slightly edged or dug into the snow.
- Beginning with your uphill ski, take a small sidestep uphill, placing your ski and firmly edging it into the snow.
- Repeat by bringing your downhill ski up in a small sidestep, placing it where your uphill ski was previously, and firmly edging the ski into the snow.
Snowplow
This beginner skill in an upright skiing position is very stable, allowing the ability to control speed and act as a beginner way to brake.
- Start in an athletic ski stance, with soft knees on flat terrain.
- Practice making your skis in a wedge or pizza shape with the tips close together and tails apart.
- Next, find a hill with a very slight incline that’s flat at the base.
- Go to the top of the incline.
- Start in the athletic stance, with soft knees, and this time, use your poles by planting them ahead of you to prevent you from sliding down before you get into position.
- Angle your skis downhill and practice making a wedge.
- Once you have your tips together in a wedge shape, remove your poles, allowing you to glide down.
- Repeat this and practice making your wedge wider to slow down and more narrow to speed up.
How to get up from a fall
As a beginner, you will fall and get better at getting up from a fall with practice. Usually, the reason for getting up from a fall is as hard if we are not in the right position to get up quickly.
- Bring yourself to the side.
- Ensure your skis are parallel and perpendicular to the slope so you don’t start sliding down as you stand.
- Bring your body as close to your bent knees as possible.
- Use your downhill arm to bring your weight to the middle, placing it over your ski boot.
- Place your uphill hand as close to the uphill ski boot as possible.
- Using your uphill ski, push down so your body comes up over your skis.
- Stay tucked, keeping your downhill arm out for balance until you are upright and ready to stand up straight.
Learning to ski is challenging, takes time, and comes naturally to a few. It is always best to take lessons from a hired professional.
They will provide you with all the basic skills and correct techniques to practice. Study skiing techniques when you are not on the hill. There are a ton of beginner ski videos on YouTube and other platforms.
Then try to get as much practice as you can every season. Find a friend who skis, join a ski group or Meetup. Skiing only a few times yearly with long breaks in between will make the process even longer.
The more practice, the faster you will learn and enjoy all the mountain offers.
General Mountain Safety
- Skiing can be hazardous. Ski with a buddy.
- Respect others on the mountain and ensure your actions are not endangering others.
- Control your speed. Always make sure you are in control and skiing within your abilities.
- Ski predictably so others overtaking you know what to expect.
- Avoid stopping in areas that could endanger others, such as narrow trails or in the middle of a run-out.
Helpful Youtube channel: www.youtube.com/c/StompItTutorials