Van Build Series: Designing Your Layout for Maximum Comfort
So you got a van; now what? You need to design your van conversion layout is what. Whatever your reason was/is for wanting to convert your van, a usable layout is either going to make your travels enjoyable or a nightmare.
If you are a solo traveler, maybe a tight compact build is good for you, but if you are traveling with others, then more room for everyone to move around is going to be much more important.
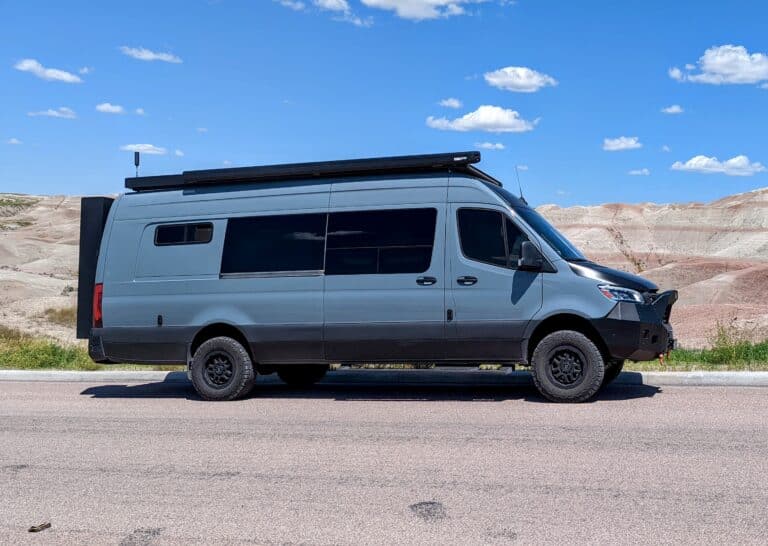
If you have not read 9 Steps to Planning an Epic DIY Van Build, take a look as it helps lay the groundwork for this process. Whether you have a Ford Transit, Mercedes Sprinter, Dodge ProMaster, or Nissan NV, you’ll need a solid layout for a successful build.
The next step will be with a piece of paper and a pencil or your favorite spreadsheet program. Make yourself a needs and wants list and get everyone’s involvement in it that will be spending any time in the van.
Once done, go through the list again looking at it objectively this time, is that microwave really a need? Then go back through it a third time, narrowing it down to your non-negotiables. Once you have a solid list of what your needs in the build will be, you can start the layout process.
Keep your wants list handy, though, if an item can be accommodated in the build.
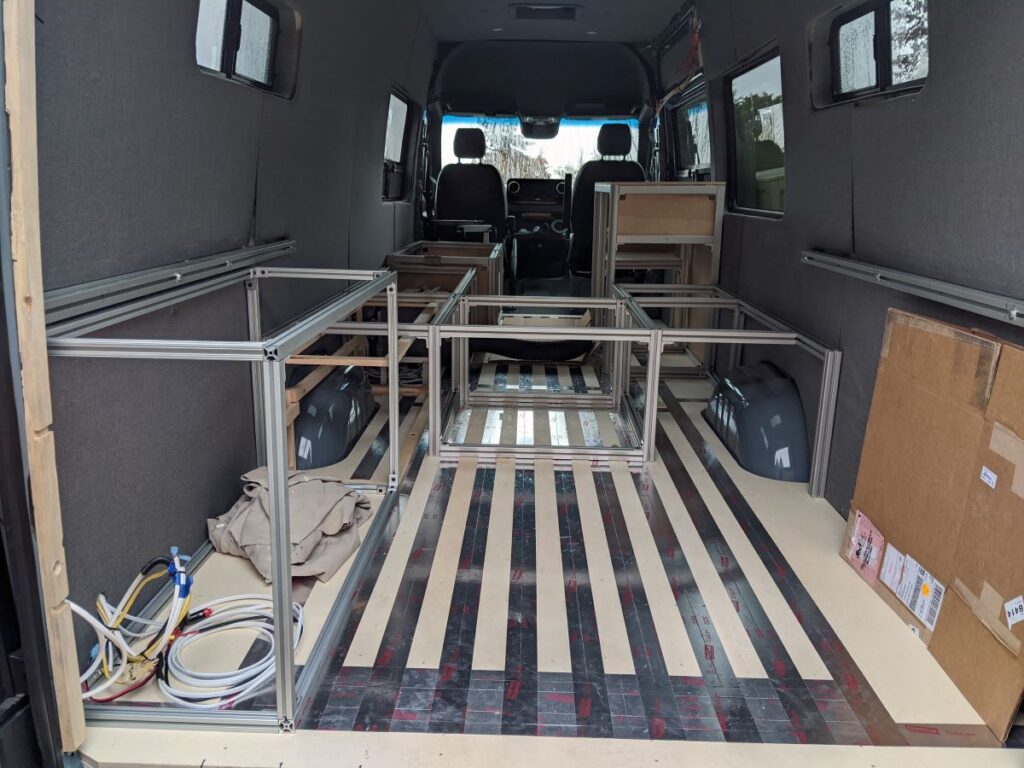
I used paper to draw up our first plans for the build; this allowed me to sketch the drawings and dimensions. Have a good tape measure on your hip, as you’ll use it often.
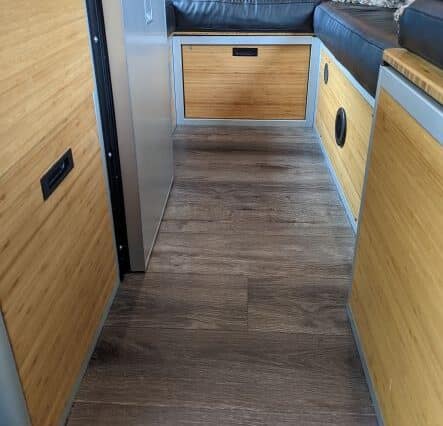
Painters Tape also comes in handy in this process; you can lay out the footprint of items in the van on the floor and with a marker, make notes and dimensions on the tape. For our build, we had a galley, settee, bathroom, bed/garage, water tanks, and electrical cabinet.
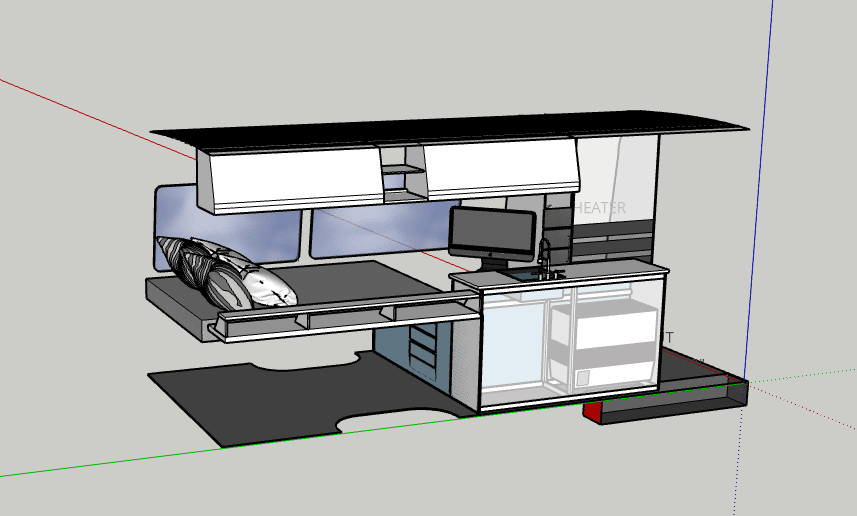
When I finished my initial drawings, it was time to get them into SketchUp, an online drawing program. The free version worked great for us since I did not go too crazy on detail. With the drawings online, I could print them and make notes during the build as necessary.
- tip: Do not be in a rush, and do not overthink it. Keep it as simple as possible; the less complicated something is, the easier and cheaper it is to fix.
The Details
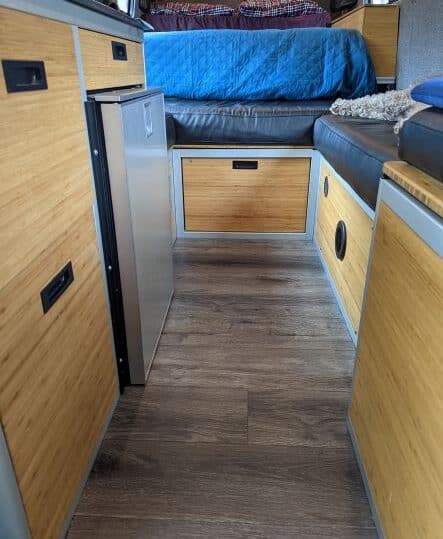
Regarding our van conversion, we went with a 36″ high galley counter that is 44″ long and 21″ deep. This allowed us to go with the Isotherm 130 and a single deep basin sink and we use a Portable Induction Cooktop that we store in a drawer when not in use.
For the two of us, there is plenty of counter space, if we do need more, we have an RV table mount that can be adjusted to the same height, but we rarely need it.
Our settee component was built 18″ high, and with our hinged lid and cushion it sits about 24″ high, which is a good height for the two of us. The bathroom component is a little taller at 24″. This allowed for our Air head Composting Toilet and for our future shower system and a great place for the girls’ dog bed for them to relax on.
- tip: For your seating height, test other items you own. You do not have to go with the standard here. Remember that you’ll most likely be using cushions, too; don’t forget about those dimensions.
We chose a raised bed in the van’s rear to allow garage space tall enough for our bikes or storage bins but low enough to sit in bed without hitting our heads on the ceiling. Our electrical component is on the rear driver’s side for easy access from the van’s rear.
We planned to use the van for extended stays in the middle of nowhere, so we needed enough water storage to get us by. So I chose two 24 gallon wheel well tanks from Northwest Conversions.
The last components were our upper cabinets. We originally only designed one above the galley, but not long after, we built another one above the bathroom area. Both are about 53″ long, with one being 14″ deep and the other 17″ deep.
Storage
When it comes to food, cooking, clothes, etc. Your conversion will need storage, and it will always seem like you do not have enough. We have one cabinet above our galley; it stores our food and some cooking items. One end of it also houses our control panel/data center.
Our cabinet above the bathroom is used for bathroom items, of course. Under one of our settee cushions is a pantry; calling it a pantry is a little overkill since it is pretty small.
When it comes to our clothes, we have a few different areas to store them. Which clothes go where is determined by our needs. An easily accessible large drawer holds our most commonly used clothes, then we have a long skinny cabinet along the length of our bed.
For items we do not use very often, we have a large bin stored in the garage area. Also, in the garage area is an extra food bin, a van maintenance tools bin, and a 12v portable freezer (similar model to ours).
- tip: When it comes to your fridge, really think about your needs here. The size of your fridge may dictate how long you can between grocery restocking. We added the portable freezer to keep more options on hand.
We have another area for storage thanks to RB Components, in the cab area, we had a lot of dead space due to having a high-roof model van. We bought a shelf that bolts to existing fastening points.
We use four storage bins for various items, dog supplies, shoes, electronics, etc. We did have to get used to ducking down a little more when climbing into the front seats, and I still occasionally bump my head; the shelf is definitely still worth it, though.
One additional yet pretty small storage area is under our galley. Our van has one step as you enter the van from the sliding door. Our galley overhangs this area and created a void that looked a little awkward and was not all that usable without closing it in.
I contacted a local fab shop, Epic Engineering, to build an aluminum enclosure with an access door, which turned out great and stored dog leashes and outdoor dog toys.
Sleeping and Your Van Conversion
There are so many options when it comes to designing your sleeping area. The basics are how many people you want to accommodate and spatial needs. Once you’ve determined those, you can proceed with your bed build; for us, it was two people and two dogs.
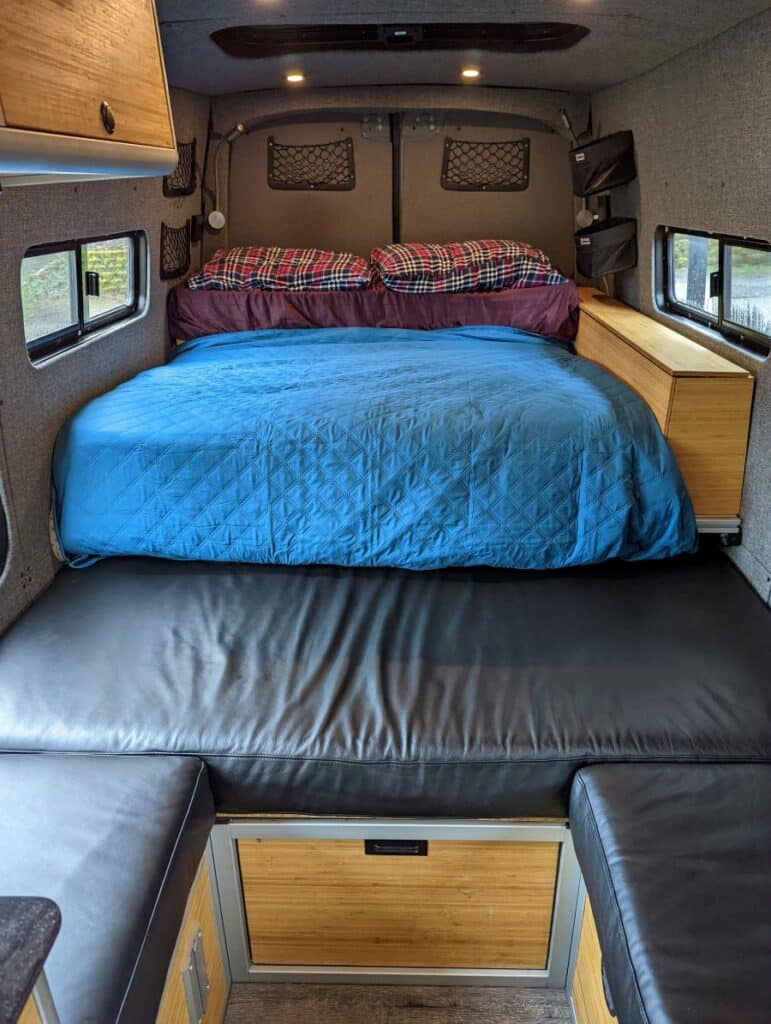
We went with a queen-sized bed with one modification; we cut our foam mattress into two pieces, one is 40″ long and the other is 20″ long. The 40″ platform for our bed is permanently built-in place while the 20″ section slides out from underneath the fixed portion. If you need a custom mattress, check out RoamRest in Oregon, they are doing some excellent work.
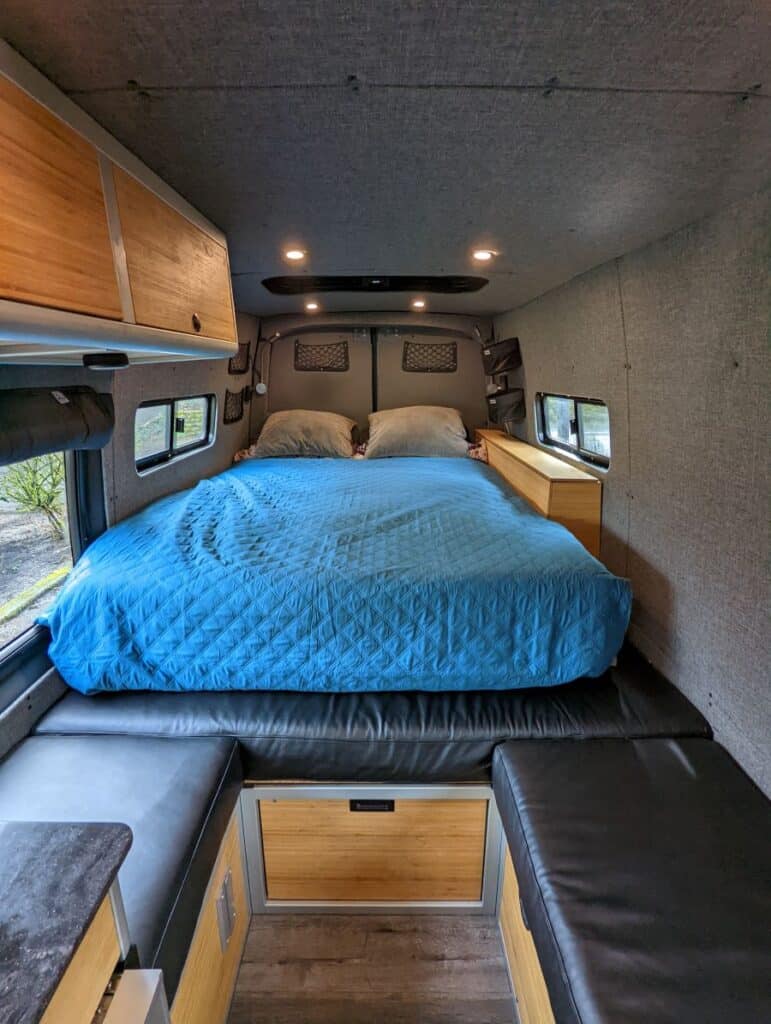
This allows us to have a queen-sized bed at night, but during the day, we shift and stack the 20″ mattress to the back of the bed and slide the platform back into its storage state.
When the bed is shortened, we have a lot of seating for the four of us, enough room for everyone to spread out and relax.
Other ideas are to have your bed oriented from side to side, but this only works if your physical height allows it or you’re using Flairspace to extend the width of your van. If there are two of you in the bed, one person will always be crawling out over the other to get in and out of the bed.
If you like the idea of a regular-style table set up in your van, you can have benches along the sides that will fold down and lower the table to make a platform for your bed. This one is a good concept for creating larger table space, but in my opinion, it greatly reduces your storage capabilities.
There is also the fact that the process to ready the bed and vice versa is more of a process. I know a few different folks with this setup, and more often than not, they leave it in the bed state.
The last option I’ll cover here, which is a pretty slick setup, is a bed that raises and lowers using a powered cable system. There are a few videos I’ve seen that allow you to have a bed that is ready to go at a push of a button. Then when it is time to put it away, push the button again.
If you are that person that does not like to make your bed on a daily basis, no worries, it is out of sight when put away. So during the day, you have seating and a table for use.
I personally really like the raised bed option, but for us, it was not functional since we wanted the garage space. It is one I may try in a future build, though…
- tip: Youtube can help you here; there are many videos to give you bed ideas.
Conclusion
One person’s paradise can be another person’s nightmare. We feel our van conversion has the best layout out there and our goal was to emphasize open space and unobstructed sightlines. Granted, the interior size of our van helps accommodate this, but I feel it is scalable.
If you want to embark on your own build, I commend you. You may not have all the skills, but you can learn them; you are only limited by your own imagination.
- final tip: Take your time and do not rush this. You do not want to jeopardize the integrity of your van or compromise on safety. If you are unsure about something, ask a professional. I myself am no professional and asked plenty of questions to familiarize myself with different areas of our build.
Disclosure
This site may contain affiliate links to products. At no cost to you, we may receive a commission for purchases made through these links. If you do make a purchase we cannot thank you enough, it keeps our fridge stocked with caviar and champagne.
Just kidding of course, but seriously we truly appreciate it when you use our links to make your purchases.