Van Build: Framing, What To Do and What Not To Do
The framing, most of the time, goes unseen. It is behind van walls, behind the cabinets, etc. If your van conversion will be used for traveling, living in, or extended stays, you’ll most likely be doing a more in-depth build than just a makeshift bed and some storage racks and bench seats. In comes the stage of framing your van build.
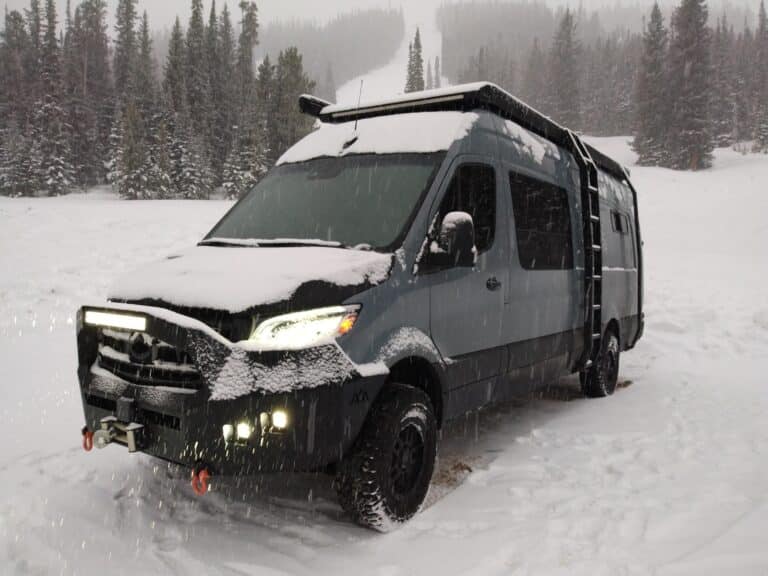
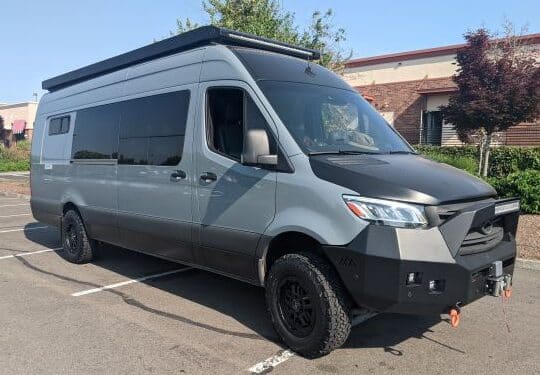
A little side note, not all vans are built alike, obviously. But the walls in these vans are quite different; for instance, a Sprinter van wall is not square, and Dodge cargo van walls are very vertical and square, making a build easier. This becomes a personal preference, really, and if you are prepared to take a little more time in your build to deal with curved walls or not.
Deciding on your framing material
When it comes to your DIY van conversion you’ll take into consideration the look you are going for. Are you using wood to clad your walls or wall panels? What material do you prefer for your build, wood, plastic, or metal?
What insulation are you going to be using, battens, spray foam, or reflectix? There are many different options to consider here and in the entire process during the rest of the van build.
Be sure to ask yourself if you’re looking for a particular aesthetic. By now, you have watched many videos on YouTube, and you know what you like and do not. You may even be going for your own style.
In the first step of designing your van layout, you have to plan in the present and 10 steps ahead. Everything in your build depends on something else you have done. It is all intertwined.
Important steps in your build are how you will frame or build your kitchen unit, water tank securements, bed frame, kitchen cabinets, floor insulation, water heater, air conditioner, garage area, etc., etc. So many things to be decided on when it comes to your framing material.
Our first option
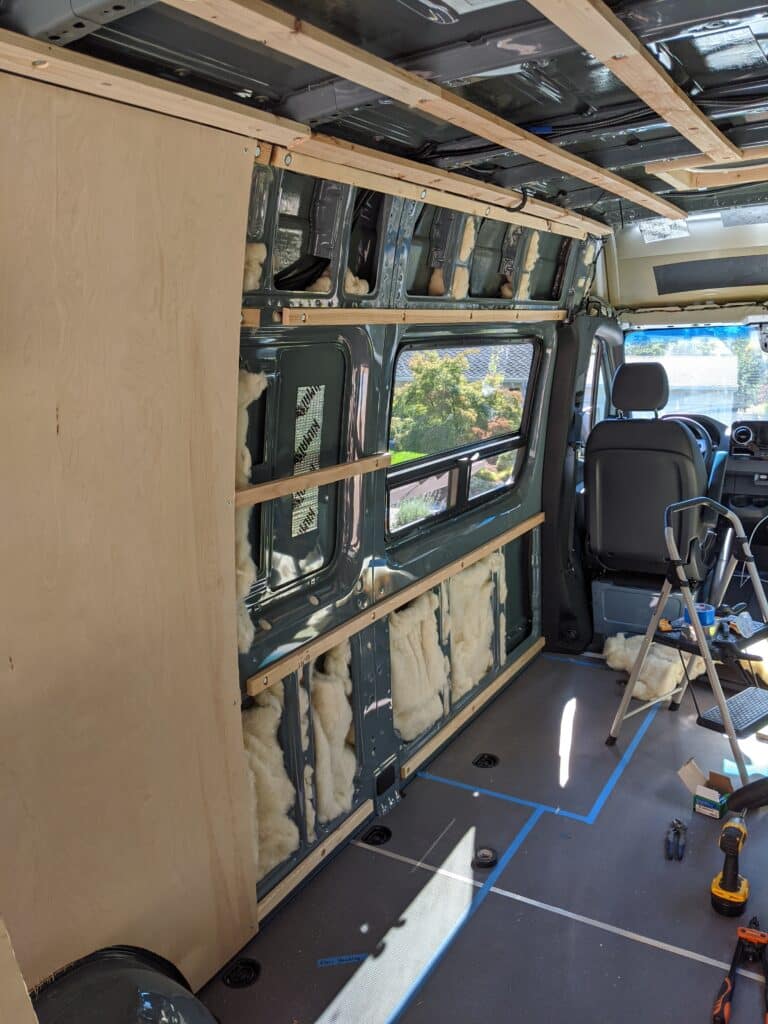
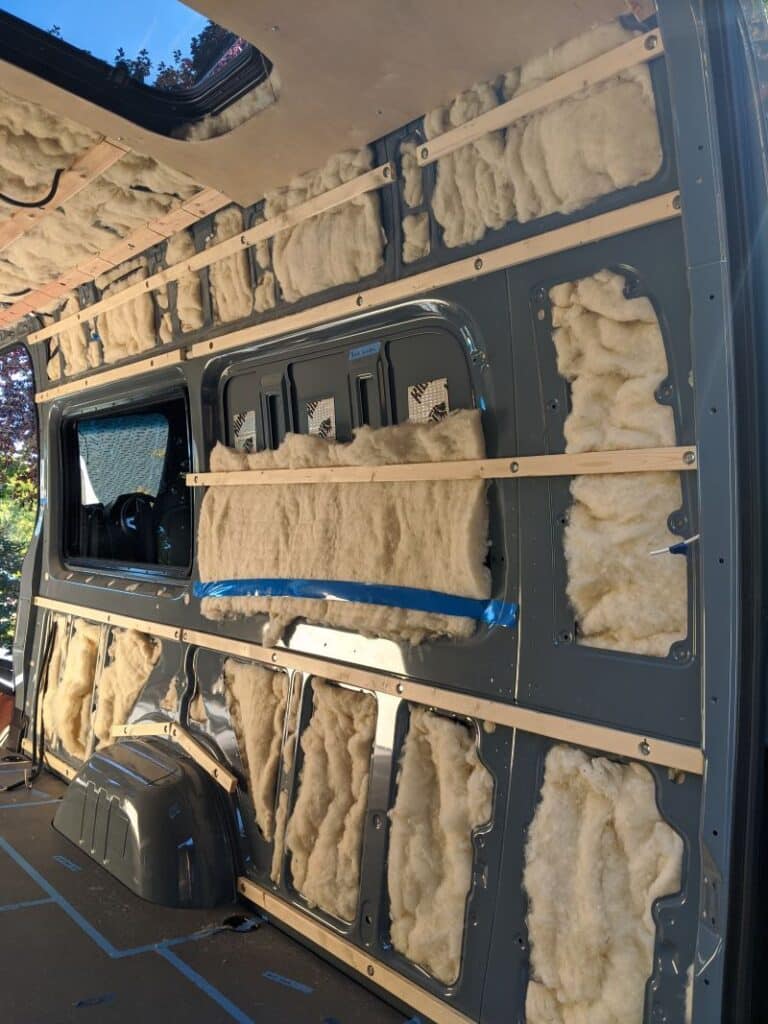
The first thing I knew I wanted was to use furring strips on our walls. My thought was, that it would give me an air gap between our insulation and the wall panels we used, and the second was room for running wiring for the electrical system. We thought this was a great option, and for the most part, it was (yes, that is past tense).
So I went out and purchased a bunch of 2×1 furring strips, I was lucky enough to have a Home Depot close by, but any hardware store or local lumber yard should carry them. I chose to install them on the walls and the ceiling using rivnuts.
In hindsight, I should have just used self-tapping screws or self-tapping sheet metal screws into the metal ribs of the van. Rivnuts came in handy in many areas of the van build.
Now that the furring strips were installed in the entire van, it was onto running electrical wires. I chose to run my furring strips horizontally instead of doing vertical studs, and this allowed me to run wires front to back along the strips.
I did not use furring strips on the sliding door, rear doors, or the van floor. Our entire floor is heated, so I did not install the floor. If I had, I probably would have used furring strips there as well.
The next step was installing the baltic birch plywood walls and ceiling panels, which we made ourselves (did not like them, but you may know that from a previous post, previous post here). Step back, and I also used wood for the window frame.
Our Next Step
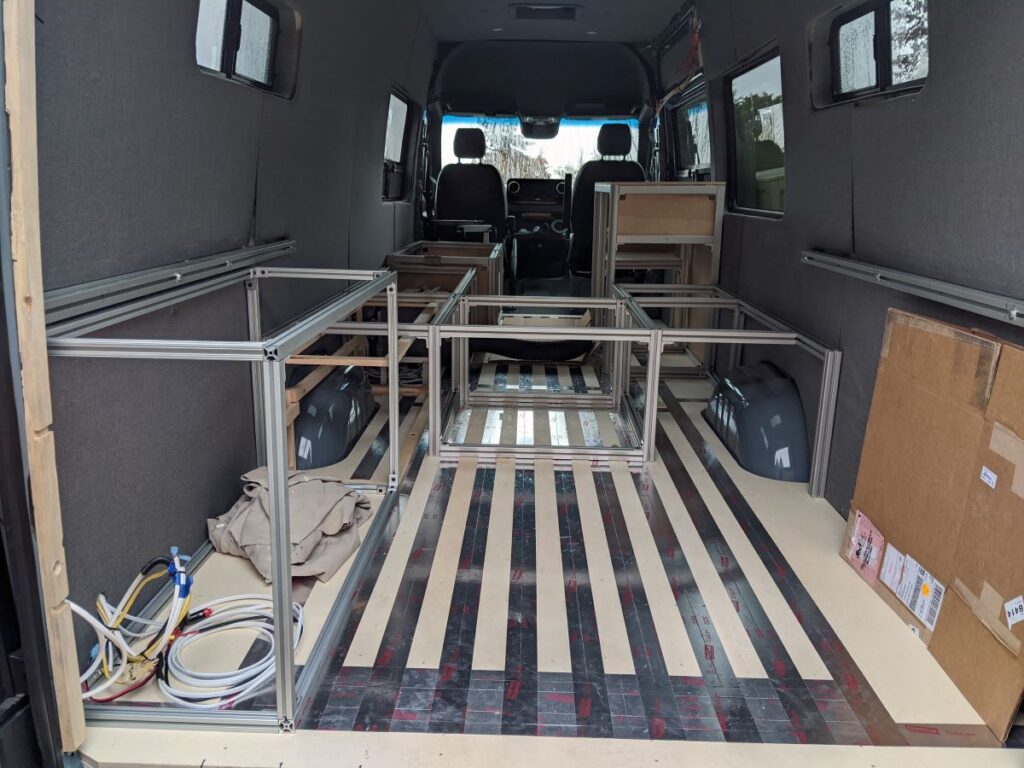
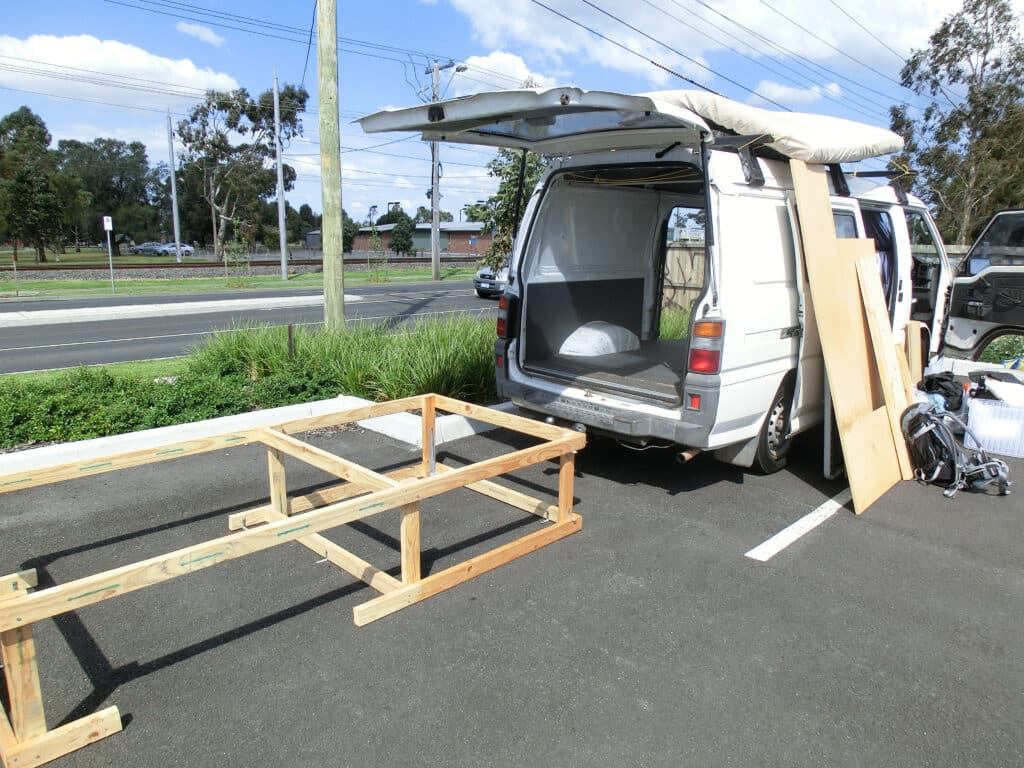
It was time to frame the living space, kitchen area, etc. So using pieces of wood and a cardboard template, I started mocking up the layout we chose to go with. For some items, we used plywood sheets to top for greater effect. This also allowed us to mess with framing ideas over the wheel wells. Once we had our layout dialed in, it was time to start building it.
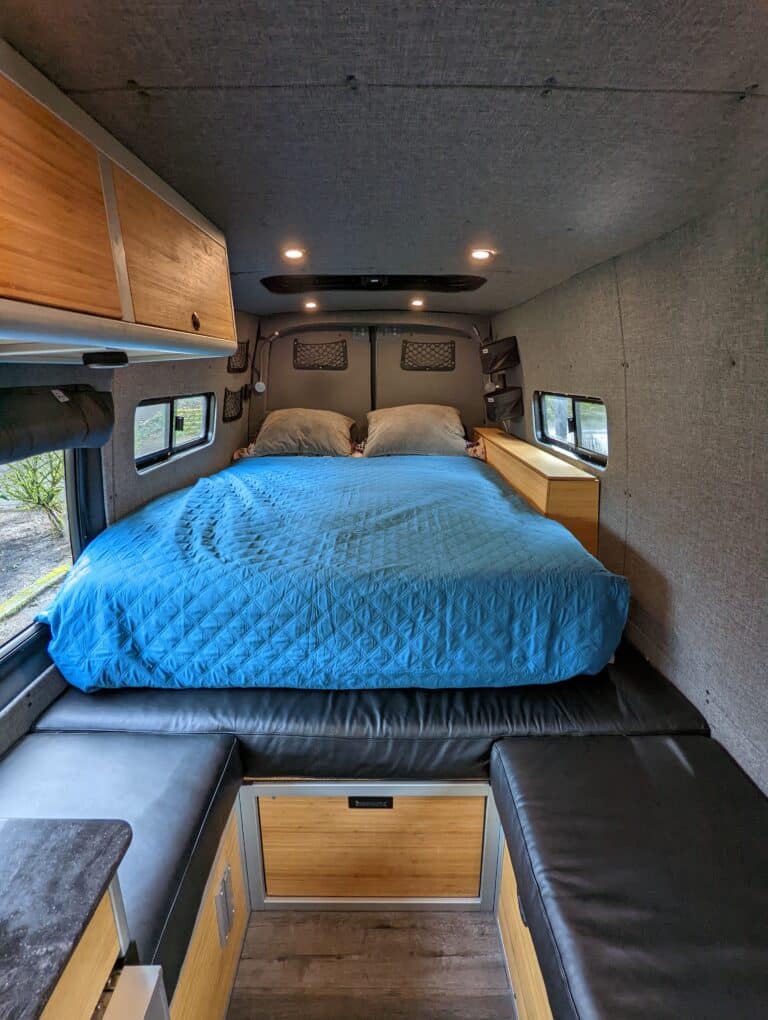
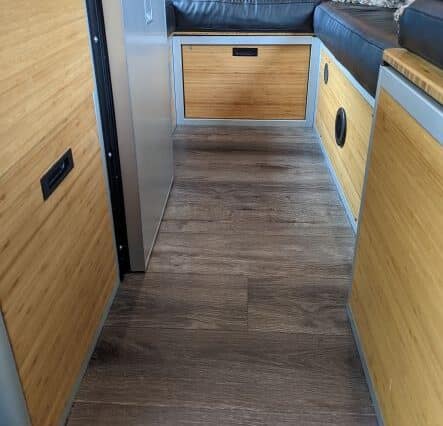
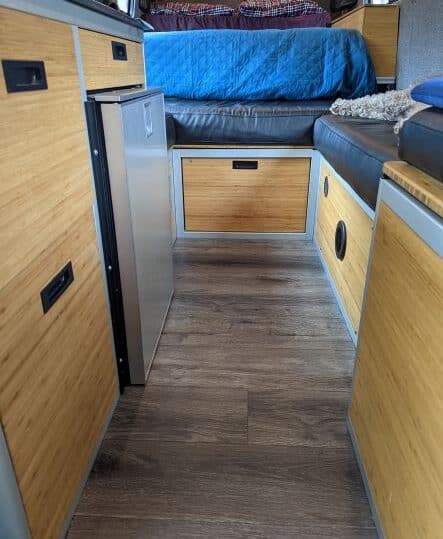
I went with 80/20; it is an extruded aluminum product that is light and looks awesome. We wanted exposed framing for our components, and 80/20 fit the bill, and it comes in lighter than most wood products. We then chose bamboo to clad the components in.
We wanted it to look sharp, and I think we succeeded. While 80/20 is not too cheap, it is easy to work with and comes with all types of attachment bits to put it all together.
Since it is essentially bolted together it is easy to remove or take apart if needed and you can bolt it back together not worrying about screw or nail holes in the wood or the glue you used.
Our Second Option
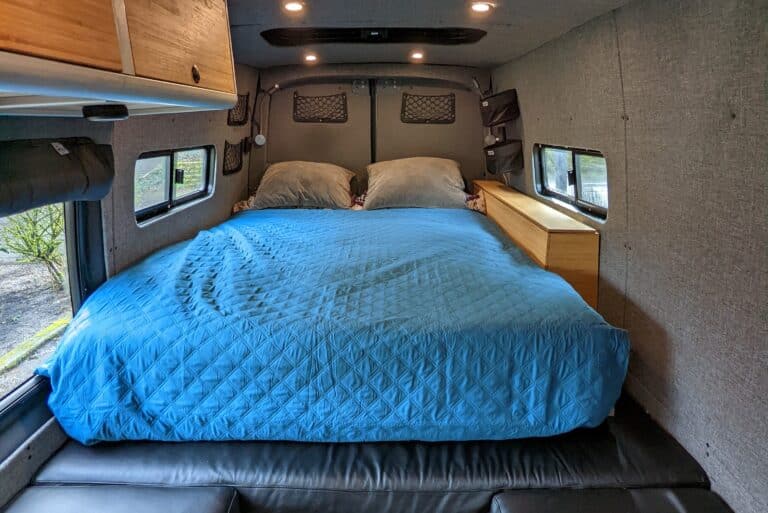
I was not a big fan of the wall and ceiling panels we made. They just did not fit well enough for me and made the decision to change them out for something else. Professional van builders are professional for a reason.
They have figured out how to make it look good and fit right. So, I chose to go with wall and ceiling panels from RB Components and remove the furring strips in the wall and the ceiling.
An important thing here is their panels are designed and laser cut for our fan manufacturer. So in order for them to fit properly, I removed the strips. The new panels look way better than my shotty-built ones.
The only reason I think they were shotty is, that I have never done upholstery before and feel maybe this van build was not the job to learn the skill on.
Second Thoughts?
I’m always looking at how I can improve things. I changed out the walls, but I will not be changing out the 80/20 framing I used. To us, it looks very nice and is very functional. I have redone some of the 80/20 framing, but I will not be doing away with it. I will definitely be using it in a future build if there is one.
Update
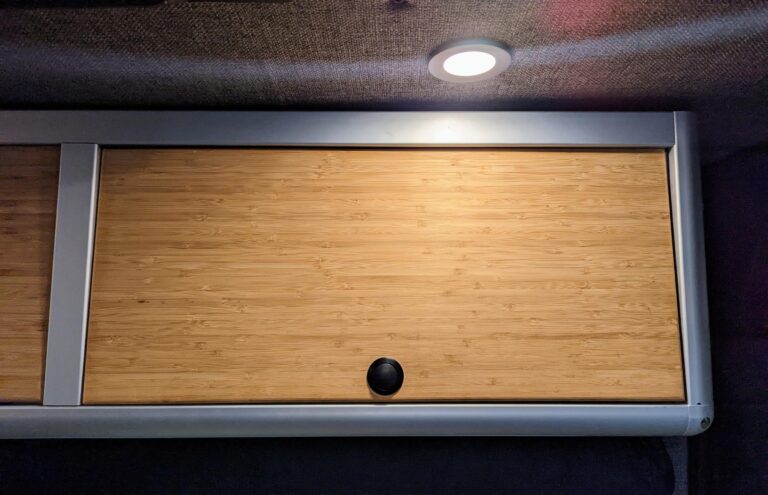
Are you looking for a door latch that is easy to install and use?
Then check out Southco’s push-to-close latches.
Do you want a door latch that will keep your doors closed tight, even on bumpy roads?
Then check out Southco’s push-to-close latches.
Seriously! Check out our post here on door latches that actually work!
Conclusion
We are about a month away from living in our van full-time for a year, so I guess we are considered van lifers. In our custom build, I’ve found wood furring strips are a good option, and obviously, it is not the end of the world if it does not work out. You can always remove them.
Going with 80/20 was a great idea. This is our first van, and we spend a lot of time in it, so this was the best decision for us. Whatever you choose, you can double-check everything you do, but until you live in it you do not know the best way to make it a great place for you.
Disclosure
This site and/or other posts may contain affiliate links to products. At no cost to you, we may receive a commission for purchases made through these links. If you do make a purchase, we cannot thank you enough. It keeps our fridge stocked with caviar and champagne. Just
kidding, of course, but seriously we truly appreciate it when you use our links to make your purchases.