Van Build: Are Windows Worth The Headache?
I think there are only two camps for your DIY van build and the windows. You’re either going for stealth or not stealth. What do I mean? A stealth van is one where you do not have any windows other than the front windshield and the driver/passenger side windows.
This post is not for the stealth build option. We are here to talk about windows and the benefits they offer, and their downsides of them. I am an open book here; I am not trying to convince you that windows are the way to go. I’ve had my struggles with installing windows and the aftermath of them. I’ll be going into that further and what windows we used below.
The Van
This process does not matter if you have a Dodge, Ford, Nissan, Mercedes, or even an Astro Van (for those who remember those). They are all designed to have windows. If its life started as a cargo van, the interior metal would have a stamped area where a window would go.
Making the job much easier to determine where the window is supposed to be installed. Questions you may have; I want to do a van conversion. How many windows do I need? Best windows for van conversion?
Stealth vs. Not So Stealth
A stealth van is a van that has been converted to include living amenities in the interior, and no one outside would be aware of it. Reason for going stealth; most often due to areas you’ll be living in, downtown or urban areas where you do not want to call attention to you and your vehicle/home.
Typically converted from a cargo van, this is the easiest route since the work is already done for you. Of course, if you already have windows and want to make them stealthy, there are ways to achieve them.
Paint the windows black, while not the best option since there will be ongoing repair work, is the simplest and cheapest route. A second option, vinyl wrap, looks good and economical but may require ongoing maintenance.
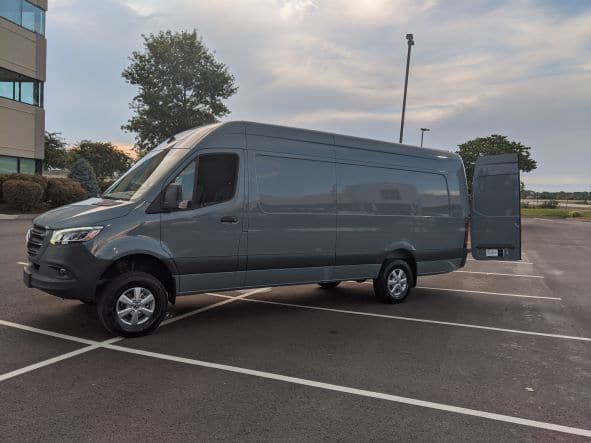
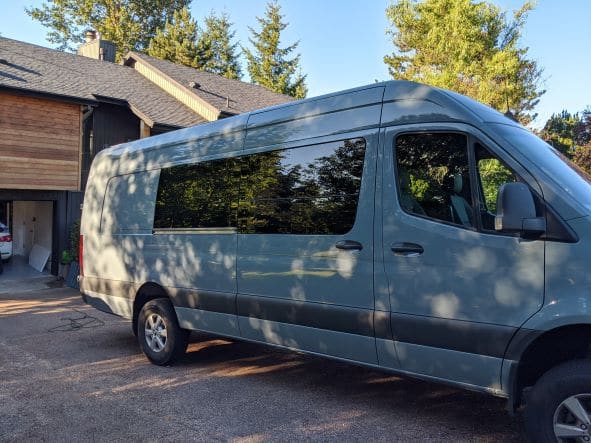
The route we took with our build is not so stealthy at all. When converting your van and adding windows around the exterior, you are pretty much making a statement. You are living here. While there are ways to help make it appear no one is in there at night, it is less likely passersby will buy it.
Adding windows to your van comes down to how you will be using the van. If you are looking for cheap living quarters and like to move around a bit, then maybe stealth is for you. If you want to travel around and enjoy the views from inside the van, then windows are the way to go but know the pros and cons before cutting into your ride/home.
Window Options
There are several options out there regarding windows for van conversion. For your van conversion, there are driver’s side, passenger side, slider, bunk, venting, etc. The better-known companies will be C.R. Laurence, AM Auto, and Van Windows Direct.
All three lines of windows are extensive and have options for most van manufacturers. The Van Windows Direct is a one-stop shop for windows, and their prices are also good.
Installation
So, you ordered your windows and are impatiently awaiting their arrival. I know the feeling. Before their arrival, ensure you have everything you will need. See below for a list of items you will probably need. Once they arrive, unpack them carefully to ensure you have everything there.
You know that whole adage of measure twice, cut once? Go ahead and measure a third or fourth time. Cutting into your van for the first time is entirely stressful. Even on the second one, I still had nerves twitching. But it gets easier. This installation is also easier if the van’s interior has not been completed yet or at least the walls are not finished.
Typically, there is the window, interior trim ring, and screws. There may be specific steps to take per the manufacturer’s instructions. Be sure to follow their instructions. The steps below are the ones I took and are not to be used as recommended by an expert or professional installer.
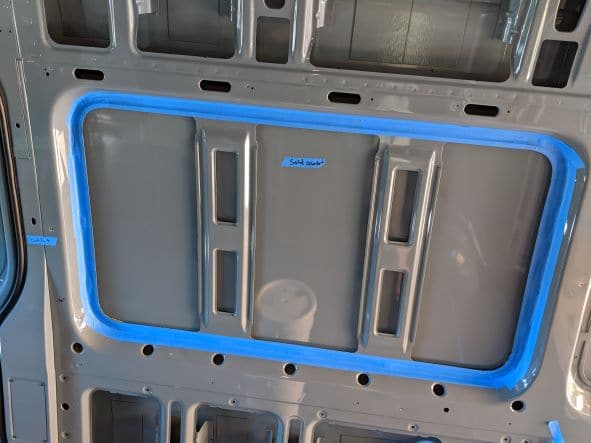
I took another step to take the ring and tape the ends together as they would look in the final installation. Hopefully undamaged, the box the window came in, and placed the ring on the large flat area of the cardboard.
I traced the ring to give myself a template to play with on the van. This helped me visualize the window in the van and line it up with the stamped area where it was to go.
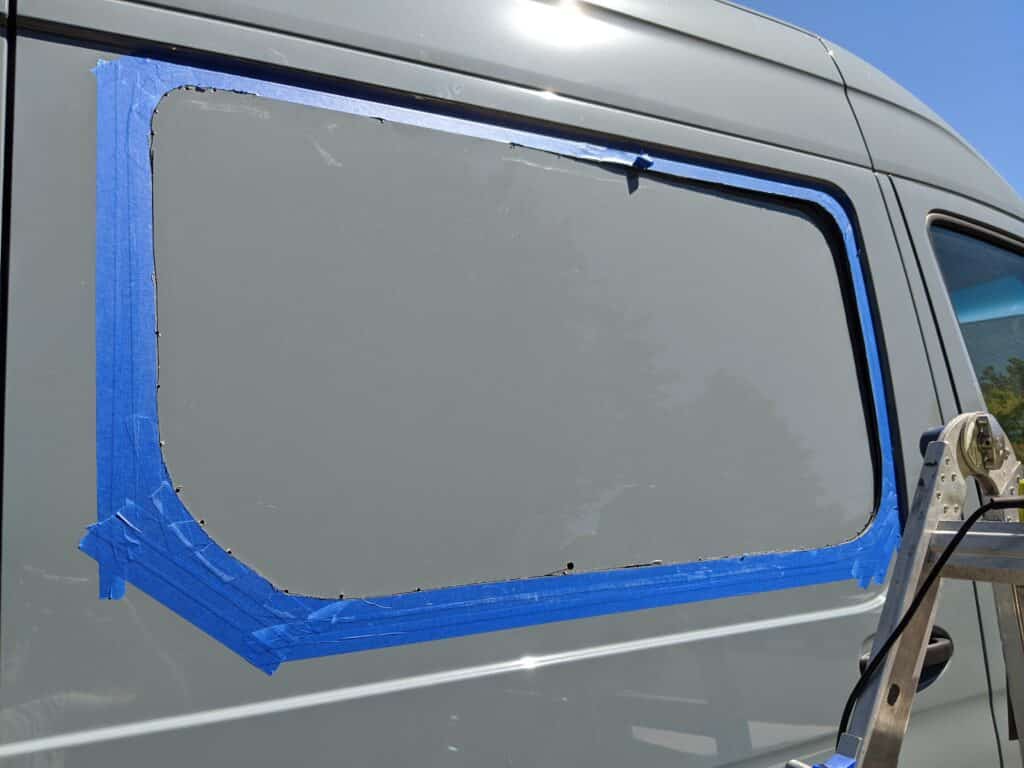
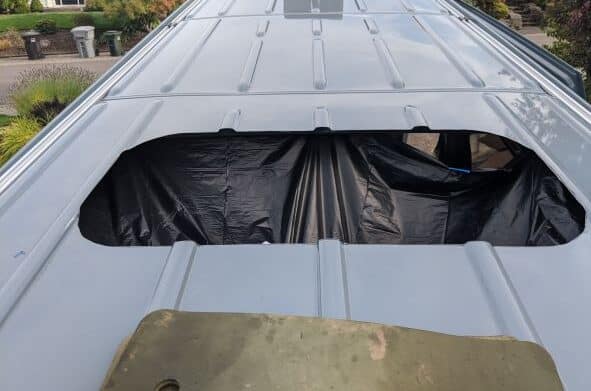
If you are installing a larger window that is designed to fit in where a factory one would, then you’ll have a so-called outline (aka stamped) of where you will need to be cutting. I started drilling from inside the van (tiny drill bit), and the holes created gave me an outline of the van’s exterior.
The corners are where I made holes closer together so that I could visually see where my cutline would go. Once I had holes drilled, I used painter’s tape to protect the paint from the base of the jigsaw I would use.
Then I grabbed a sharpie and made a solid outline of what needed to be cut. The fun began after drilling a giant hole, big enough for the jigsaw blade to go through. This is where the second person comes in handy with a shop vac inside the van.
There will be metal shavings; you’ll want to do your best to capture them before they settle inside the van.
Make sure your blade is new and designed for thin sheet metal. Go slow and steady. Slow. And. Steady. Once you get close to finishing the entire cut, stop and make sure your second person is ready to grab the panel before it drops to the inside or outside of the van and possibly scratches your exterior paint.
Now you have a big hole in the van; congrats! Go around and clean up the cut in areas you may have gotten off track, then clean up the cut with a file to ensure a nice clean edge. Test the window in the hole you have now using two people.
Make a note of any areas that may be tight. You want the window to fit nicely with just a little clearance. If there are any sticking spots, clean them up and test fit again.
Before installing your window, you’ll want to apply a coat of Rust-oleum or a similar product. This will help prevent the newly cut edge from rusting. It is a fact in Van Life that moisture is everywhere.
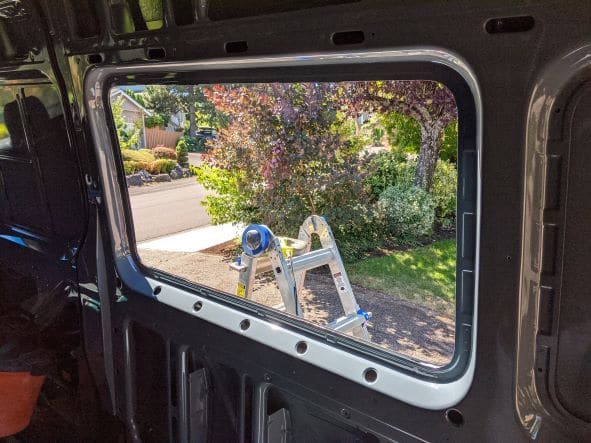
Once the paint has dried, and you are ready to install the window, grab it with your helper and place it into its space. While one of you holds the window from the outside, the other person will start fastening the interior trim ring to the window.
Using the manufacturer’s supplied screws, start at one end of the ring and go around the perimeter, installing the screws and skipping a few holes at a time, ensuring not to tighten them fully.
Then go back around and get the holes you skipped. The screws should not be tight yet so that, if needed, you can make any minor adjustments to align the window with the lines of the van. If you are happy with where the window sits and looks good, go around the perimeter and tighten the screws, do not over-tighten them, though.
You have now installed your first window. Clean the glass, sit back, admire your work, and move on to the next.
Now, if all this sounds like a nightmare and you would not even dream of cutting into your van, you can always hire a professional. What does a van window installation cost? I’ve seen some installers doing it for about $250 a window. For someone certain they do not have the skills or tools to do the job, then maybe $250 is a steal for you.
Contact your local van builders to see if they offer the service or know of someone who does. You can also search for van window installation near you to find a possible list of qualified installers.
Insulation and Privacy
You’ve installed windows in your van and were excited to get out there, so you take your first trip. Well, you may have forgotten a couple of essential details. All these windows are great, have nice views from inside, and you are very proud of your work.
Soon nightfall comes, and you realize you are like a goldfish in a fishbowl. Everyone can see what you are doing inside. Unless this is the look you are going for.
You may have also realized how warm or cold it was inside, and it was the same even closer to the windows. This is because glass does not make a very good insulator. You’ll want to add window shades to your van in both cases.
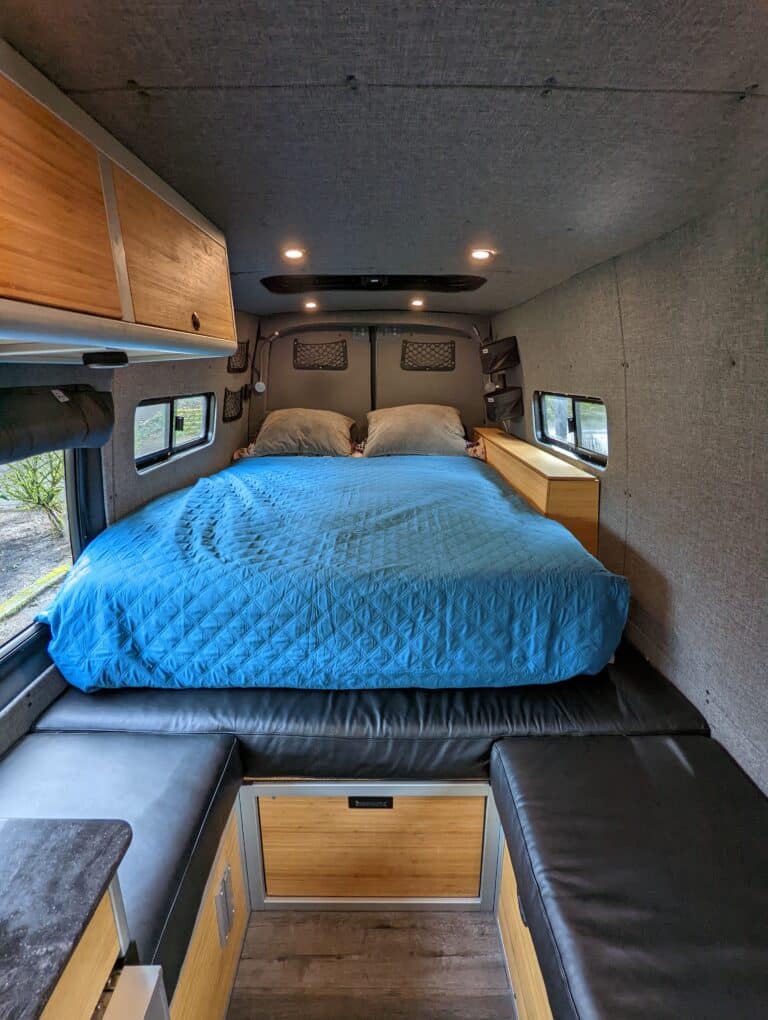
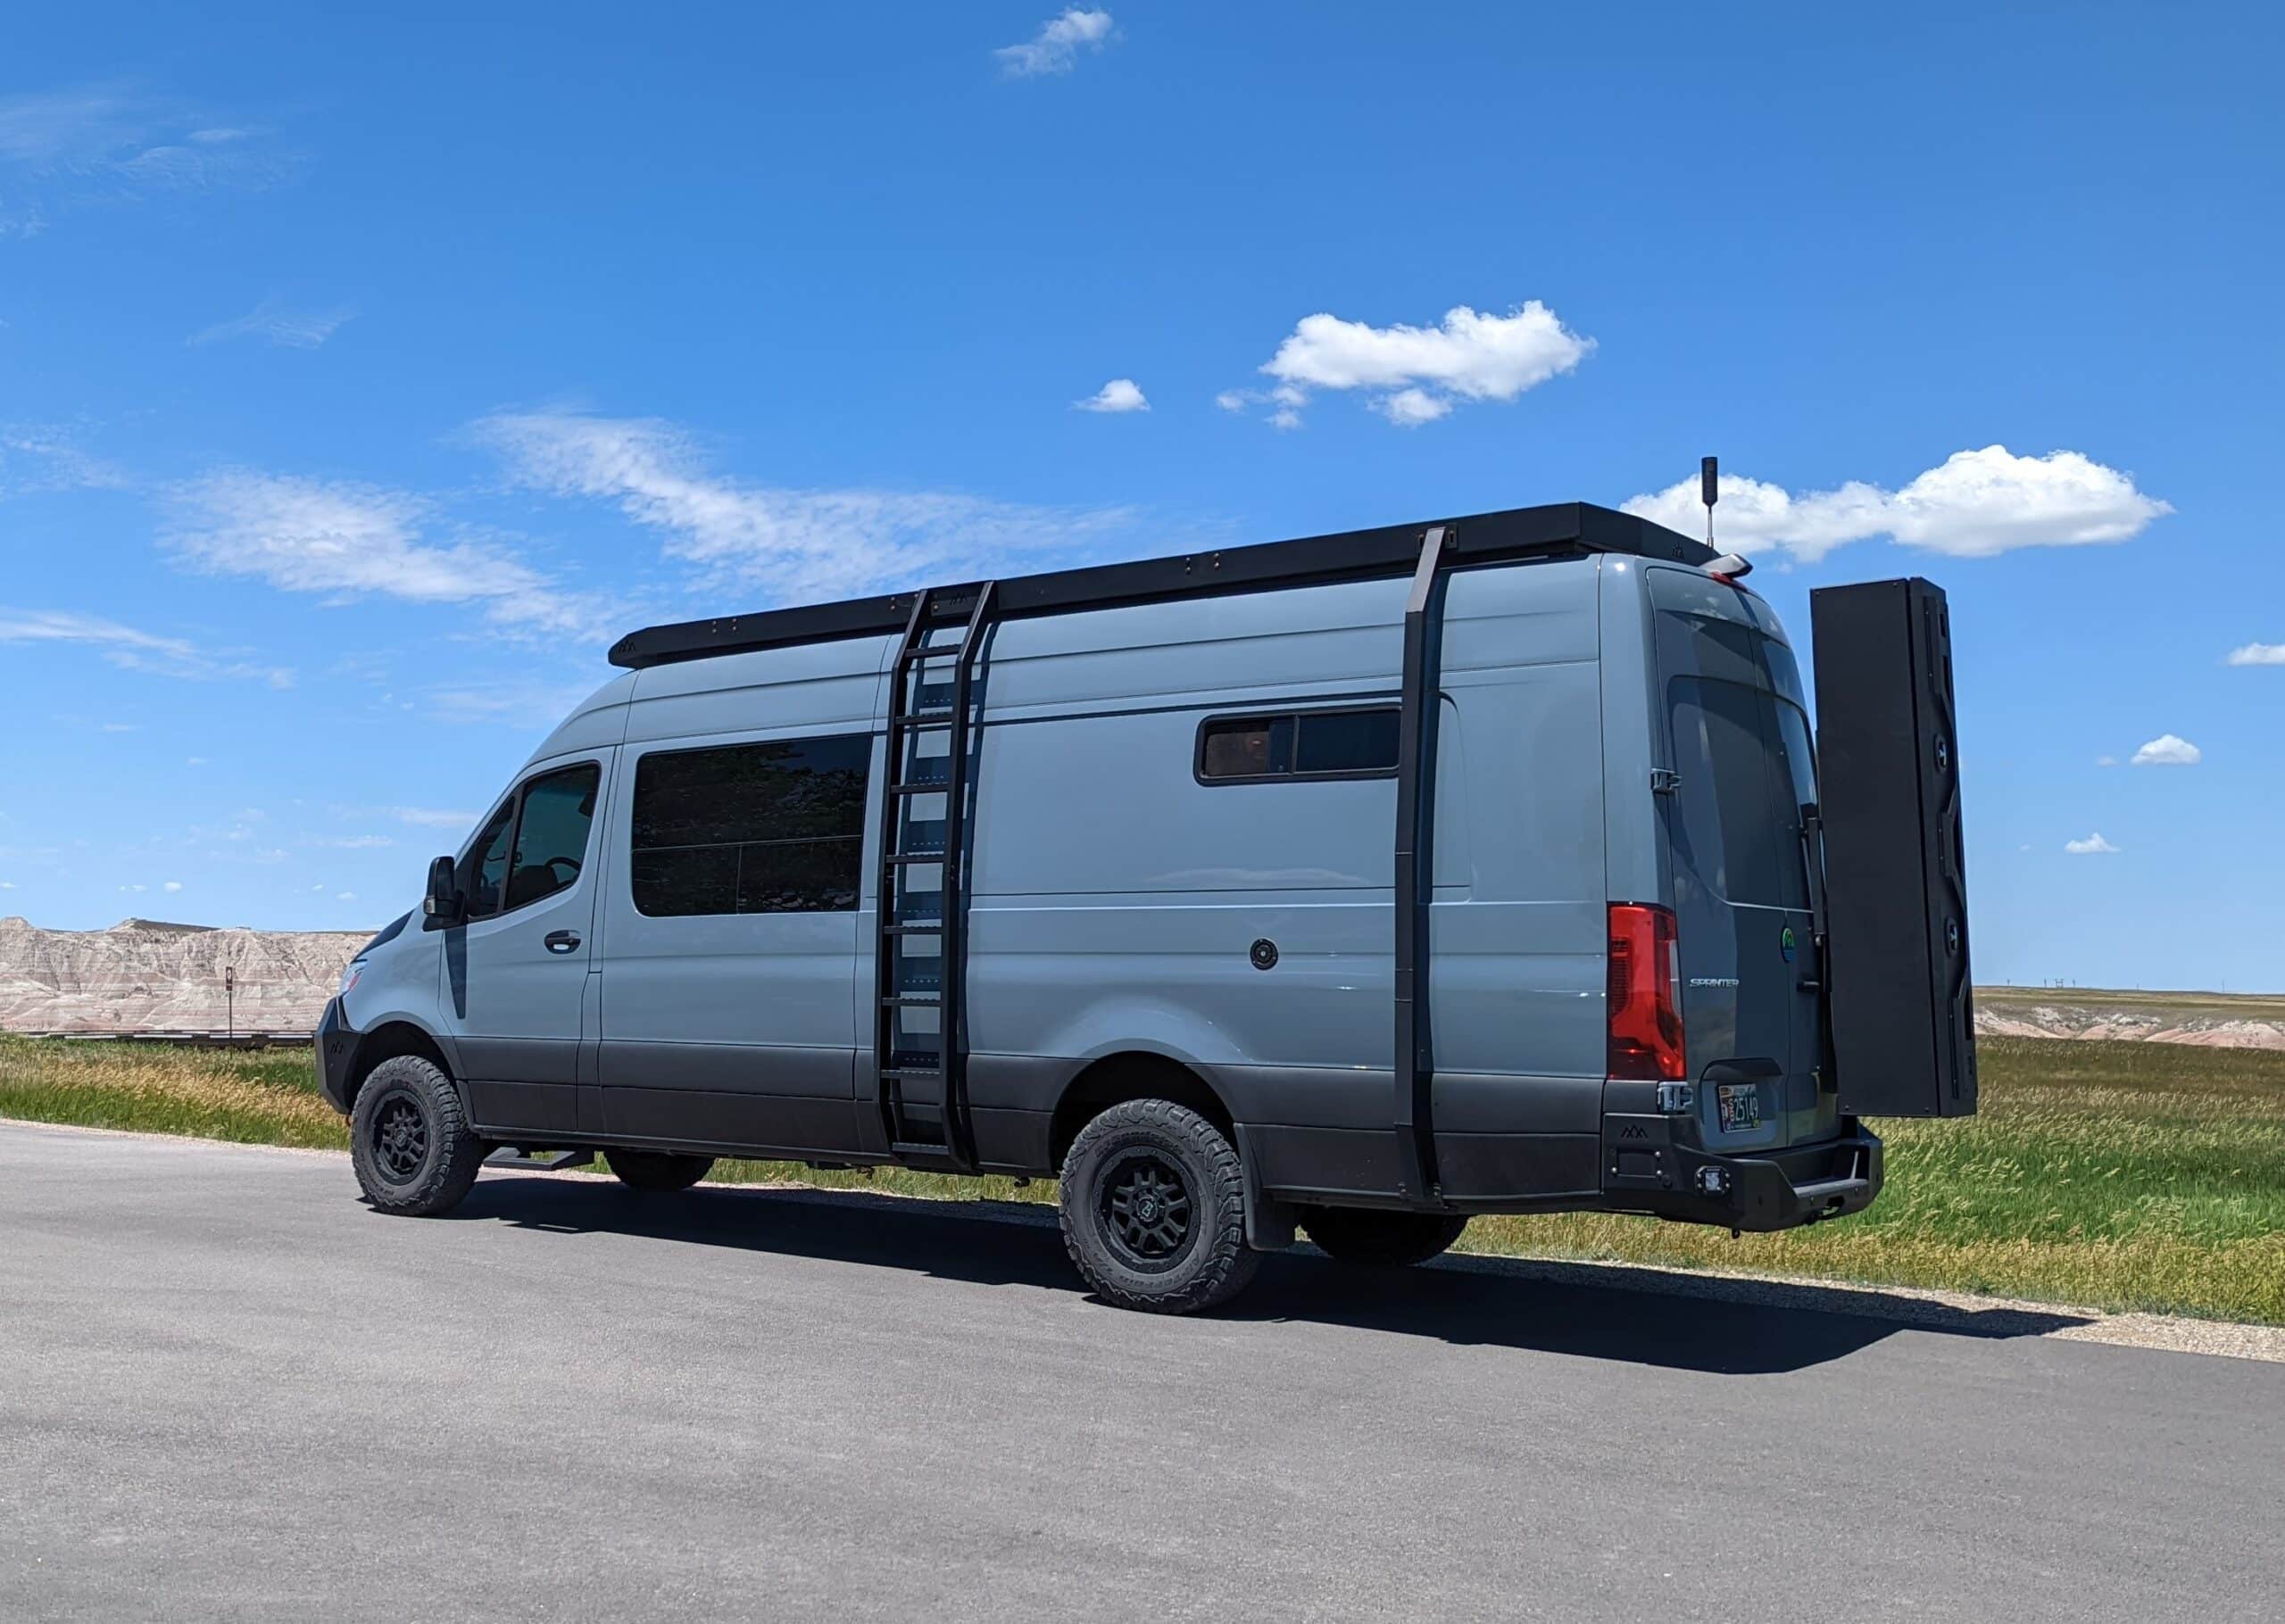
Our van is our home, and we travel in it a lot. We chase snow in the winters and sand/trails in the summers, so we experience all climate types. Besides the cab windows, we have three large panel windows, two bunk windows, and a sunroof. In the summer, it can get uncomfortable, and the same in the winter.
We went with what are called four-season shades. They have another layer of insulation, but they do work well. So, it helps keep the heat or cold on the outside and the heat or cold we create on the inside. Our heater does not have to work as hard, and the same goes for our air conditioning unit.
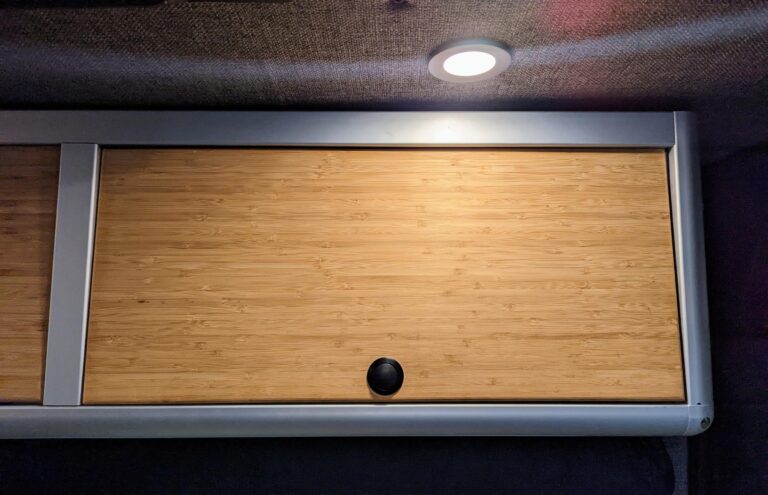
There are a lot of options out there to choose from. Some roll-up, some fold up, come in various colors, and either snap in or use magnets. Keep in mind you’ll need to store these when not in use. There are options for that as well. Ours use magnets, for the most part. I like them but may explore other types soon (another blog post, maybe??).
Tip: When designing your van, be aware of what material your windows are made from and what your walls consist of when picking out your shades. Installing the shades will either be done with magnets or snaps.
Conclusion
So, if you are not into stealth and want to add windows to your van, you can see it is pretty easy. Just take your time, and most of all, be careful. If you do not know what windows to get, I suggest going out to a van meet-up or gathering and seeing what windows you like the looks of and asking questions of the owners. Most of us are proud of our vans and willing to discuss them.
We went with CRL windows. The large windows were designed for our van, look great and complement the lines of the van. Are they the best? I don’t know. Do they look the best? In my opinion, yes. Have I had issues? Yes, not going to lie about it, and I have no affiliation with them. The best ones will be the ones that fit your budget, look nice and function the way you want them to.
Some of the tools I used for our window installations
Jigsaw, yes, DeWalt is a little more expensive, but you get what you pay for.
Painter tape, any painter’s tape, will work. You want one that does not leave a residue.
Rust-oleum or similar product
Cordless drill, another DeWalt product
File to clean the cut edge
Silicone caulk for exterior use if desired
Shop vac comes in handy so often. Great for detailing the van too
Ladder / step stool most of the time, a step stool is sufficient
Gloves cut resistant gloves are just a good idea to be wearing
Hearing protection cutting metal is loud, very loud!