Van Build Series | Part 11 | Interior This and That
In the last post, I discussed the exterior items that went into our build. This van build series post will be set around the van’s interior, although one item is an exterior/interior item. These items do not need an entire post dedicated to them. So, I bundled them up and created the following excellent piece of work.
We paid full price for these, so we are not being compensated if I come across as promoting some of the manufacturers. These are products we went with and have used for some time now and could not be happier with, for the most part. Please enjoy the read, and if you have any questions on any of these products, just let me know.
Water Tanks and Grey Tank
There are many trains of thought regarding tanks in or outside the van. For us, the deciding factor was what we would be doing with the van, as in locations, how long off the grid, etc. So, I started looking around for tanks and found Northwest Conversions. they offer many different sizes and shapes. After speaking with someone there, I decided to go with two tanks.
We chose the 24-gallon size and the shape that sits over the wheel well. This allowed us to center the weight of our water over the rear axle. This amount of water so far has worked very well for us, but no shower at the moment.
This model is designed to be installed on either side of the van. Plumbing them was tricky since I needed to run a pipe between the two. On the first attempt, I went with 1/2″ pex; this did not work out so well. The pipe was too small and took too long to transfer water from one tank to the other. The primary tank would fill before the secondary tank, even a third full.
So, I decided to go big, 1 1/2″ water-safe tubing; this worked great for transferring water from one to the other. I later changed this out when I went to an exterior filling port. I decided to go to a PVC pipe between the two, which is 1″.
Two reasons for changing it out. The first reason was the oversized tubing was just too big, plus it was flexible tubing, so to go around 90-degree corners, I needed to use fittings. I did not feel comfortable enough in these fittings, using only clamp rings to tighten them.
Now that I have the PVC piping running between the two, I am more confident of a leak happening, and the 1″ pipe fills the two tanks just fine for me. If I were to do it all over, I would seriously consider going with a large single tank and installing it perpendicular to the van’s length. To reduce the possibility of a leak. I would have to compromise on space in the area of the axle, but it is possible.

Our gray tank is under the van, and we purchased a 20-gallon tank by Class A Customs from Amazon. It tucks nicely between the frame of the van and the fuel tank. it has the standard 1/2′ ports and 1-1/2″ ports for inflow or outflow.
I have it set up using the 1/2″ port for dumping the tank, and I can screw a regular garden hose to it and drain the tank using a ball valve. And it is all tucked up underneath the van. I have installed a US Solid motorized ball valve to make the dumping even easier, but I have not wired it up yet. It was purchased from Amazon as well.
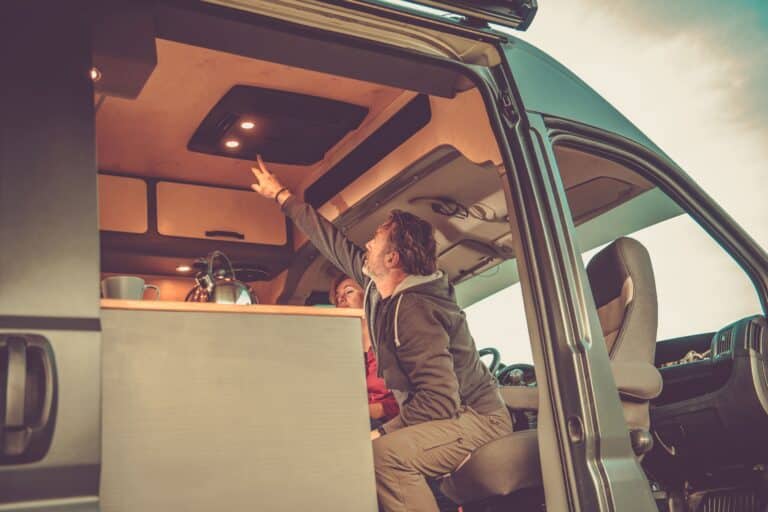
Lighting and Smaller Exhaust Fans
Like many other folks with van conversions, we have these little LED pucks installed. In pairs, I installed eight lights about equidistance from the front to the rear. I installed two in the garage for lighting when it’s dark, so there’s no need for a flashlight; it’s nice. I installed them in series, and there is a front and a rear set.
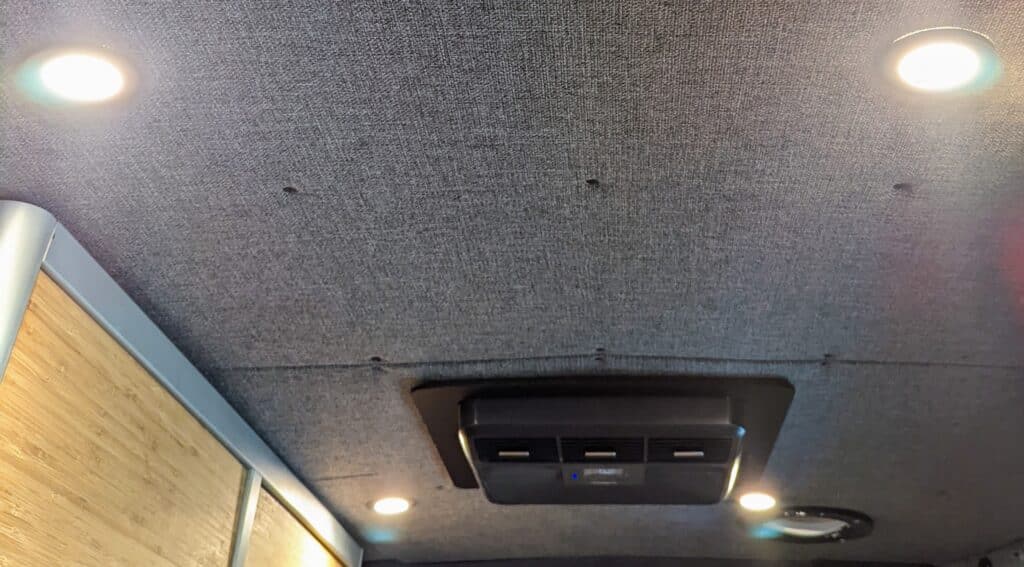
When I first installed these lights, I used these little controllers that you can turn on and off or long-press to get them to dim or brighten. These controllers work fairly well but sometimes seemed to be a little finicky, so it was back to the drawing board.
A non-negotiable was a dimming feature. I ended up finding a wireless option. This was very easy to install and works pretty dang well. These lights are of a warm hue and are pretty thin, and are held in with spring-loaded clamps. These clamps do a great job of holding them in place.
Tip: Best 12v Dimmer Switch for your Van or RV
The Garage
We wanted a multi-use garage; I’m unsure if that is the right descriptive word. But we are an active four-season couple. We wanted to be able to stow Winter gear part of the year, and everything between hiking and backpacking, water sports like paddle boarding or surfing for the others.
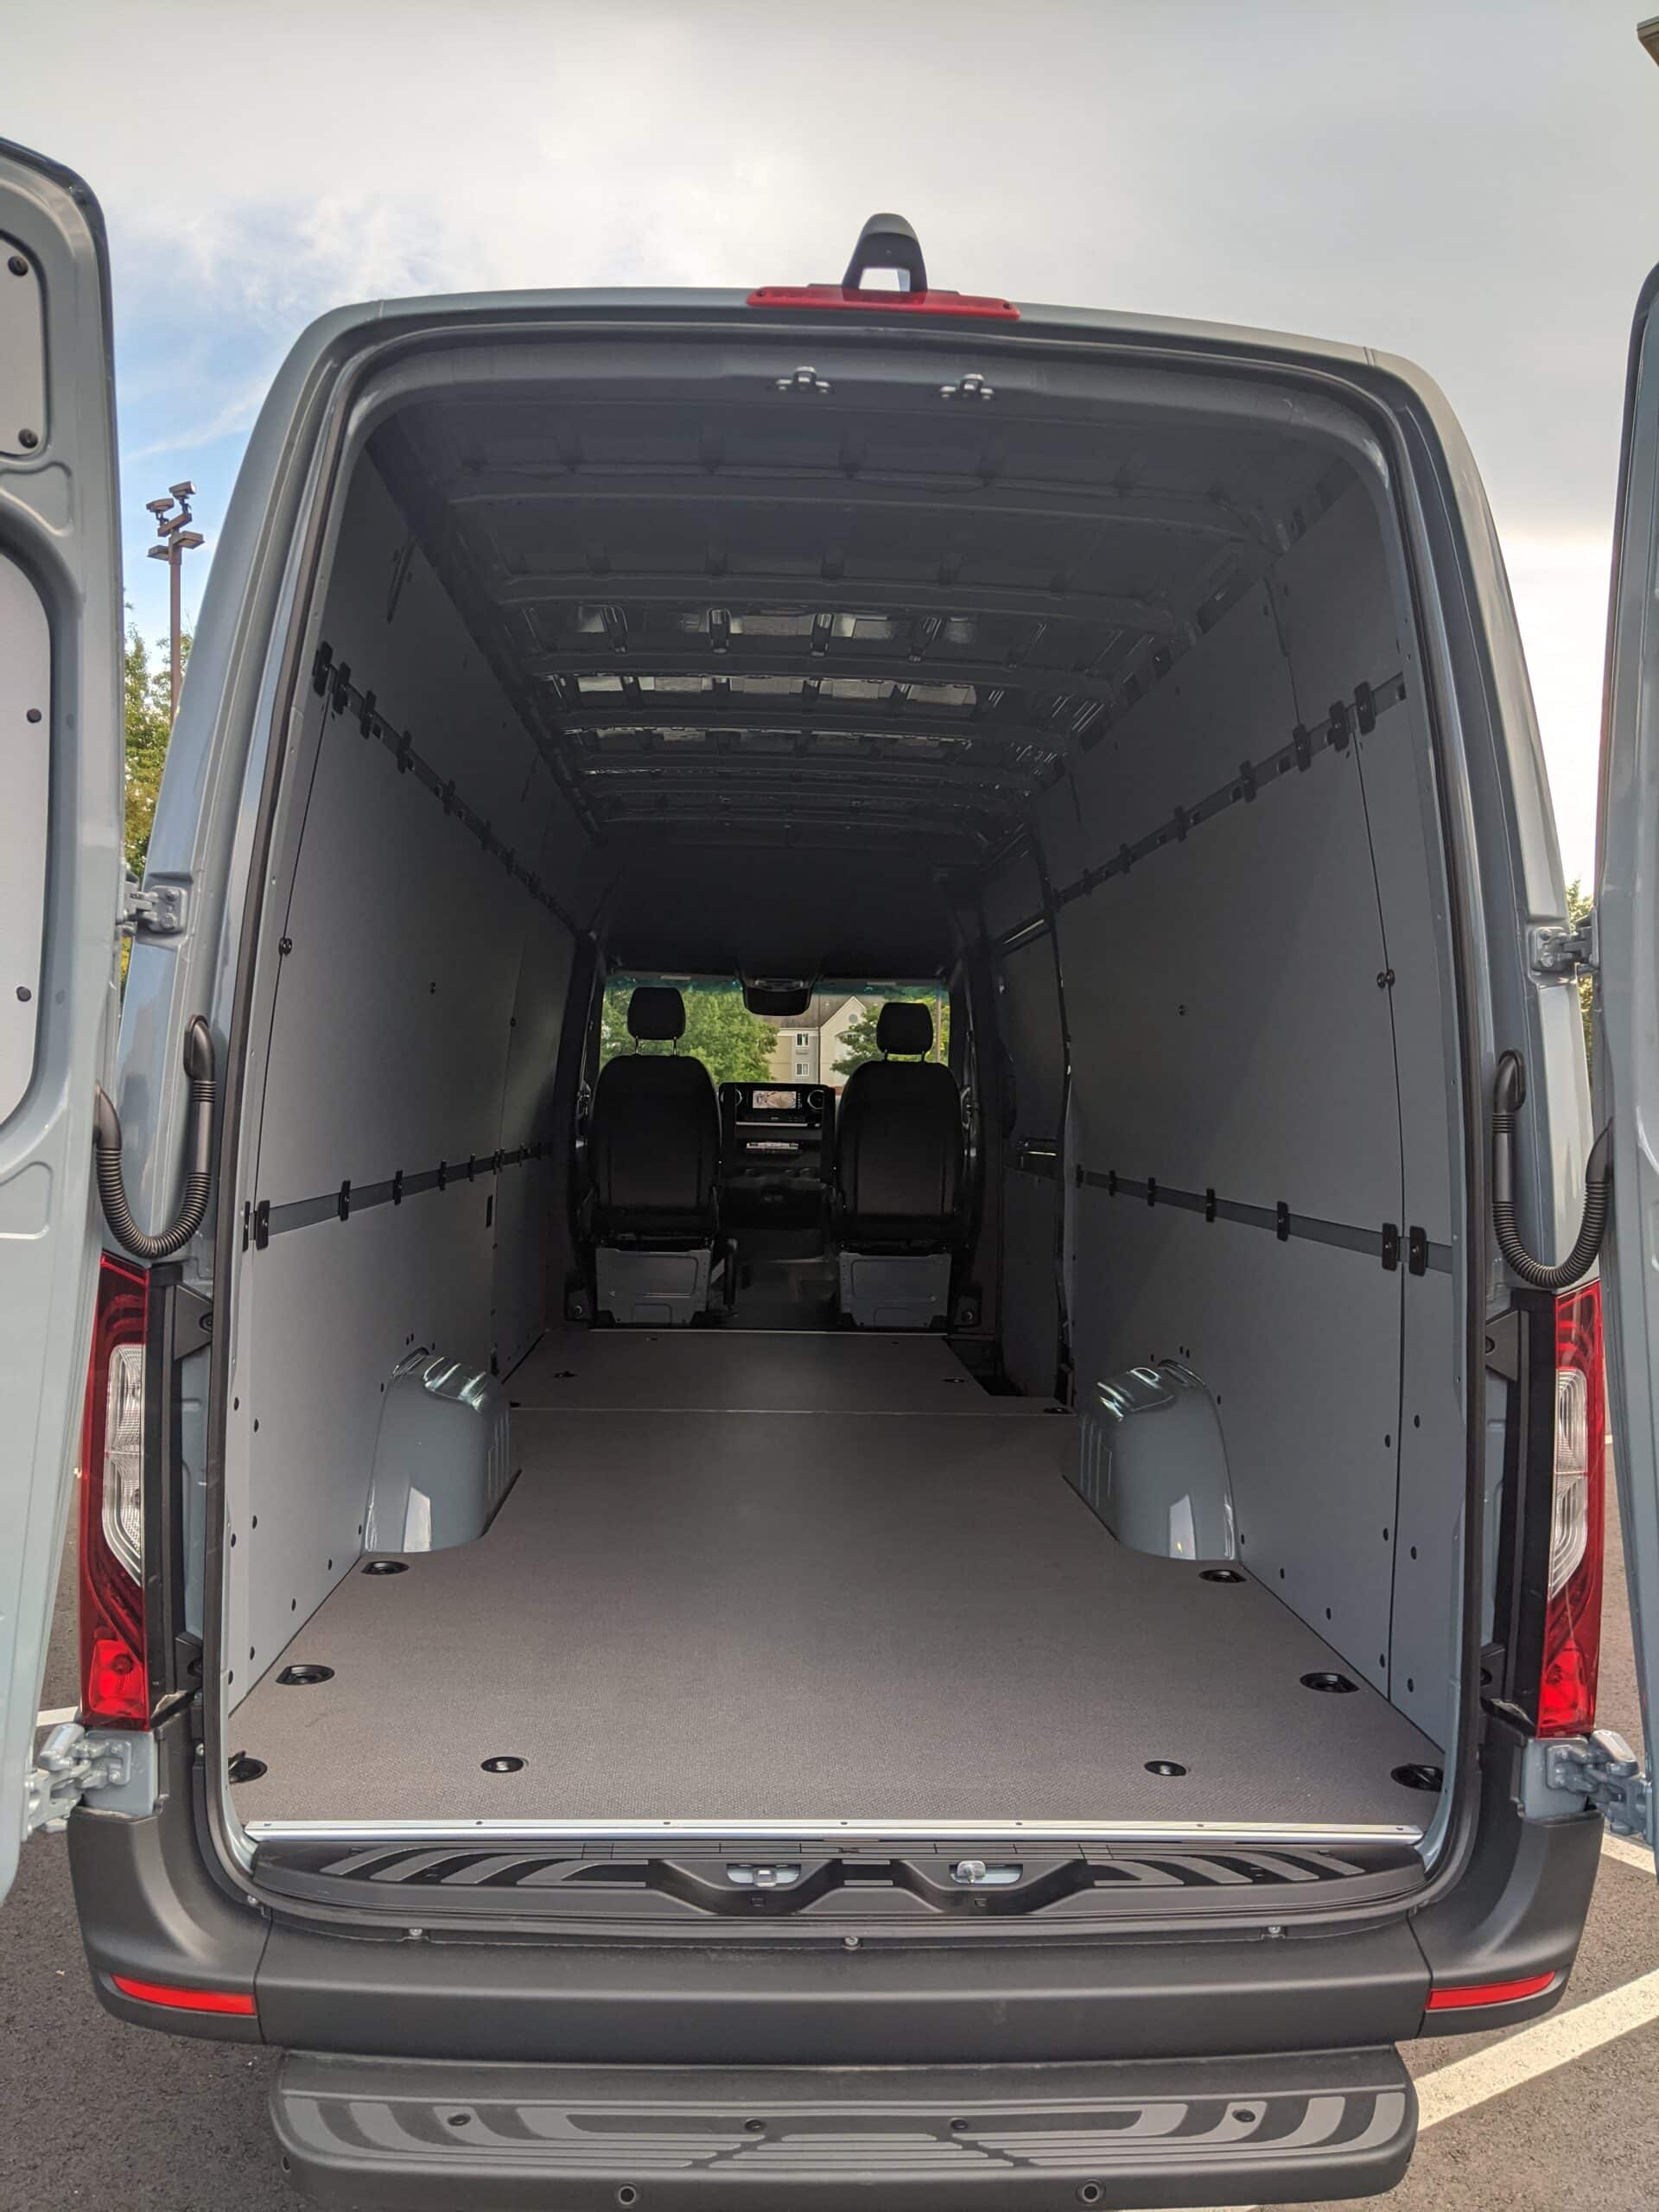
We are constantly swapping out gear for our road trips. so I tried to go as large as possible for the garage. We had a height preference for the bed. We wanted to sit straight up in bed and not hit our heads on the ceiling but my head.
This dictated the max height we could go with for the garage. But we could also put our bikes in the garage if needed, but we’d need to take the front wheels off to do it. The depth of the garage is just under 60″, so nice and deep.
The extended body of the van helped out here. The garage goes all the way to the outside wall of the passenger side, and on the driver’s side, it goes as far as the electrical cabinet. The electrical cabinet is about 14″ and is installed about two inches from the wall (to allow for running wires behind it).
With the depth being what it is, it would have been difficult to reach anything in the far back of the garage. I made two sliding drawers, with one drawer having 500lb slides that are 55″ long. So I can slide the drawer out the full distance and easily access everything on it.
On the other side, I went with shorter slides up to the water tank over the wheel well. It comes in around 40″ and slides completely out as well. Our freezer chest is on it, so we slide it out when we need to get in it. Very handy. The next step is to upgrade the actual drawers themselves. Otherwise, they are great!
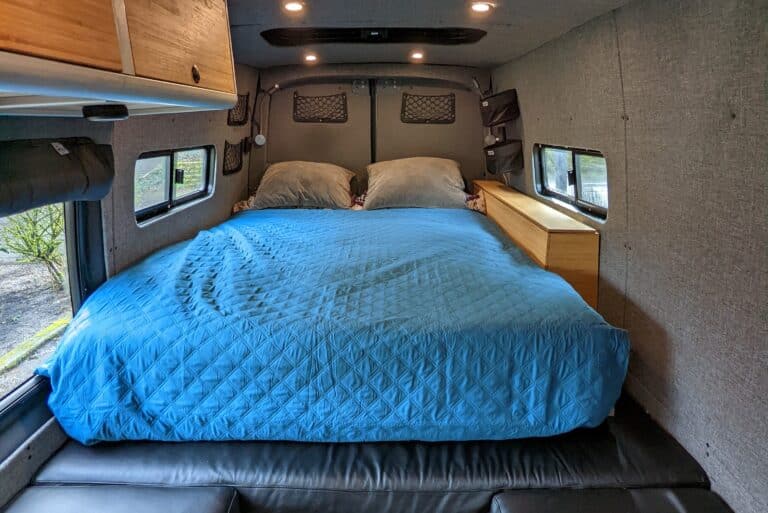
Bed and Benches

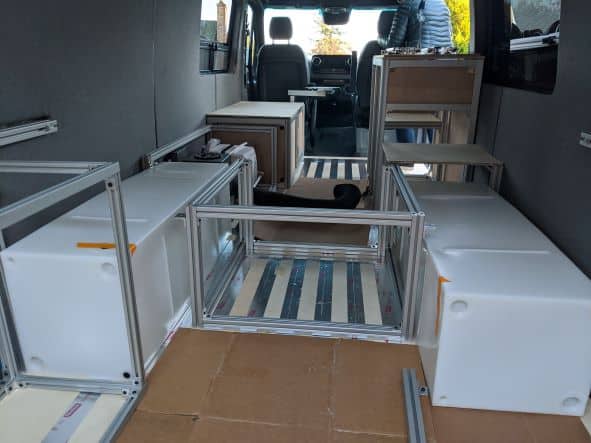
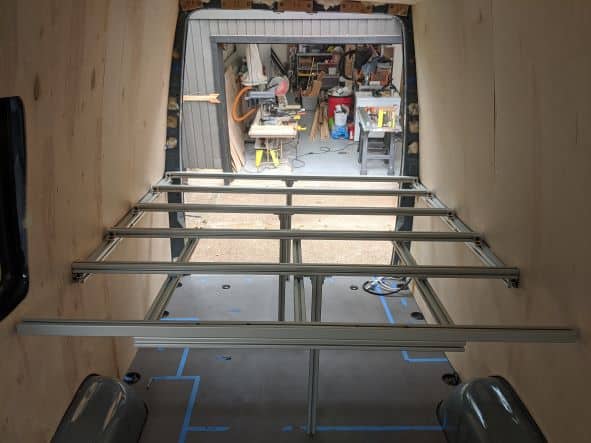
I’ve covered a bit about these items in my framing post, but I wanted to discuss them further. As stated in another post, I chose 80/20 to frame everything in the van.
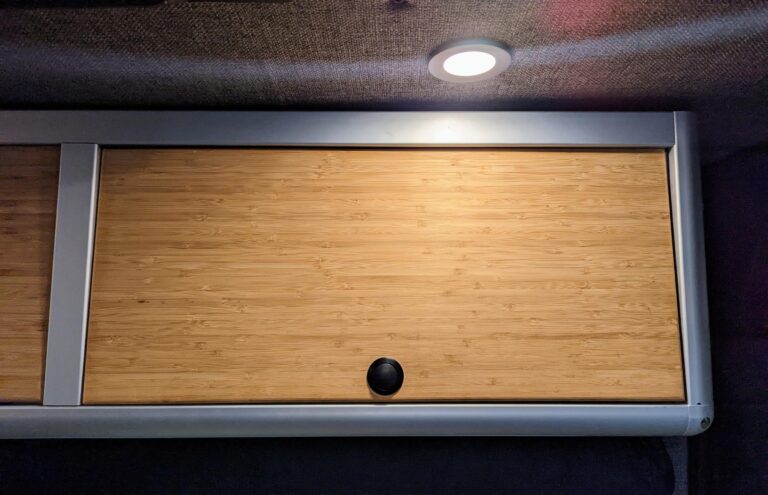
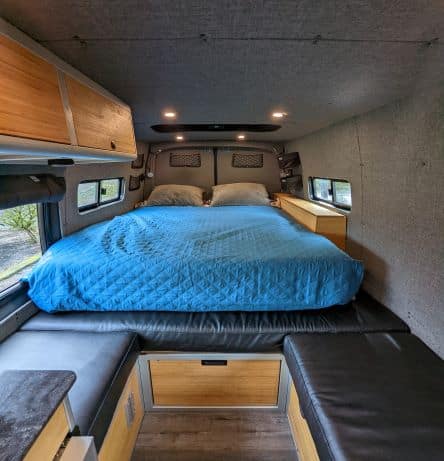
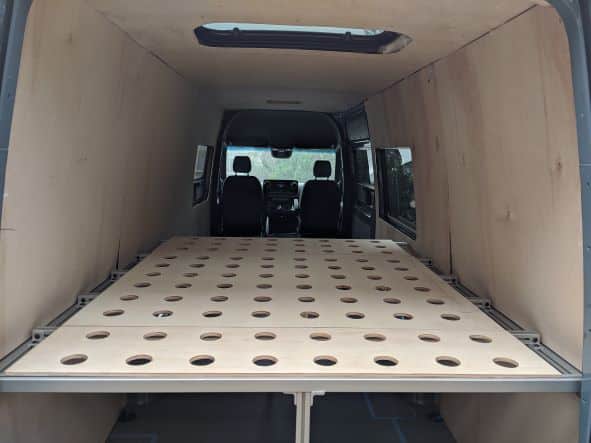
For those unfamiliar with 80/20, it is an extruded aluminum product. It is light and very strong and has a ton of variations for your build. As for the bed, it is raised, and part of it slides out. This framing allows for the mattress to breathe yet still be supported.
In the sliding part, when it is time to make the bed, you pull out the 20″ section and move that mattress section of the bed into place (the mattress is cut to 60″ and 20″ lengths).
We have an 8″ foam mattress from Amazon. Since this was a trial on whether the bed would work, we did not want to spend much money on a mattress and immediately take a knife. So far, it has worked out great, and it is typically the most comfortable bed we sleep on.
With our raised bed it allowed us to have the garage with an electrical cabinet in the back, two 24gal water tanks underneath, a pretty good size clothes drawer, and a seating bench full width of the van and 28″ deep; it makes for a good napping area during the day.
We went with a height and size that worked for both of us for the benches. We have a large settee that can seat 8 people if we want to (but we don’t).
It is so awesome having this much seating room, even though there are only the two of us and our two medium-sized girls (dogs). It allows all four of us to spread out and be comfortable. When it comes time to make the bed, we pull out a board that will span the two sides of the settee and creates a very large bed for the girls, not that they need more sleeping areas.
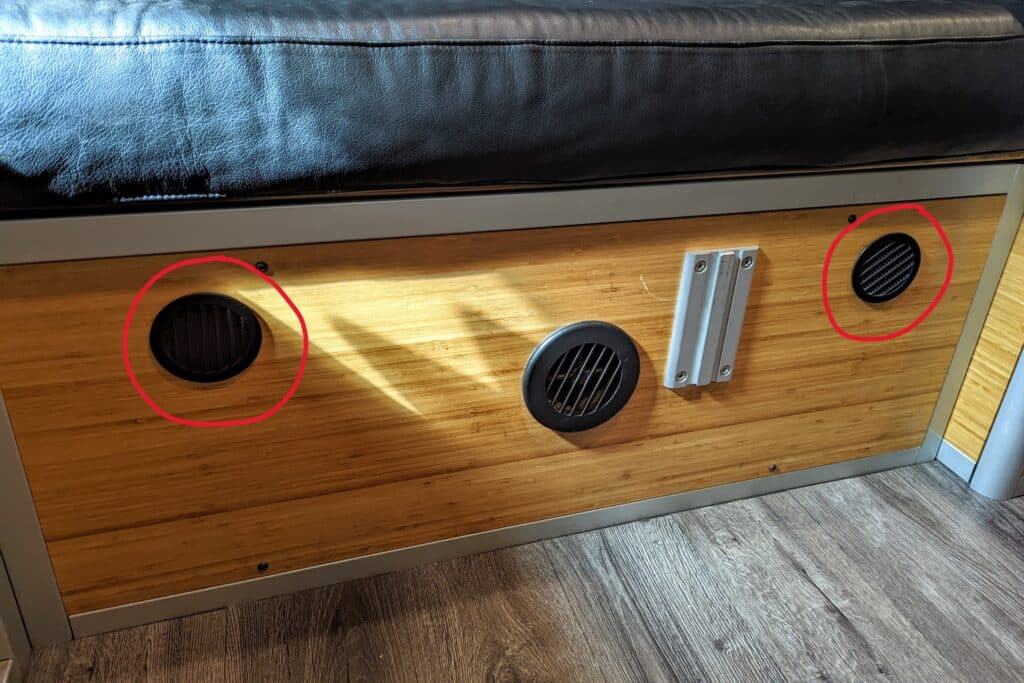
Under one side of the settee are our heating system for the heated floors, the heater blower, and the 4gal instant water heater. This system also has the plumbing set up for our future shower.
WiFi and weBoost
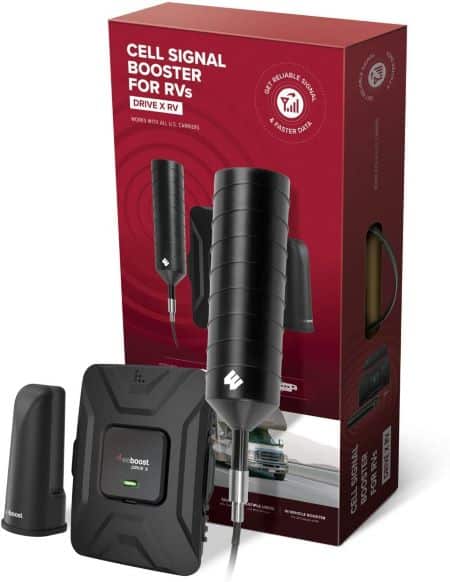

This might be the one area I’m not completely in love with. I might have been suckered when it comes to improving our cell signal in the van when we are little ways out there. We have the WeBoost installed, the exterior antenna is on the rear of the roof rack, and the interior antenna is well on the inside.
Most of the time, it seems it does not improve a thing, then there are other times when our signal is good, but it is due to our location. Sometimes I can put my phone next to the interior antenna, which will boost the signal, but I’m not sure about anyone else. That is super inconvenient, to say the least.
I’ve gone over the install instructions time and time again, and it appears I have everything installed correctly. I’ve sleuthed the internet to find ways to make improvements, but so far, no such look.
If anyone has any suggestions, please do let me know. The next option is Starlink, but I’m not ready to bite off that price point yet.
Van Wifi is a luxury, but one we need in our van. We have two girls who sometimes need to be left behind. During these times, it could be extremely cold outside, or it is very hot outside in other places.
I want to monitor the interior temps and control systems from my phone. Wifi and Bluetooth devices allow me to do this. Here once again, I’ve tried several options. It worked great from a third phone to be used as a hot spot, but you cannot leave it plugged in to keep it constantly charged.
The factory WiFi for the van is not great either. I do not have first-hand knowledge, but I was told the service is lacking.
Our current system is using a WiFi router with its own sim card with 50Gb of hotspot data. This device, Moxee, can be plugged in full-time, so I do not need to worry about it running out of battery or shutting down due to overheating while charging.
One obvious setback here is that I still need a good cell signal to work well; it happens to be on a different cell provider, and most of the time, it does well enough.
Isotherm Fridge
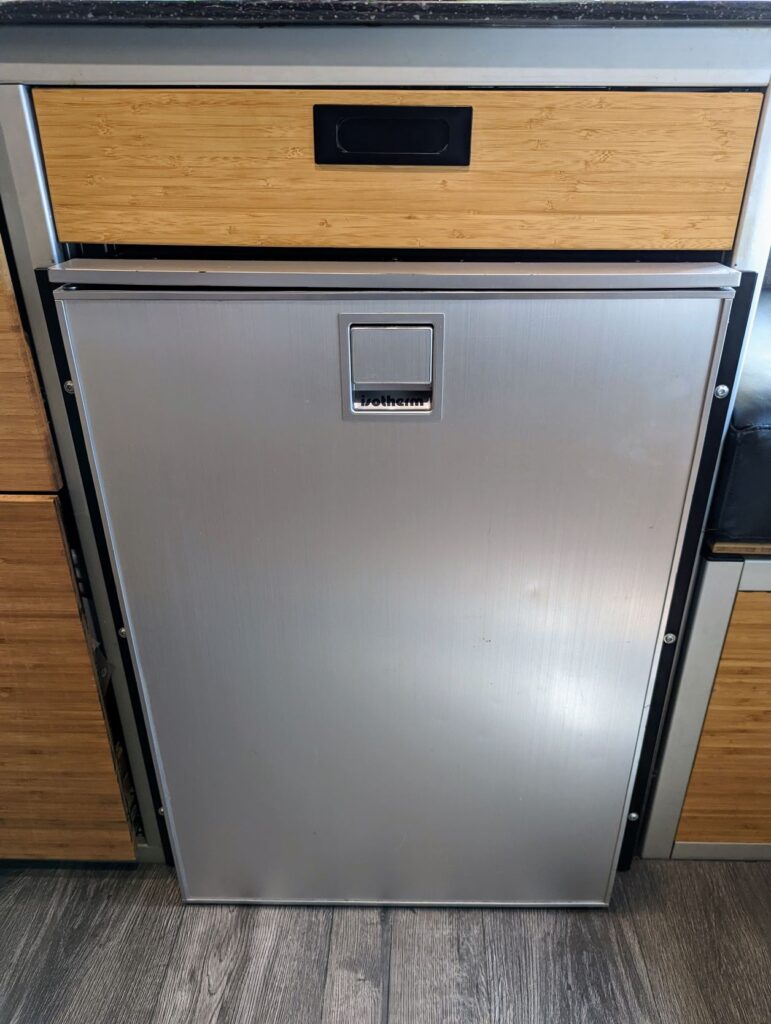
This is a short one. The fridge we went with is the Isotherm 130. We wanted to get something large enough to pack enough food in there for two weeks off-grid, and this fridge allows for that.
We have the additional chest freezer in the garage, but that’s mainly because of Costco and buying in bulk. First-world problems, I know. This fridge has a small freezer, and you can pack a fair amount into it.
Lots of door storage for condiments or to chill your sparkling water. A good size vegetable drawer and three large shelves, then a mini shelf that happens to be a perfect size Honey Mamma’s.
This model does not consume too much power or cycle too often. Isotherm does have an add-on system to improve the efficiency of the fridge; I have it on my Amazon wish list. I’ll update this post when I have installed and used it for a while.
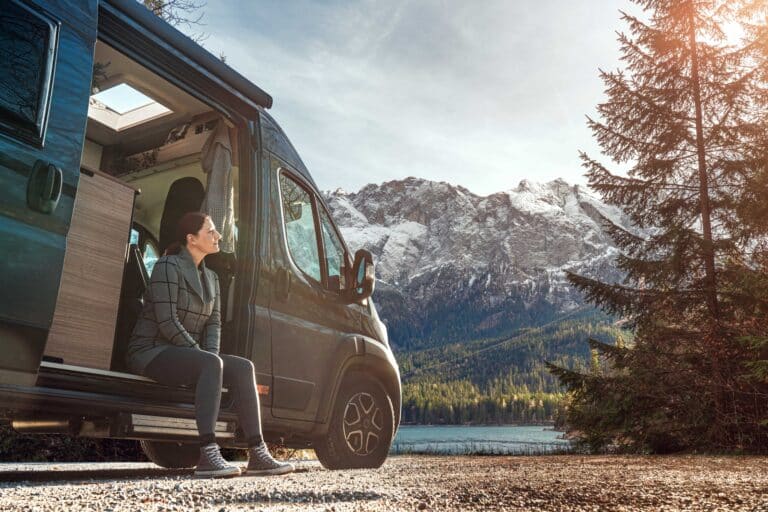
Cab Partition
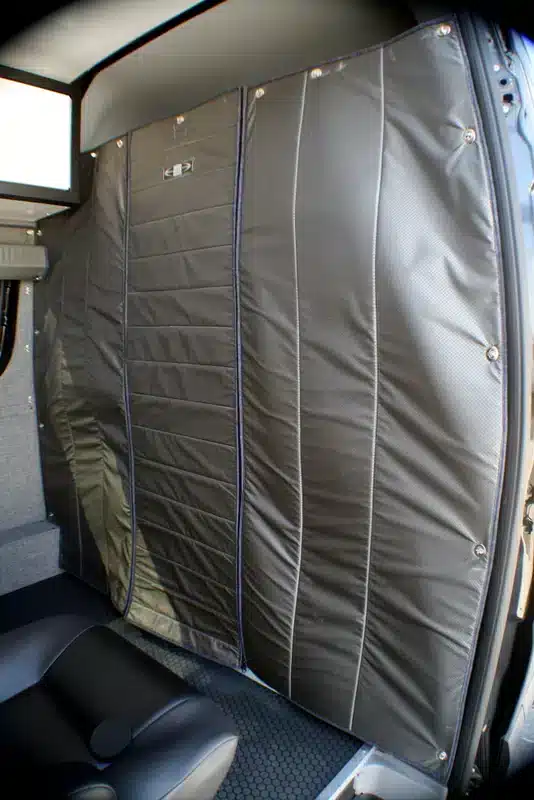
This has been an energy saver and a huge plus in our van usage. We’ve had it installed during the winter and summer months, and we will not go without it. During these extreme months, the van’s cab either gets cold or hot, drifting into the main interior of the van.
So either the heating system or the AC had to work harder. During the real extremes, we use the window shades in the windows plus this partition. It has a middle section that can be rolled up and secured to allow you to walk from the cab to the back.
When driving, you can unzip the left side of the middle section and roll up the entire passenger side of the partition, allowing the passenger to slide and lean back further than the fully installed partition.
Recirculating Shower (future project)
As mentioned earlier, our heating system has an instant water heater and is set up to install plumbing for a shower system. I’ve been researching a recirculating system to build myself to plug into the existing heating system.
I’ve narrowed down the items needed regarding filters and pumps for the system. I have an area where the shower will go and have an engineering shop that will design my custom shower pan. It will be installed in a current component that houses our so-called composting toilet on one side.
This recirculating shower would ideally run continuously on only 2 gallons of water. When it is time to rinse off, we can switch to our fresh water. All this water would drain into our grey tank directly below this area.
So a drawer will be pulled out with the shower pan, and you’ll have to put up a shower curtain and take your shower. The shower controls are still being designed on where they will sit while taking a shower to use a shower head and access to controls.
The bits and bobs for the system would be on the back wall of the component, hidden but have easy access for maintenance. When the shower pan is put away, a storage area above the pan will hold dog food, etc.
This might be a wish item, but I’m sure it is doable. Please let me know if anyone has suggestions or solutions, as I’m still looking at all options.
Update: The shower pan has been completed; now working on the plumbing layout and the components.
Another Future Project
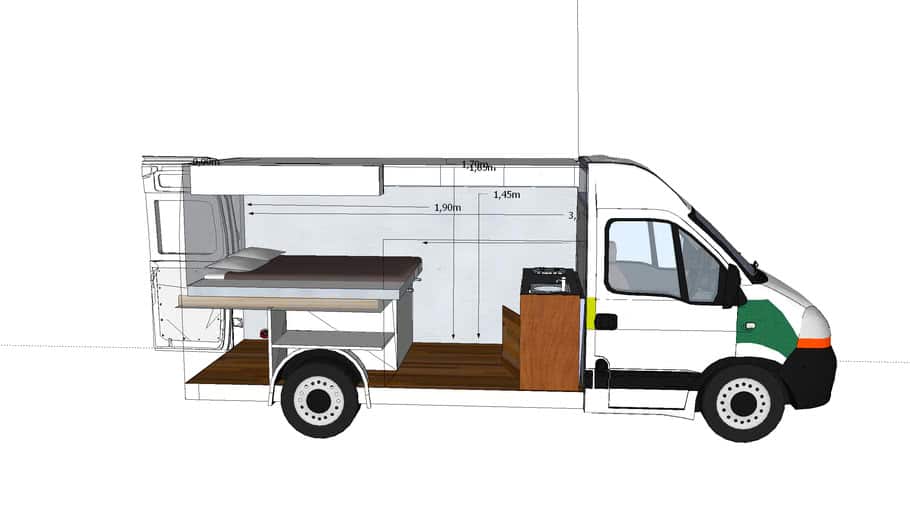
I aim to draw up my plans for our van build and offer them on our website for other folks to use. We have been through a lot of vans and watched a ton of YouTube videos of van tours and continue to do so (for other ideas, of course), and seriously we feel we have the best layout of darn near all other vans out there.
Granted, it is our style, and the storage is suited for the two of us.
We have a full-size bed, a ton of seating, a decent size galley, a hidden toilet, room for a future shower, and two large cabinets, one for bathroom items and the other for kitchen items. We have a bedside clothes drawer, a large slide-out clothes drawer, and a small pantry.
There are nice sightlines from the rear to the front. Three large windows, two bunk windows, and a sunroof letting in tons of light (saves on 12v juice during the day).
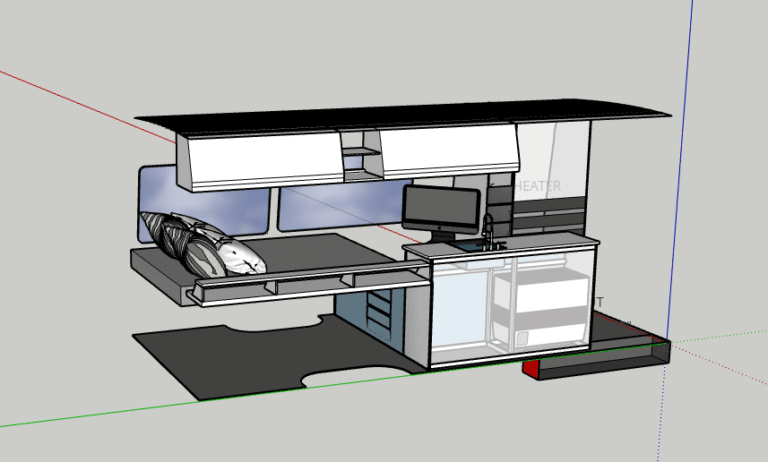
So, I plan to get all these dimensions into SketchUp with all the details so that a person can get the plans and start purchasing items for the framing and their build. It is a big goal; it will take some time to get from paper and my head to the computer program.
So, stay tuned for this one and look for it to appear in the merchandise section.
Additional Stuff
If this is your first time here, please check us out from the beginning. You can start with our first van post.
Introducing “The Van” where it all started
Disclosures
This site may contain affiliate links to products. At no cost to you, we may receive a commission for purchases made through these links. If you do make a purchase we cannot thank you enough, it keeps our fridge stocked with caviar and champagne. Just kidding of course, but seriously we truly appreciate it when you use our links to make your purchases.
However, at the moment we are not affiliated with anyone, including Amazon. So the links above are from us and no commissions will be earned. We’re just sharing the products we’ve used.